How to Create a Recycled Ribbon Bow for a Holiday Gift

A saved length of ribbon can turn a plain wrapped box into something personal. This recycled ribbon bow uses two folded rings, a separate tail piece, and a narrow center tie to make a layered holiday gift topper.
Here, “recycled” means reusing ribbon you already have. Pair the burgundy bow with stamped kraft wrapping for a simple Christmas package.
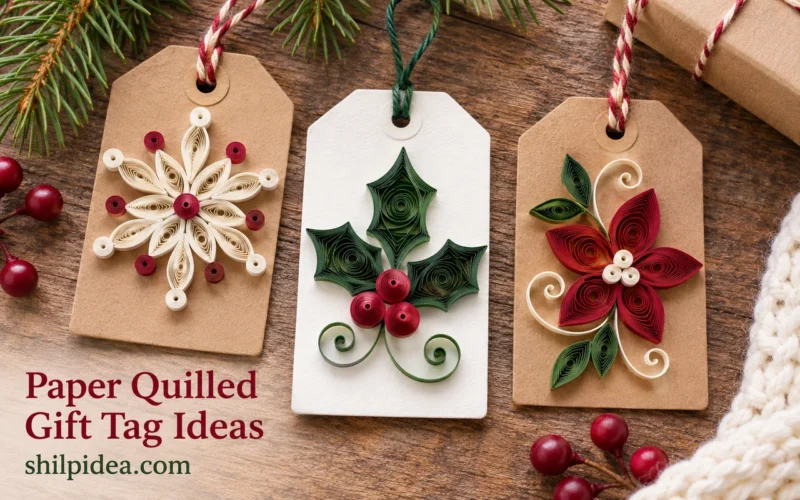
Add one of these recycled gift tags after tying the bow. The removable fastening lets the recipient save the ribbon for another occasion.
Materials for Your Recycled Ribbon Bow
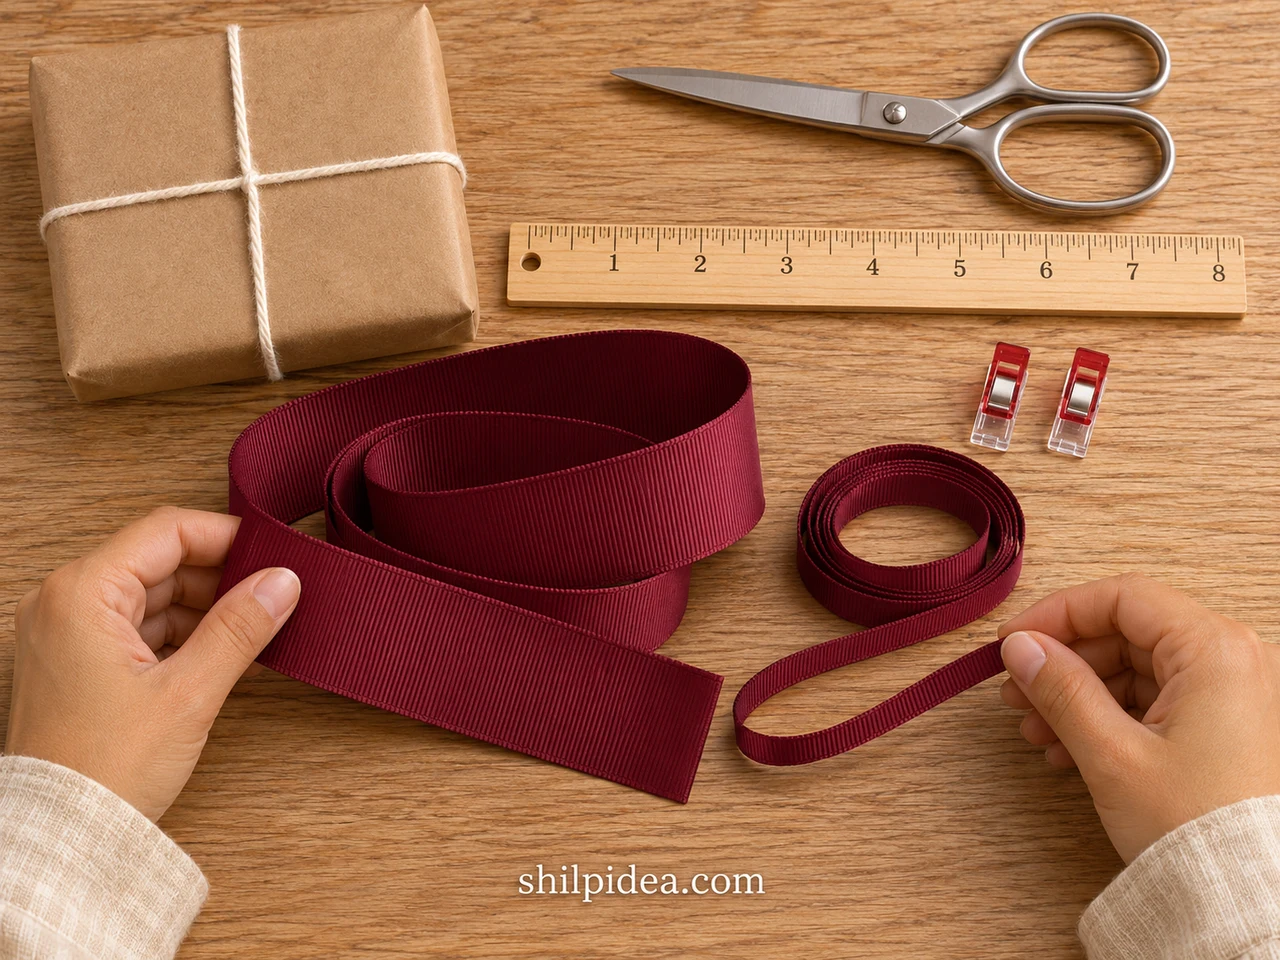
Gather the following supplies before measuring your ribbon.
- Saved wide ribbon – Choose clean, unwired grosgrain ribbon, 1.00 inch wide. You need separate usable lengths of 10.00 inches, 8.00 inches, and 7.00 inches; allow extra if damaged ends need trimming.
- Narrow matching ribbon – Set aside one 8.00-inch length, 0.25 inch wide, to bind the center and fasten the bow to the package string.
- Scissors and ruler – Use sharp scissors suitable for fabric and a ruler marked in inches. Keep the ribbon relaxed while measuring so the cuts stay consistent.
- Two small sewing clips – These temporarily hold the ring overlaps. They come off before the center is tied and are not part of the finished bow.
- Wrapped gift and cotton string – Wrap the box first and tie string securely around it. The bow attaches to this string instead of being glued to the wrapping.
Project at a glance: Make one four-loop bow with two tails. Allow about 20–30 minutes for your first attempt. The larger flattened ring measures about 4.50 inches across before shaping; the final bow width varies with fluffing.
Before You Start
- Inspect reused ribbon for stains, weak spots, fraying, or old adhesive. Choose intact sections for both rings.
- Follow the ribbon’s care instructions if it needs cleaning or pressing. Do not assume an unknown synthetic ribbon is safe to iron.
- Keep scissors away from fingers and supervise children. Do not use a flame to seal ribbon ends.
- This method is for flexible, unwired ribbon. Stiff packaging ribbon and wired ribbon will behave differently.
1. Measure and Cut the Four Ribbon Pieces
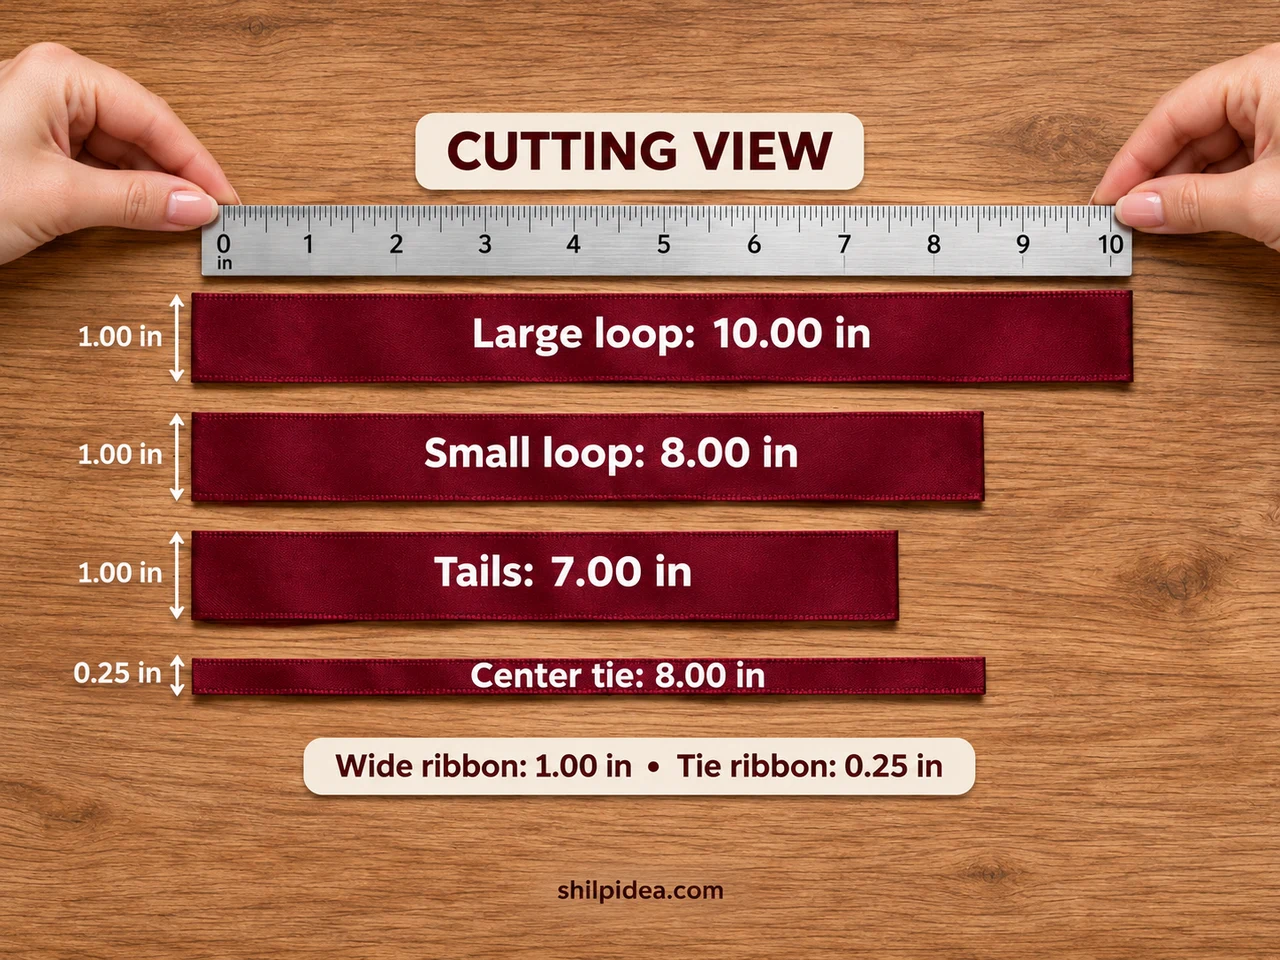
- Measure the wide pieces – Lay the 1.00-inch-wide ribbon flat without stretching it. Measure and cut lengths of 10.00 inches for the large ring, 8.00 inches for the small ring, and 7.00 inches for the tails.
- Cut the center tie – Measure an 8.00-inch piece of 0.25-inch-wide ribbon. Keep it separate from the wider 8.00-inch piece: they have different jobs even though their lengths match.
- Arrange by purpose – Place the two ring pieces together, then set the tail and center tie below them. Leave the tail ends square for now; trimming comes after the bow is assembled.
All measurements are in inches. Read the labels as cutting lengths, not the finished span of each loop. If your saved ribbon is too short, choose another length rather than joining scraps inside a visible loop.
Before moving on: You have three wide pieces and one narrow piece. The 10.00-inch piece will form the lower, larger pair of loops.
2. Fold Two Rings with Matching Overlaps
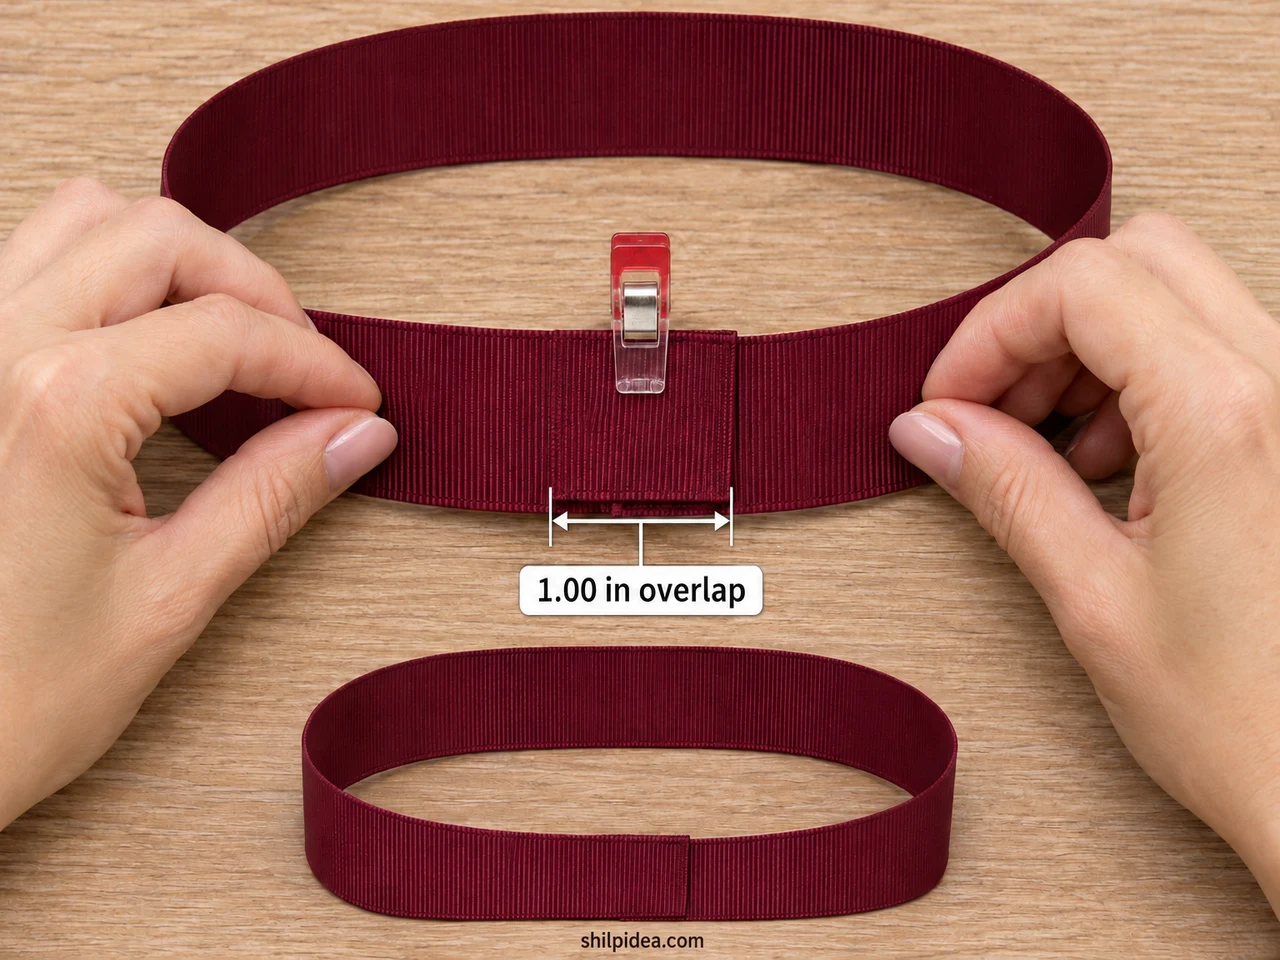
- Close the large ring – Curve the 10.00-inch piece into a ring without twisting it. Overlap its short ends by 1.00 inch, align the long edges, and clip the overlap temporarily.
- Repeat with the smaller piece – Make a second ring from the 8.00-inch piece using the same 1.00-inch overlap. Hold the join while shaping it, then use the second clip to keep it closed.
- Flatten with joins centered – Lay each ring down and flatten it gently with its overlap at the center back. The large ring spans about 4.50 inches and the small one about 3.50 inches before pinching.
Each ring becomes one loop on the left and one on the right when its middle is gathered. The overlap belongs at the back of that middle, where the final binding will hold it. Avoid placing the join at an outer fold, where a cut end could show.
Before moving on: Neither ring is twisted, and both overlaps sit behind their respective midpoints.
3. Stack the Rings and Pinch the Center

- Position the tail piece – Fold the 7.00-inch piece at its midpoint into a shallow V so both ends point down. Place that midpoint behind the center of the larger flattened ring.
- Stack small over large – Center the smaller ring on the front of the larger one. Align both overlapped joins and the tail midpoint along the same center line so the binding will catch every layer.
- Gather without losing the joins – Hold the aligned centers, remove the clips one at a time, and pinch the stack into a small accordion fold. Keep pressure over both overlaps so neither ring springs open.
Set the narrow tie within reach before removing the clips. If the stack slips, put it down and realign it instead of tightening around a crooked center. You should see two loop ends on each side, with the tails behind them.
Before moving on: Your fingers are holding both ring joins and the tail midpoint together, with no clips trapped inside.
4. Tie the Center Securely at the Back

- Wrap the narrow ribbon – Lay the midpoint of the narrow tie across the front of the pinched center. Bring its ends around to the back while keeping the broad ribbon layers firmly compressed.
- Make a secure knot – Cross the narrow ends and pull them snug, then cross and tie again to make a double knot at the back. Release your pinch gradually and check that the layers stay together.
- Keep the fastening ends – Leave the two narrow ends untrimmed for attaching the bow to the package. If an overlapped end slides out, untie, center that join beneath the binding, and secure it again.
The center tie is the structural fastening for this no-glue bow. It must surround the overlapping ends of both rings, not just their unjoined front layers. Test gently by moving each loop separately; a firm center holds while the outer folds remain easy to shape.
Before moving on: There are four loops, two broad tails, and two narrow fastening ends behind the bow.
5. Shape the Bow and Attach It to Your Gift
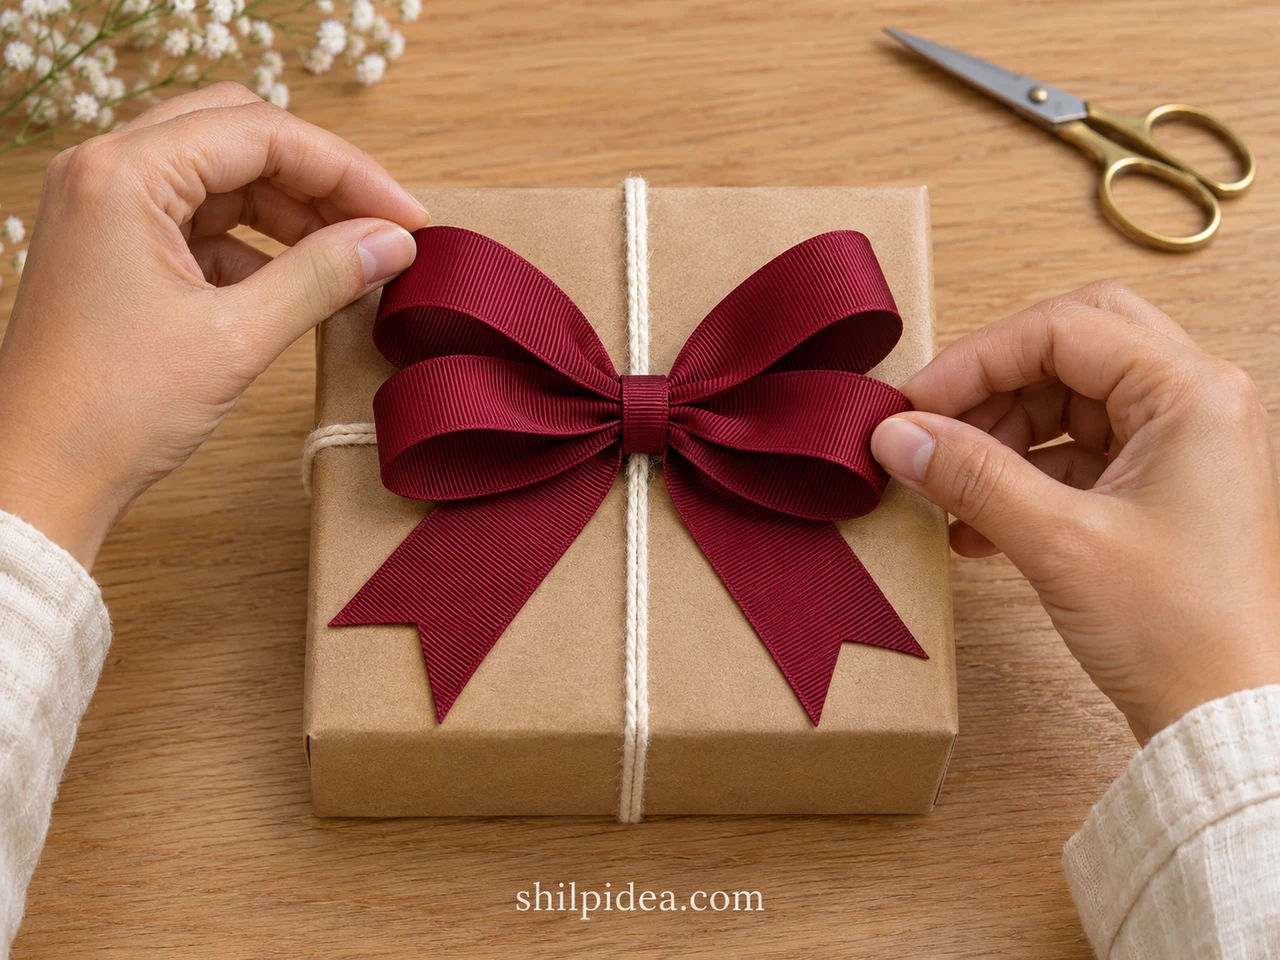
- Open the four loops – Lift the upper pair slightly above the lower pair, then round each folded end with your fingers. Keep the smaller loops visible instead of flattening them completely against the larger ones.
- Trim the broad tails – Fold each broad tail lengthwise. Cut diagonally from its folded edge toward the outer edges, keeping the folded-edge point closer to the bow. Unfold to reveal a shallow V notch; repeat on the other tail.
- Fasten to the package string – Slip one narrow fastening end under the gift’s cotton string, then tie it to the other end at the back of the bow. Check the attachment before trimming any excess narrow ribbon.
Place the bow at the string crossing or slightly off-center for a relaxed finish. Leave room beside it for a gift tag. If the package will travel, keep the loops loosely rounded and protect the top from heavier gifts so the bow does not arrive crushed.
Before moving on: The bow stays attached when the box is gently moved, and the gift can still be opened by untying the fastening.
Quick Fixes for Slipping or Uneven Loops
- A ring keeps opening: Its overlapped ends may sit outside the center binding. Untie the narrow ribbon, move the join directly behind the pinched center, and retie firmly.
- One side looks longer: Check the position of the center pinch before reshaping the loops. Pulling hard on one loop can shift the stack rather than fix the balance.
- The bow looks flat: Separate the small loops from the larger pair and lift their curved ends. Avoid pulling the center knot outward.
- The tail edges fray: Make one clean cut with sharp scissors and handle the ends gently. If the ribbon continues shedding, use a more stable saved piece instead of burning the edge.
- The tie ends will not reach: Replace the narrow tie with a longer saved piece. Package size and a bulky center can use up more length than expected.
Store the Bow for Another Celebration
Untie the narrow fastening from the package string instead of pulling the bow off. Keep the center knot tied if you want to reuse the finished shape. Store the bow in a shallow box with the loops loosely supported by clean tissue, away from moisture and crushing weight. Inspect the ribbon before its next use, and replace any piece that has become weak or badly frayed.
For a different holiday look, explore these Christmas velvet bows. The colors and placement can inspire your wrapping, even when you keep this project’s easy grosgrain construction.
More Handmade Holiday Gift-Wrapping Ideas
Build a coordinated gift wrap set around the ribbon you already saved. A plain paper base keeps the bow visible, while a handmade tag adds a personal detail without crowding the package. The projects below offer different ways to finish presents, from stamped paper and reused tags to fabric bags and decorative toppers you can bring out again.
- Make Stamped Kraft Paper Christmas Wrap
- Explore Recycled Christmas Gift Tag Ideas
- Find Christmas Velvet Bow Styling Ideas
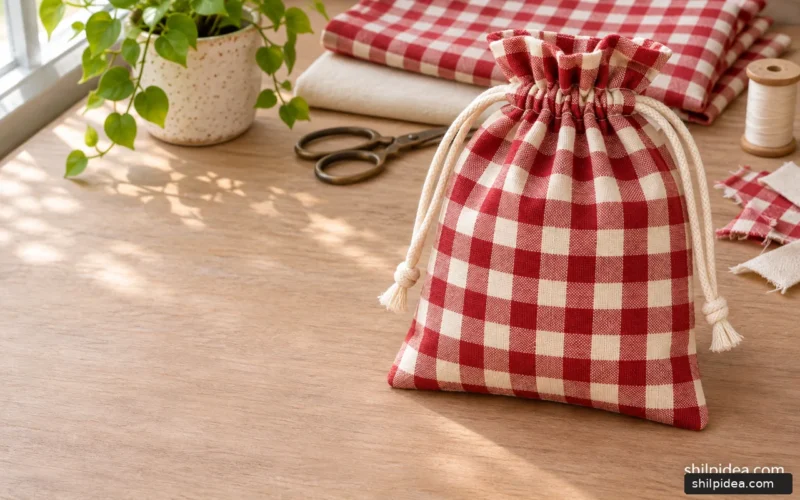
- Sew a Reusable Drawstring Gift Bag
- Make a Fabric Scrap Poinsettia Topper
What color ribbon have you saved for your next holiday gift? Share your color combination in the comments, and tell us whether you prefer a centered bow or an off-center finishing touch.
























0 Comments