How to Make a Paper Spinner
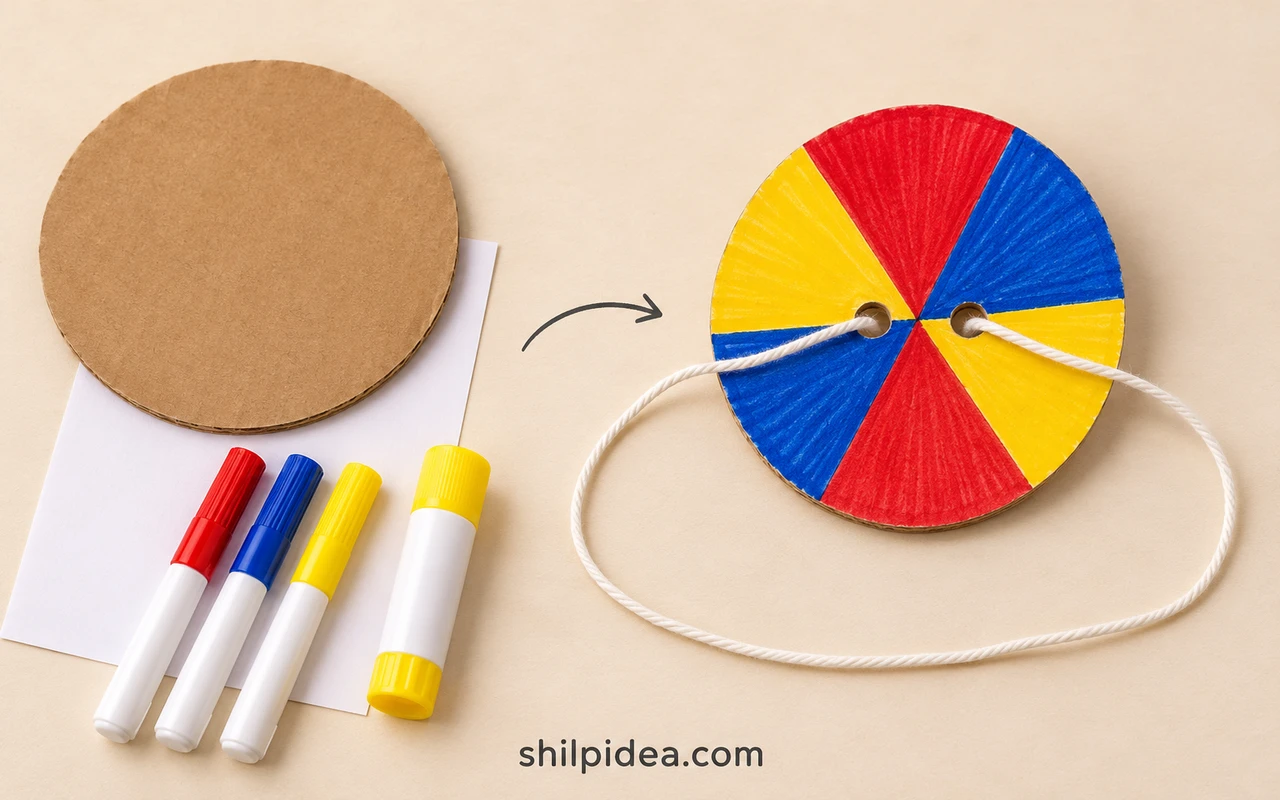
Turn a cereal box, two paper circles and a length of cotton string into a paper spinner that winds and unwinds between your hands. The trick is to put two holes close to the center so the disc can turn without lurching sideways.
Kids can choose the colors while an adult cuts the cardboard and pierces the holes. Save the rest of the box for these paper roll toys and other recycled crafts.
Try stripes or rings once the first disc spins smoothly. For another activity that starts with a flat shape, explore these paper cube activities.
Materials and Tools
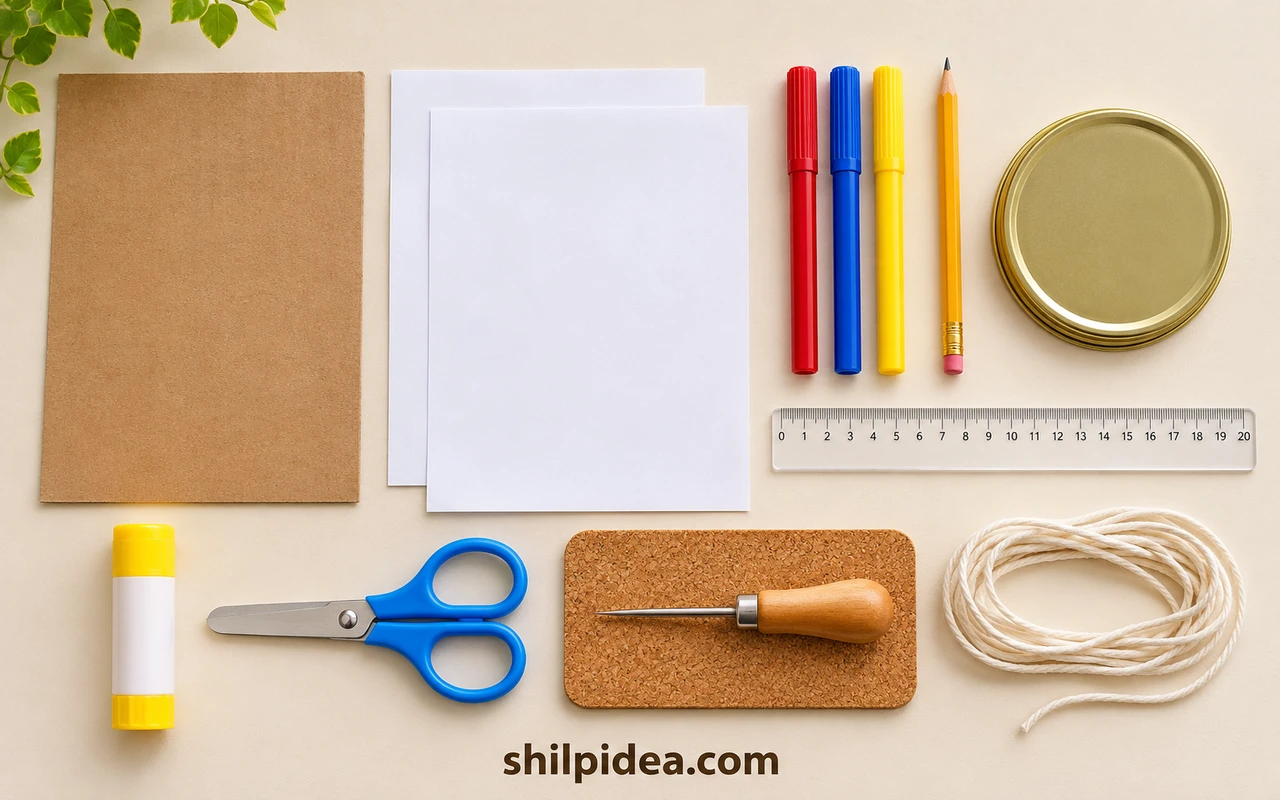
- Thin cardboard. One flat cereal-box panel for a circle about 4.00 inches (10.16 cm) across.
- White paper. Enough to cut two circles using the same template as the cardboard.
- Cotton string. One smooth piece about 28.00 inches (71.12 cm) long, measured before tying.
- Round lid, pencil and ruler. Use the lid to trace the circles and the ruler to mark the center holes.
- Red, blue and yellow markers. Use these for the example pattern or choose your own high-contrast colors.
- Glue stick and scissors. Use the glue stick to keep both paper faces flat. An adult cuts the cardboard if it is stiff.
- Awl and cork mat. An adult uses these to pierce the disc without holding it in the air.
Precautions Before You Begin
- Have an adult pierce the holes and help with stiff cardboard.
- Supervise play. Keep the loop away from necks, hair and faces, and hold it loosely in your hands.
- Retie a loose knot and replace frayed string or torn cardboard before using the spinner again.
1. Cut Three Matching Circles
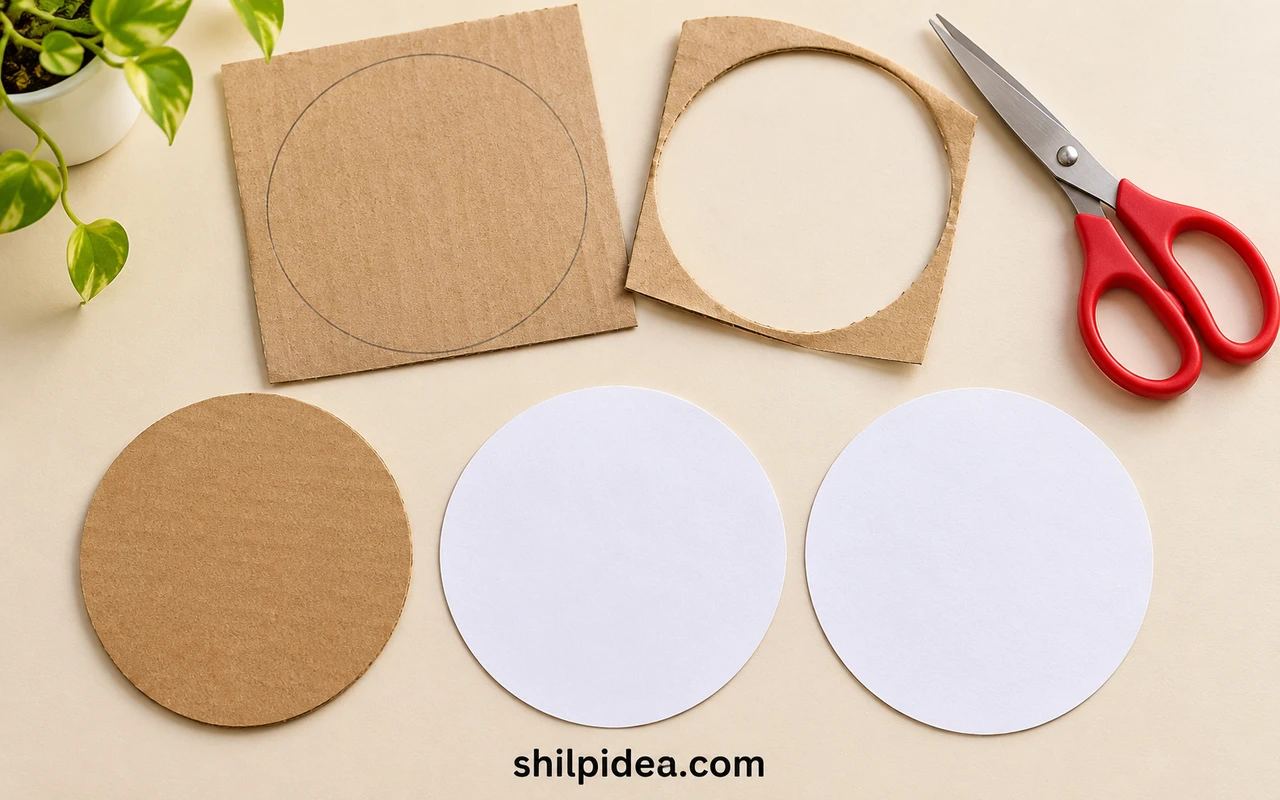
- Trace one cardboard circle and two paper circles. Use the same lid for all three so the edges line up.
- Cut and stack them for a fit check. Trim any overhanging paper or uneven cardboard. Mark the center of each paper circle lightly in pencil.
2. Color Both Paper Faces
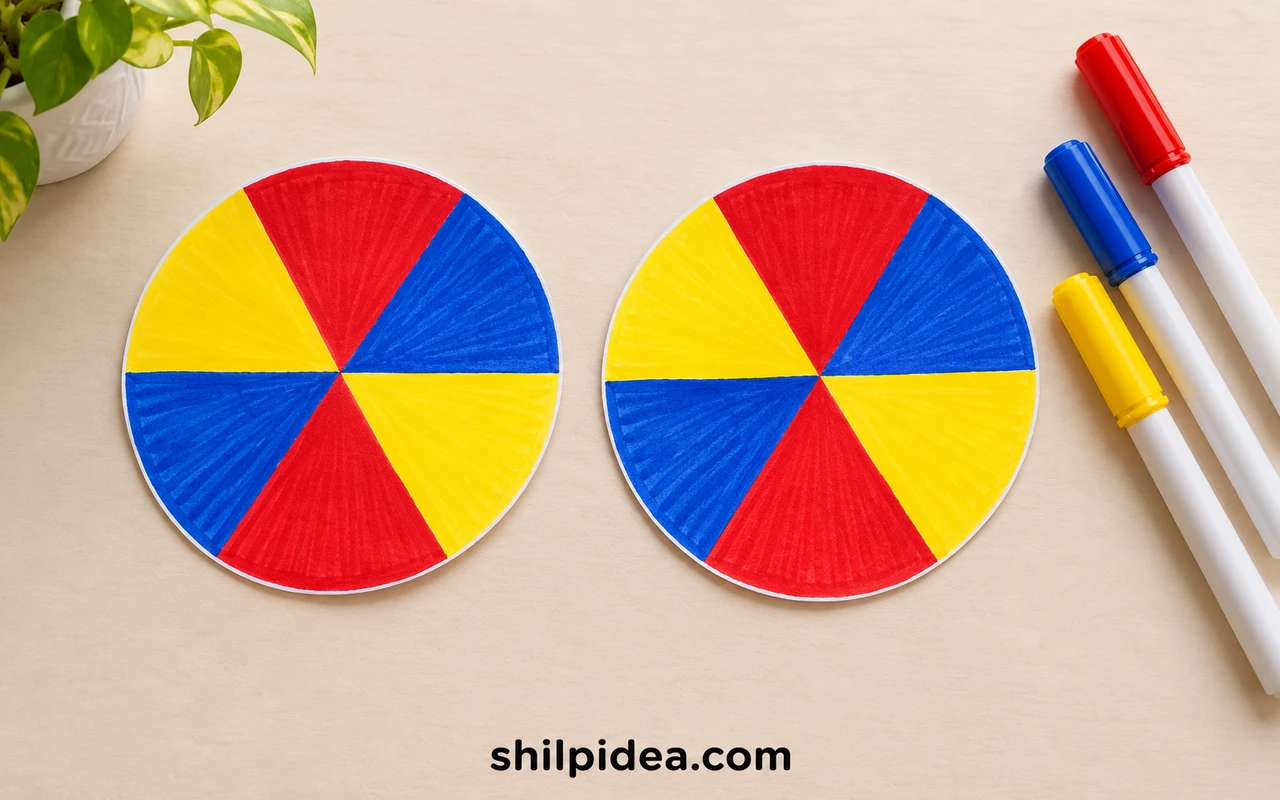
- Draw six wedges from the center. Color the wedges red, blue and yellow, then repeat the order to finish the circle. Make another face the same way or try rings on the reverse.
- Keep the faces flat. Use marker or pencil to add detail. Leave the center mark faintly visible on at least one face.
3. Glue the Faces onto the Disc
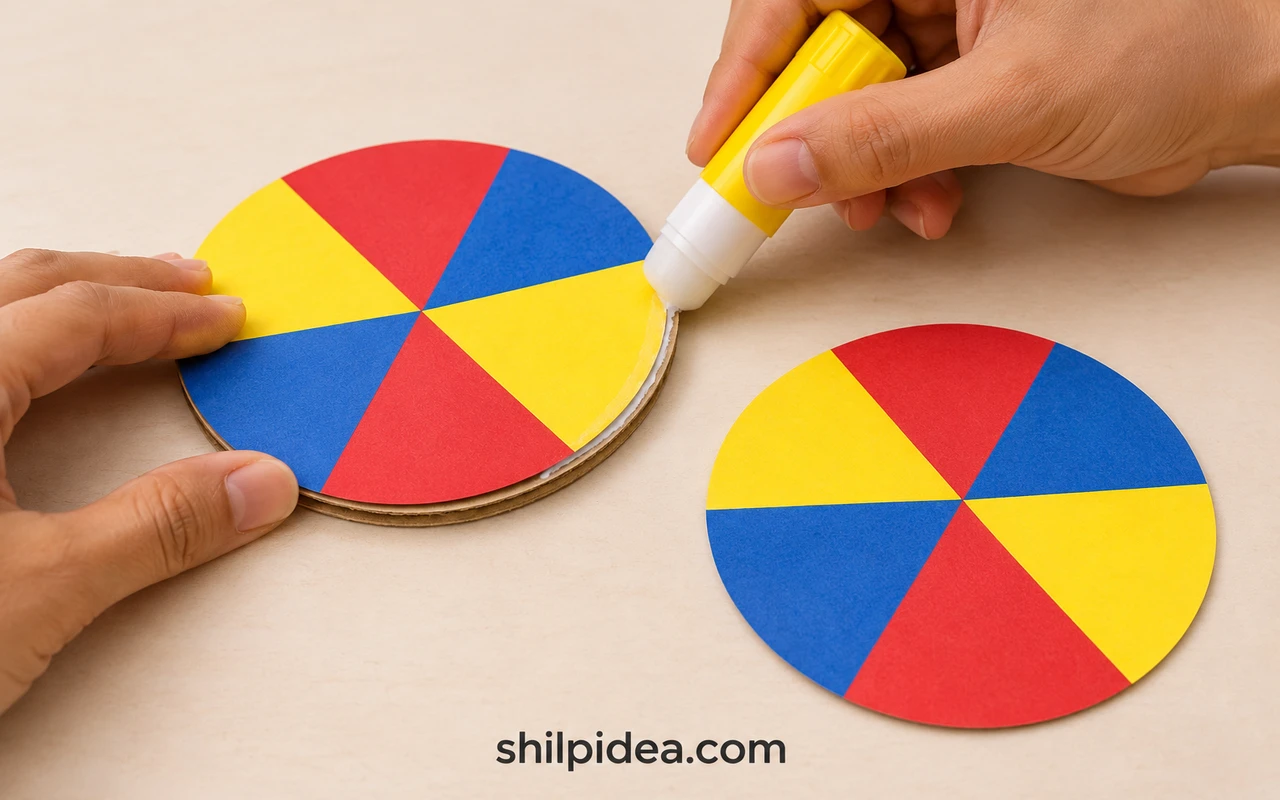
- Glue one face to each side. Turn the paper color-side down to apply glue, including around the edges. Set it color-side up on the cardboard and smooth it from the center outward. Repeat on the reverse.
- Let the glue set. Check that both faces are flat and the edges stay down before piercing the disc.
4. Pierce Two Holes and Tie the Loop
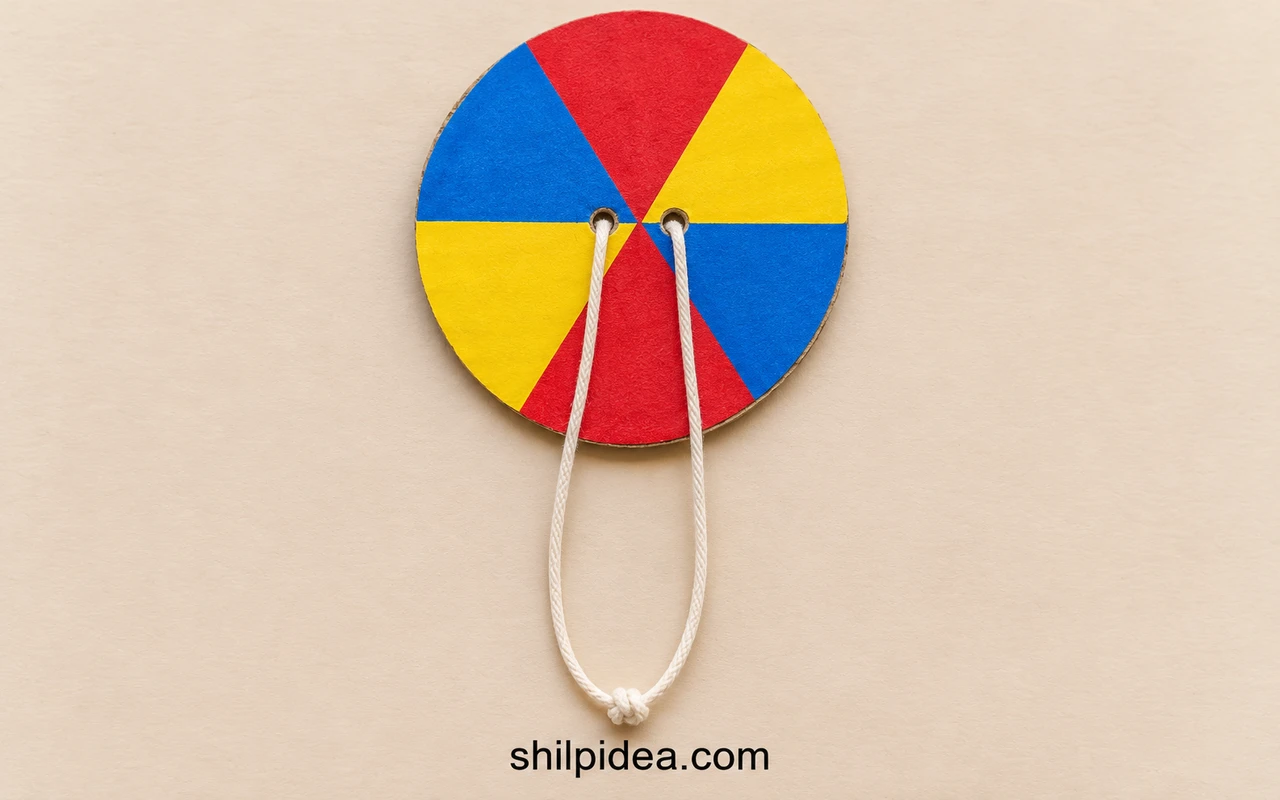
- Mark the hole centers. Draw a short line through the center. Mark one point 0.20 inches (0.51 cm) to the left and one the same distance to the right. The marks will be 0.40 inches (1.02 cm) apart.
- Pierce both marks. An adult places the disc flat on the cork mat and makes two small holes just wide enough for the string.
- Thread through and back. Feed one end of the string from front to back through the first hole, then from back to front through the second. Tie the free ends together in a firm knot. Keep the knot away from the disc and slide the disc toward the middle of the loop.
5. Wind, Pull and Release
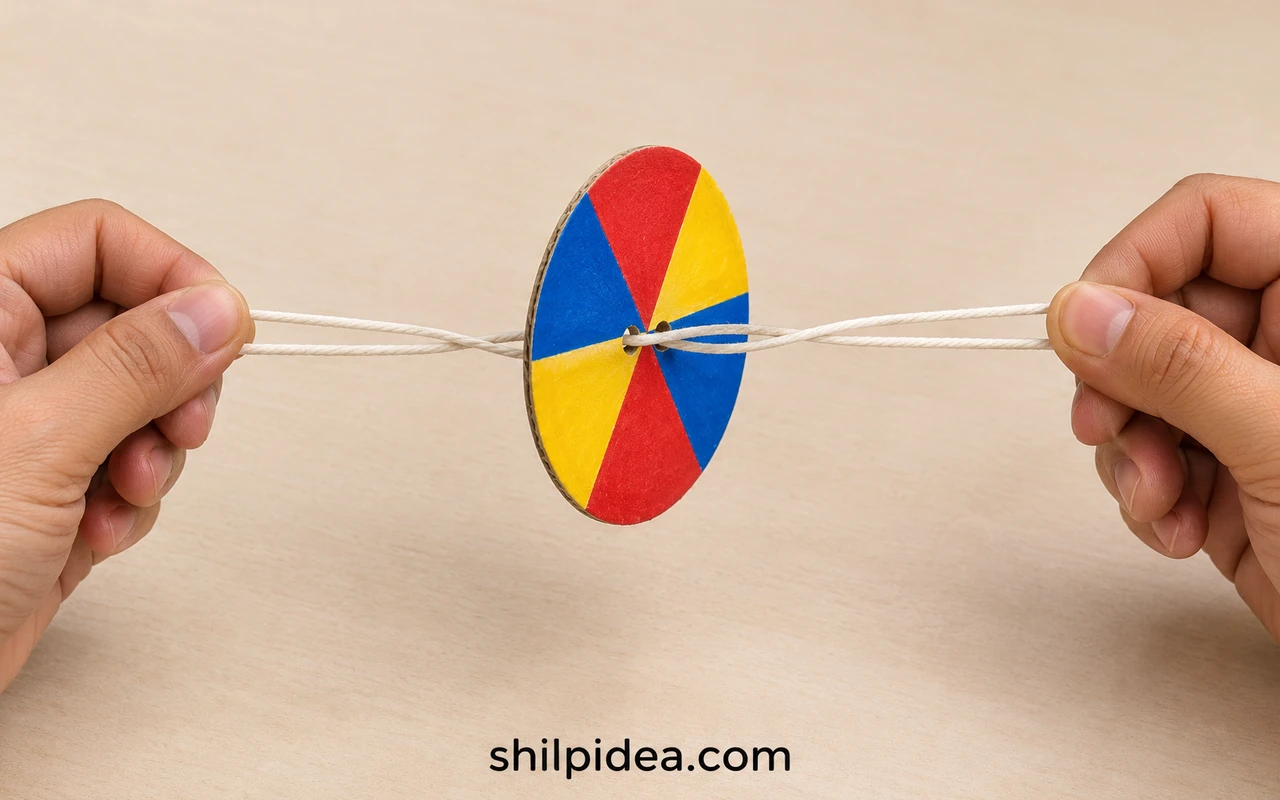
- Wind the string. Hold opposite ends of the loop, one in each hand, with the disc centered and the cord slightly slack. Rock the disc in small circles until the strands twist.
- Pull to spin. Move your hands gently apart so the twist unwinds. Ease your hands back toward each other as the disc slows so the strands can twist the other way.
- Find a steady rhythm. Repeat the outward pull and inward release. If the disc stops, let the cord slacken and wind it again.
Fix Wobble or a Spinner That Stops
If it wobbles from the first pull, check that the holes sit equally far from the center and that both paper faces lie flat. Also check whether one side of the loop is much longer than the other. If the holes are off center, make a fresh disc to avoid weakening the cardboard with extra holes.
If it spins once and stops, bring your hands in a little sooner after the pull. That slack lets the cord wind again. Once you have a rhythm, compare how wide wedges and thin stripes look on the same disc in motion.
Watch the Paper Spinner Tutorial
IDEA OF THE DAY demonstrates a paper spinner. Use the video to see the winding and pulling motion. Follow the measurements above for the illustrated version.

Learn from Tutorial: Paper Spinner Video Demonstration
Follow the Maker’s Method: DIY Cardboard Paper Spinner
More Paper Crafts to Try
Once the spinner turns smoothly, let kids change one part of the pattern at a time and compare what they see while it spins. They can use the leftover paper for folding, or save the cereal box for a longer building activity. These projects carry the same materials into different shapes and give small hands a new job to try.
- Paper Roll Toys for Kids
- Paper Cup Toys and Crafts
- Paper Cube Learning Activities
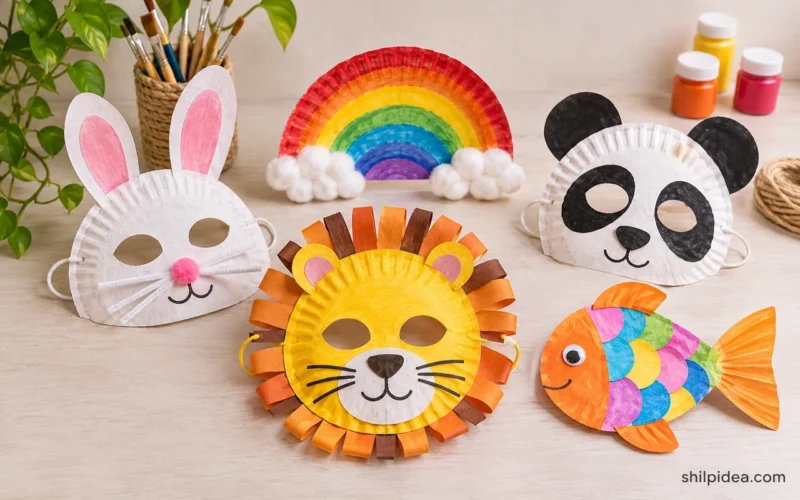
- Paper Plate Animal Craft Ideas
- Paper Bunny Crafts for Kids
- Paper Tree Crafts to Display
What pattern will you put on your spinner? Share your idea in the comments, and tell us what it looked like once the disc got moving.





















0 Comments