18 Quilling Tree Card Ideas for Handmade Greetings
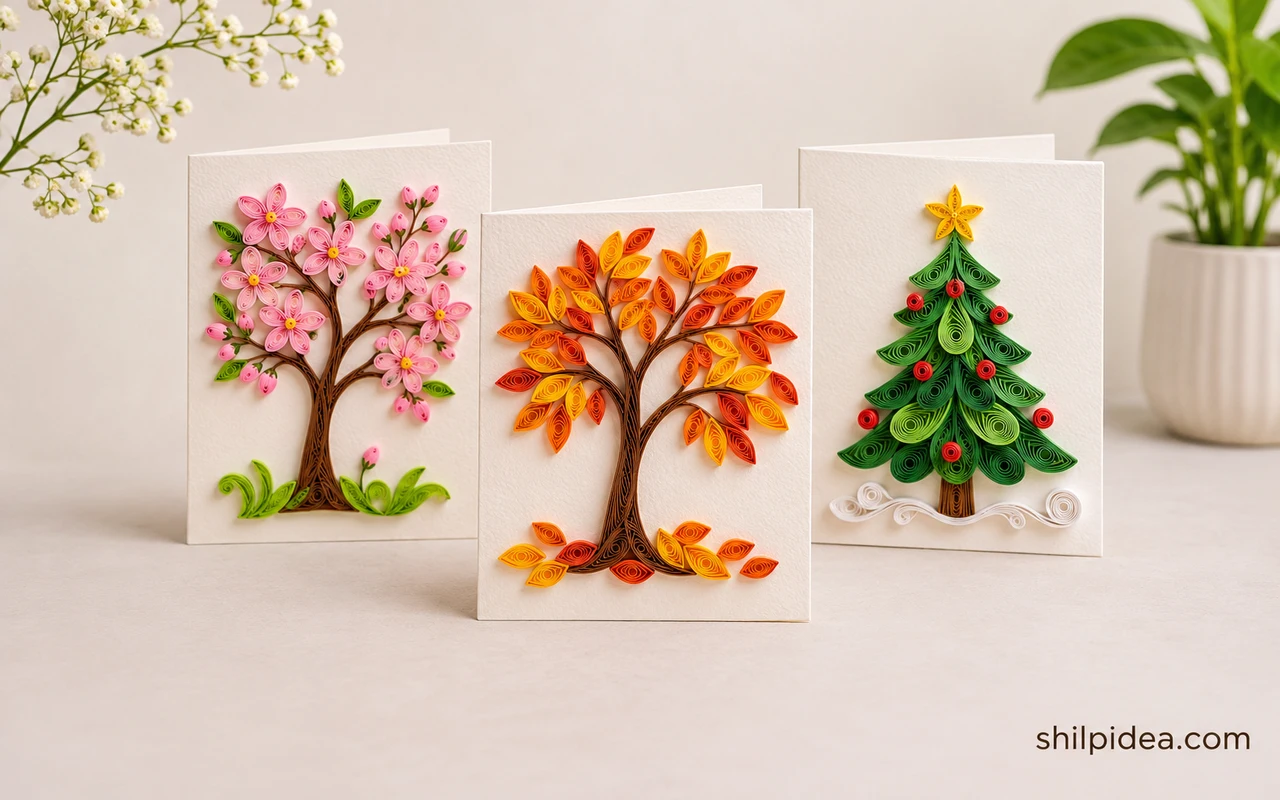
A quilled tree starts with a trunk and a handful of coils. The way you fill the space around the branches determines whether it looks airy, windswept, or full of leaves.
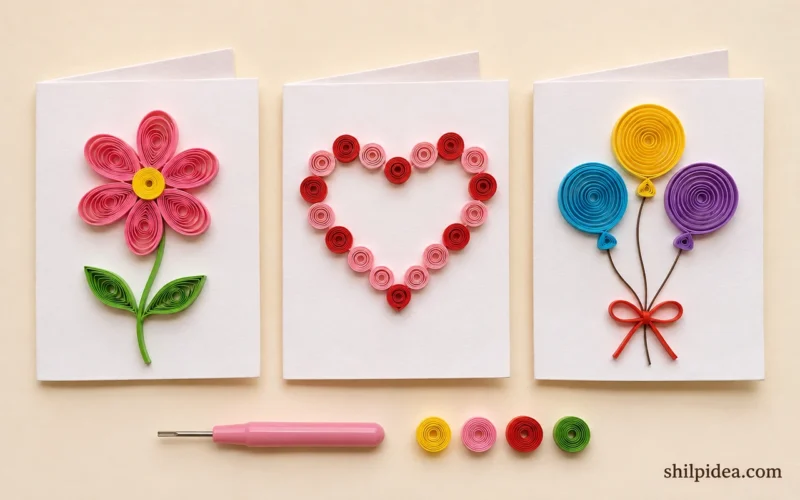
Use sturdy card stock for larger coils. These handmade quilled cards give you a few ways to place raised paper shapes around the lettering.
Try a small trunk first, then pick a tree style below that suits the occasion and the time you have to make it. For a seasonal greeting, use these personalized holiday cards to plan the message and palette together.
1. Tall Autumn Tree With Pointed Leaves

Pinch orange and yellow coils to points before setting them around a slim trunk. Let the upper branches spread farther than the roots. Lay the pieces on the card before gluing so you can adjust the space around the edges. If you plan to mail the card, set aside an envelope with enough depth to protect the coils.
2. Open Canopy With Falling Leaves

Keep the crown narrow and let several individual leaves sit low on the card. Its open edges give the loose leaves room to suggest movement. Make a few coils from scrap strips first to see how much space they take up. If the crown looks crowded, remove a coil near the edge and leave the trunk clearly visible.
3. Pink Buds on Bare Branches

Form the branches from narrow brown strips and attach small pink coils at the tips. Use a few fallen buds to finish the base. Lay the pieces on the card before gluing so you can adjust the space around the edges. If you plan to mail the card, set aside an envelope with enough depth to protect the coils. Switch the greeting and use the same buds on paper birthday cards.
4. Compact Fall Tree on Kraft Card

Choose dark orange and green paper for the crown, then add scraps of yellow to brighten it. Place the loose leaves to one side of the trunk. Make a few coils from scrap strips first to see how much space they take up. If the crown looks crowded, remove a coil near the edge and leave the trunk clearly visible.
5. Autumn Tree on a Folded Display Card

Set the trunk upright and keep the loops close to the card surface. Leave room near the fold so the tree faces forward when the card is on display. Lay the pieces on the card before gluing so you can adjust the space around the edges. If you plan to mail the card, set aside an envelope with enough depth to protect the coils.
6. Scattered Leaf Canopy

Use a small coil for each leaf and leave plenty of space for the branches to show. Add a few stray colors above and beside the crown. Make a few coils from scrap strips first to see how much space they take up. If the crown looks crowded, remove a coil near the edge and leave the trunk clearly visible.
7. Black Scroll Tree With Red Hearts

Use clean black scrolls for the branches and hang small red hearts from the ends. Keep the branches light so the hearts provide the main color. Lay the pieces on the card before gluing so you can adjust the space around the edges. If you plan to mail the card, set aside an envelope with enough depth to protect the coils.
8. Upright Tree With Speckled Leaves

Turn the longest branches outward before adding dozens of bright leaf shapes. Keep several upper areas open so the canopy looks airy. Make a few coils from scrap strips first to see how much space they take up. If the crown looks crowded, remove a coil near the edge and leave the trunk clearly visible.
9. Metallic Curled-Branch Tree

Build the tree upward with narrow curled branches and keep the dark tips far enough apart to remain distinct. A quiet background lets the metallic accents stand out. Lay the pieces on the card before gluing so you can adjust the space around the edges. If you plan to mail the card, set aside an envelope with enough depth to protect the coils.
10. Round Autumn Coils in a Tight Canopy
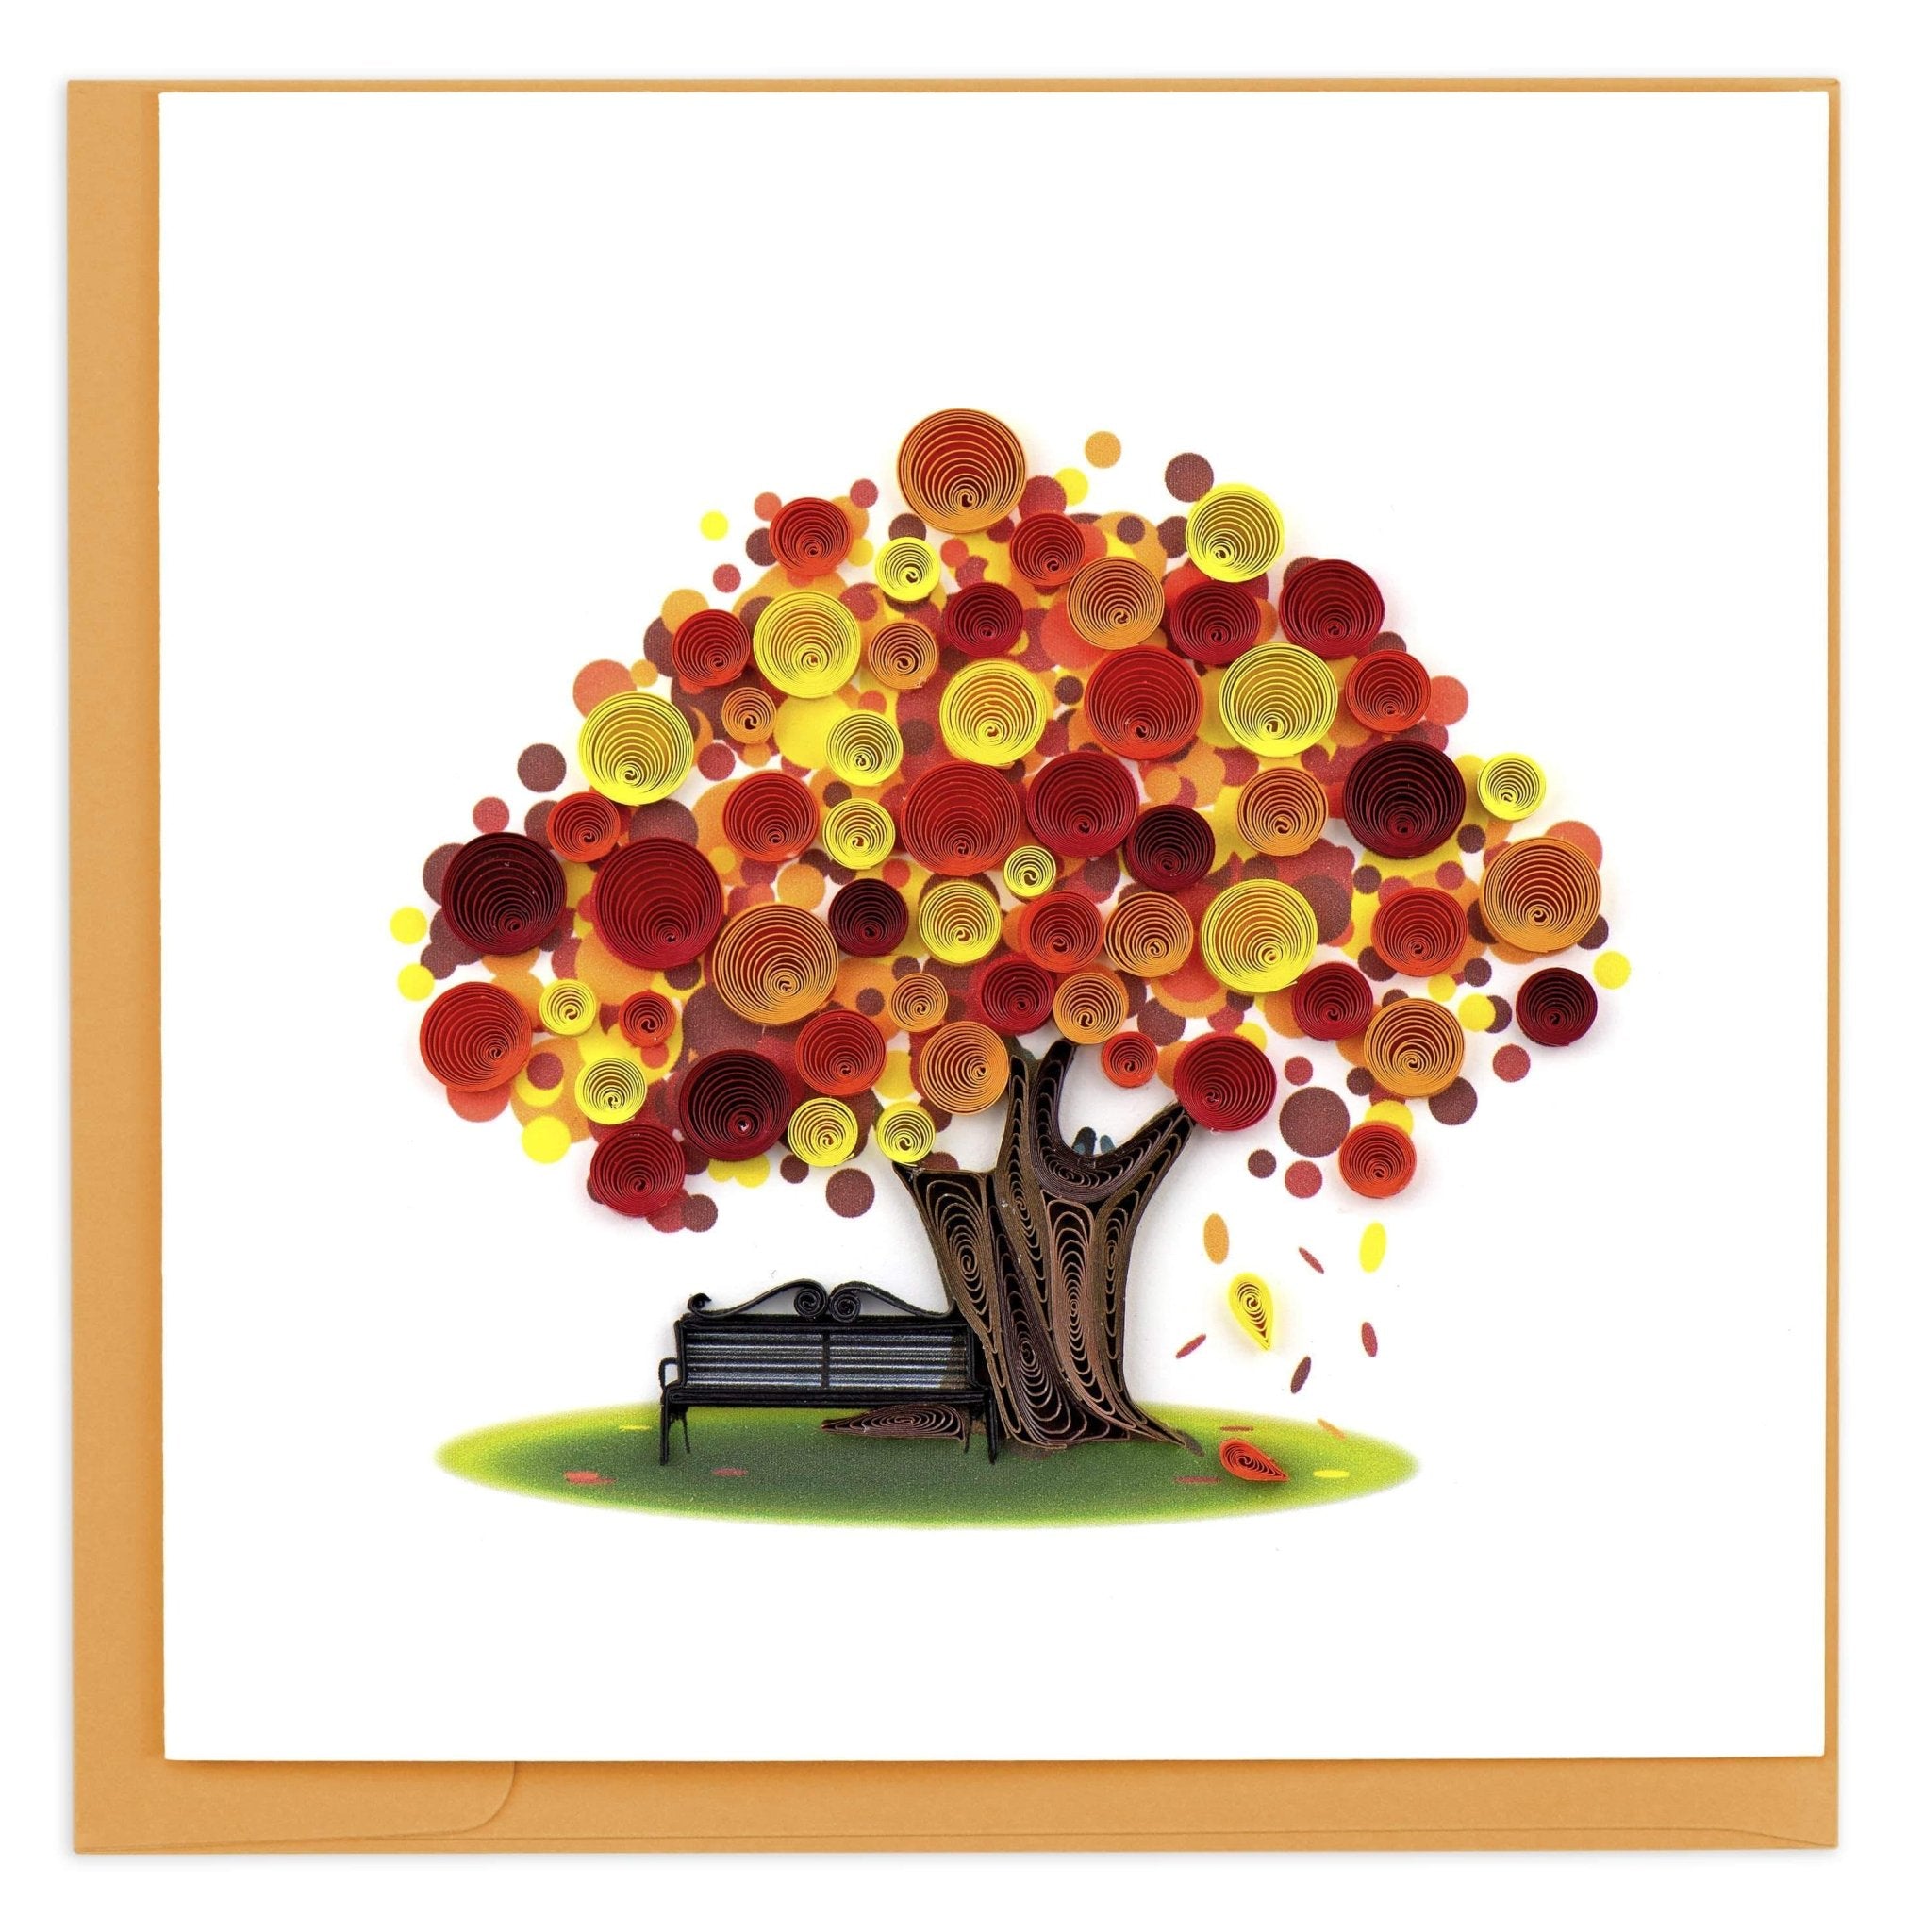
Plan a round canopy and build it with small warm coils. Let the darkest colors sit by the branches and keep yellow near the rim. Make a few coils from scrap strips first to see how much space they take up. If the crown looks crowded, remove a coil near the edge and leave the trunk clearly visible. Compare other quilled card designs if you want the tree to share space with a second motif.
11. Flowering Tree on a Thinking-of-You Card
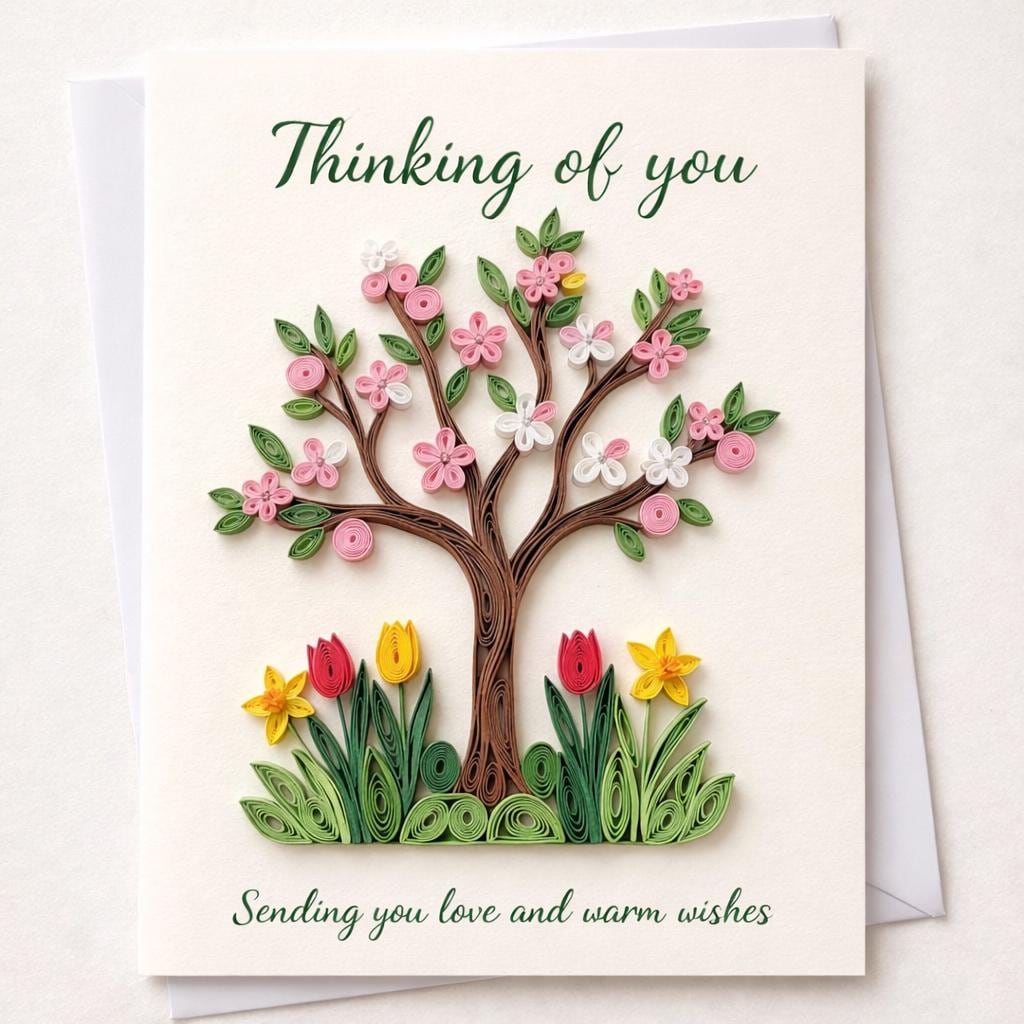
Leave space for the greeting above the pink flowers. Keep a few leaves at the base to connect the tree with the lower text. Lay the pieces on the card before gluing so you can adjust the space around the edges. If you plan to mail the card, set aside an envelope with enough depth to protect the coils.
12. Windblown Autumn Tree With a Wide Margin
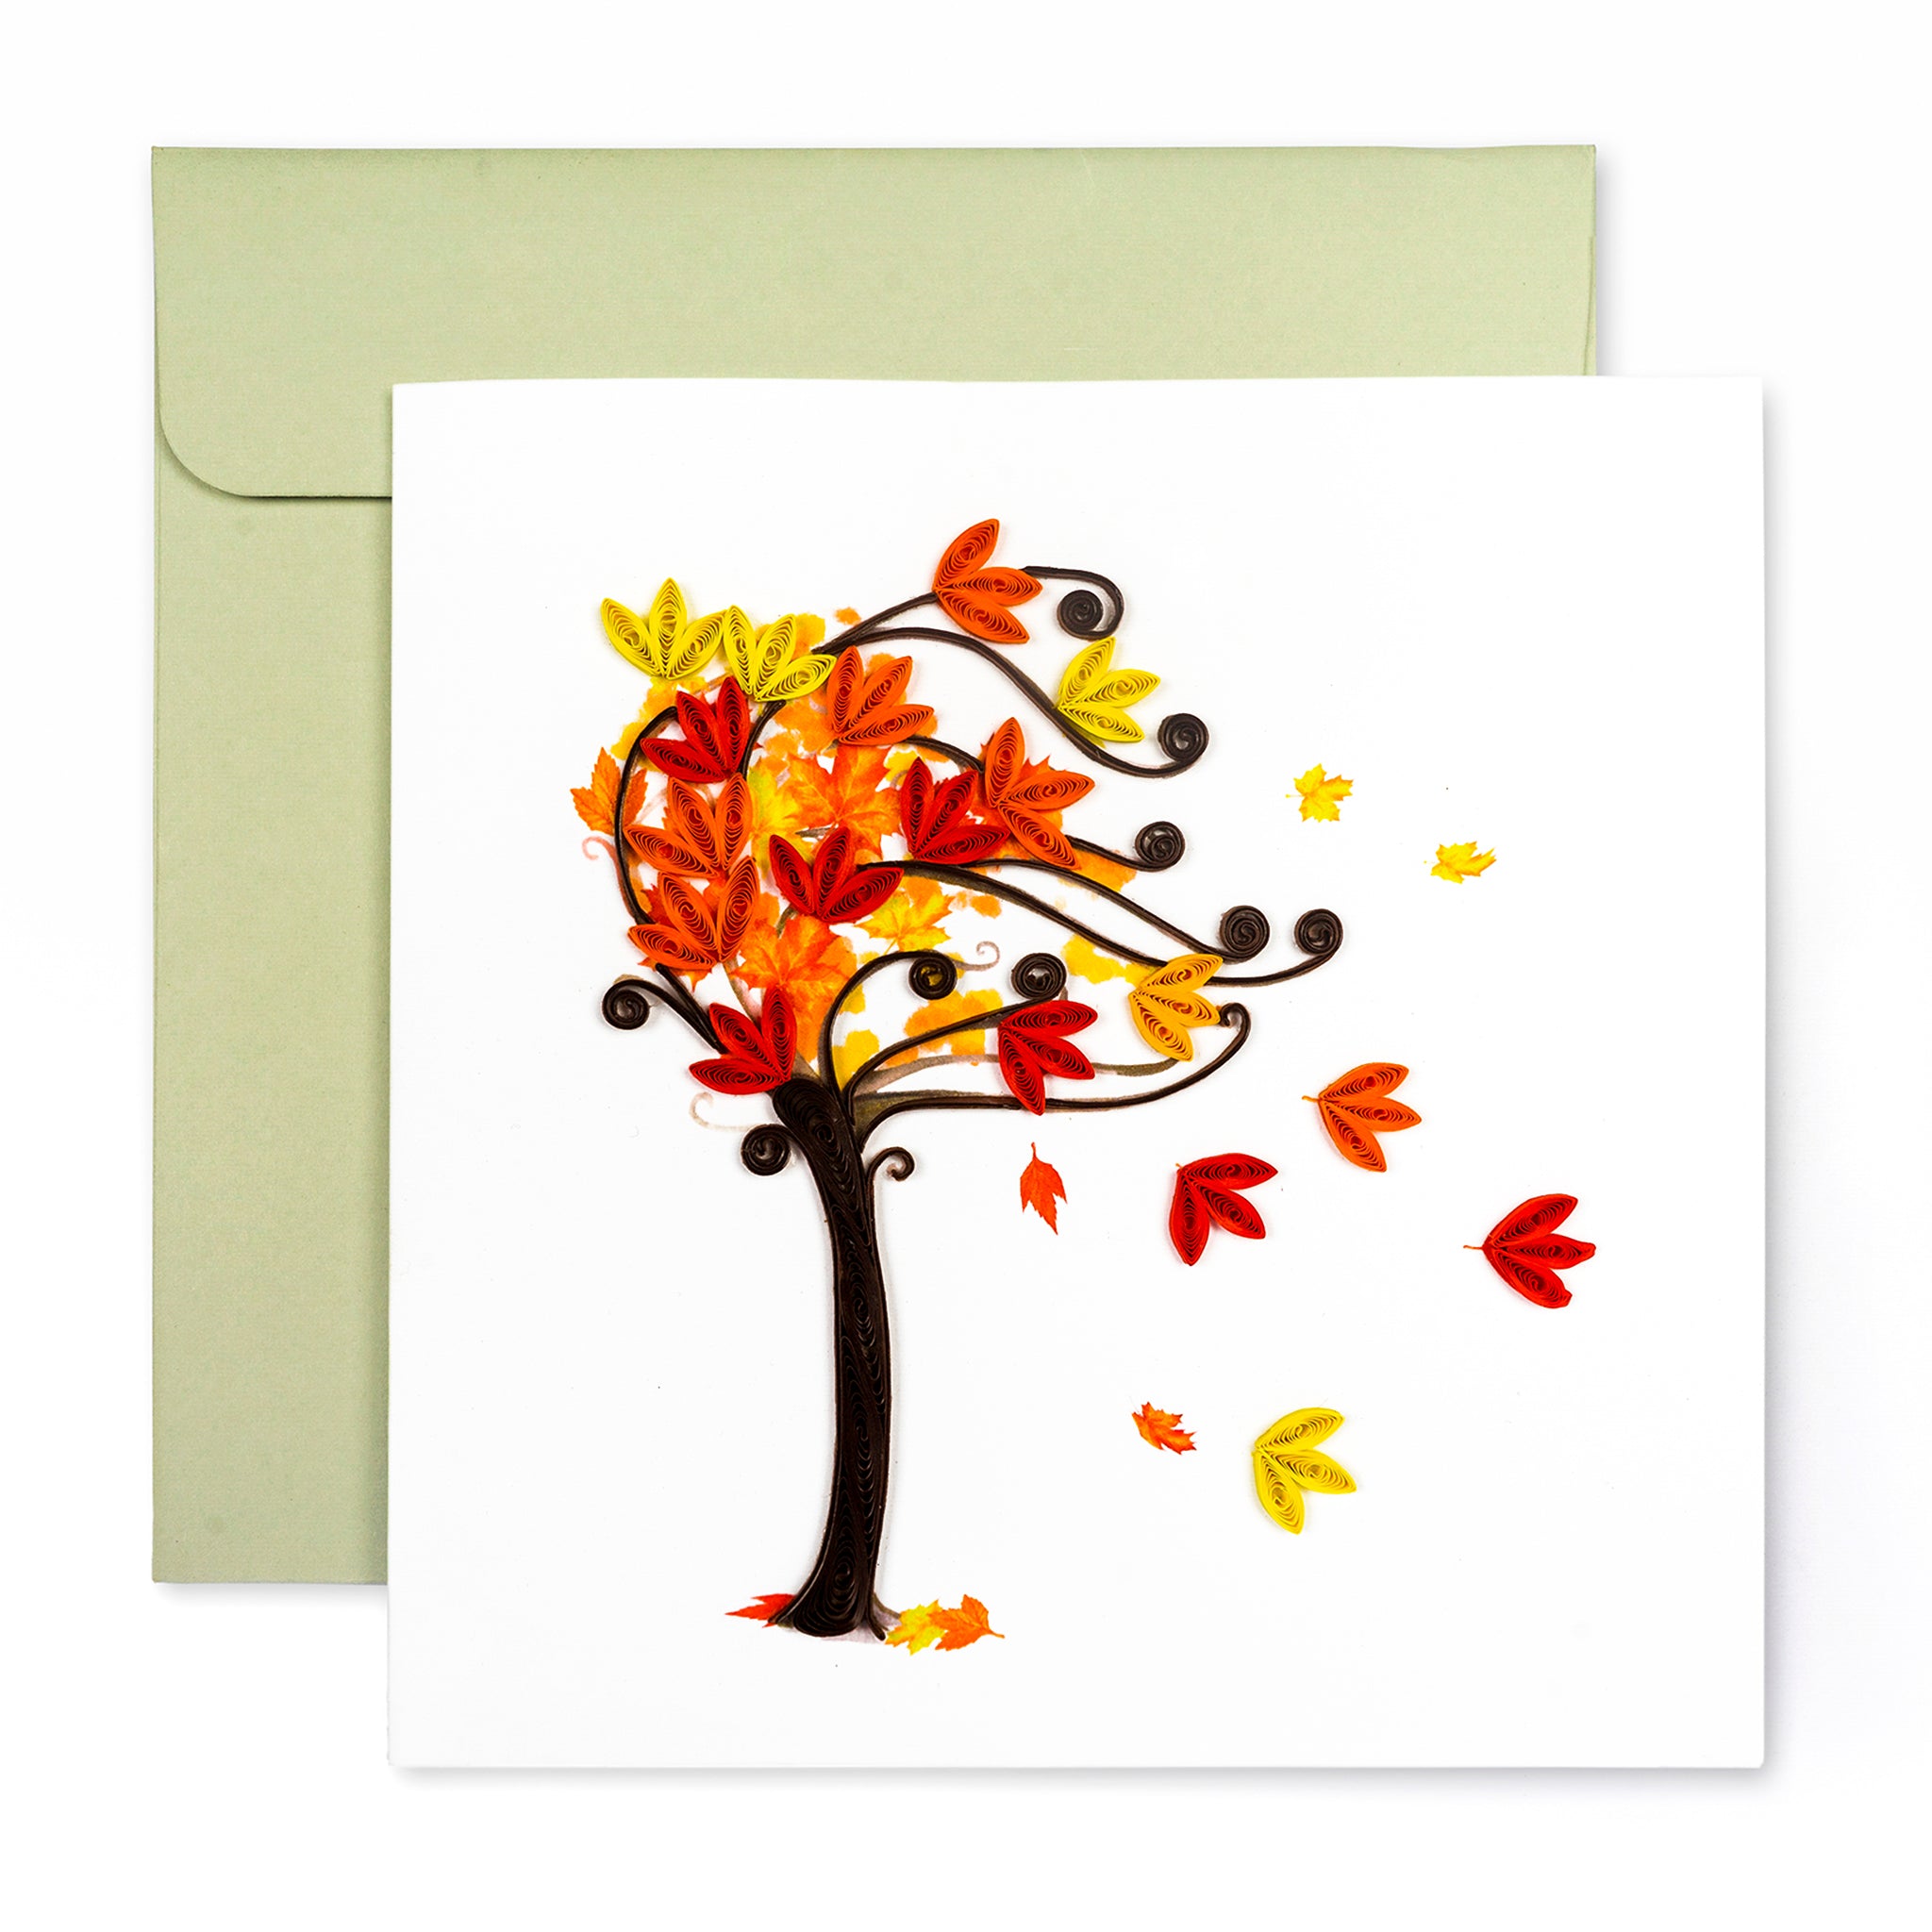
Set the trunk off center and send loose leaf pieces toward the open side. Keep the other margin clear so the movement reads quickly. Make a few coils from scrap strips first to see how much space they take up. If the crown looks crowded, remove a coil near the edge and leave the trunk clearly visible.
13. Tree of Green Curls With Curved Roots
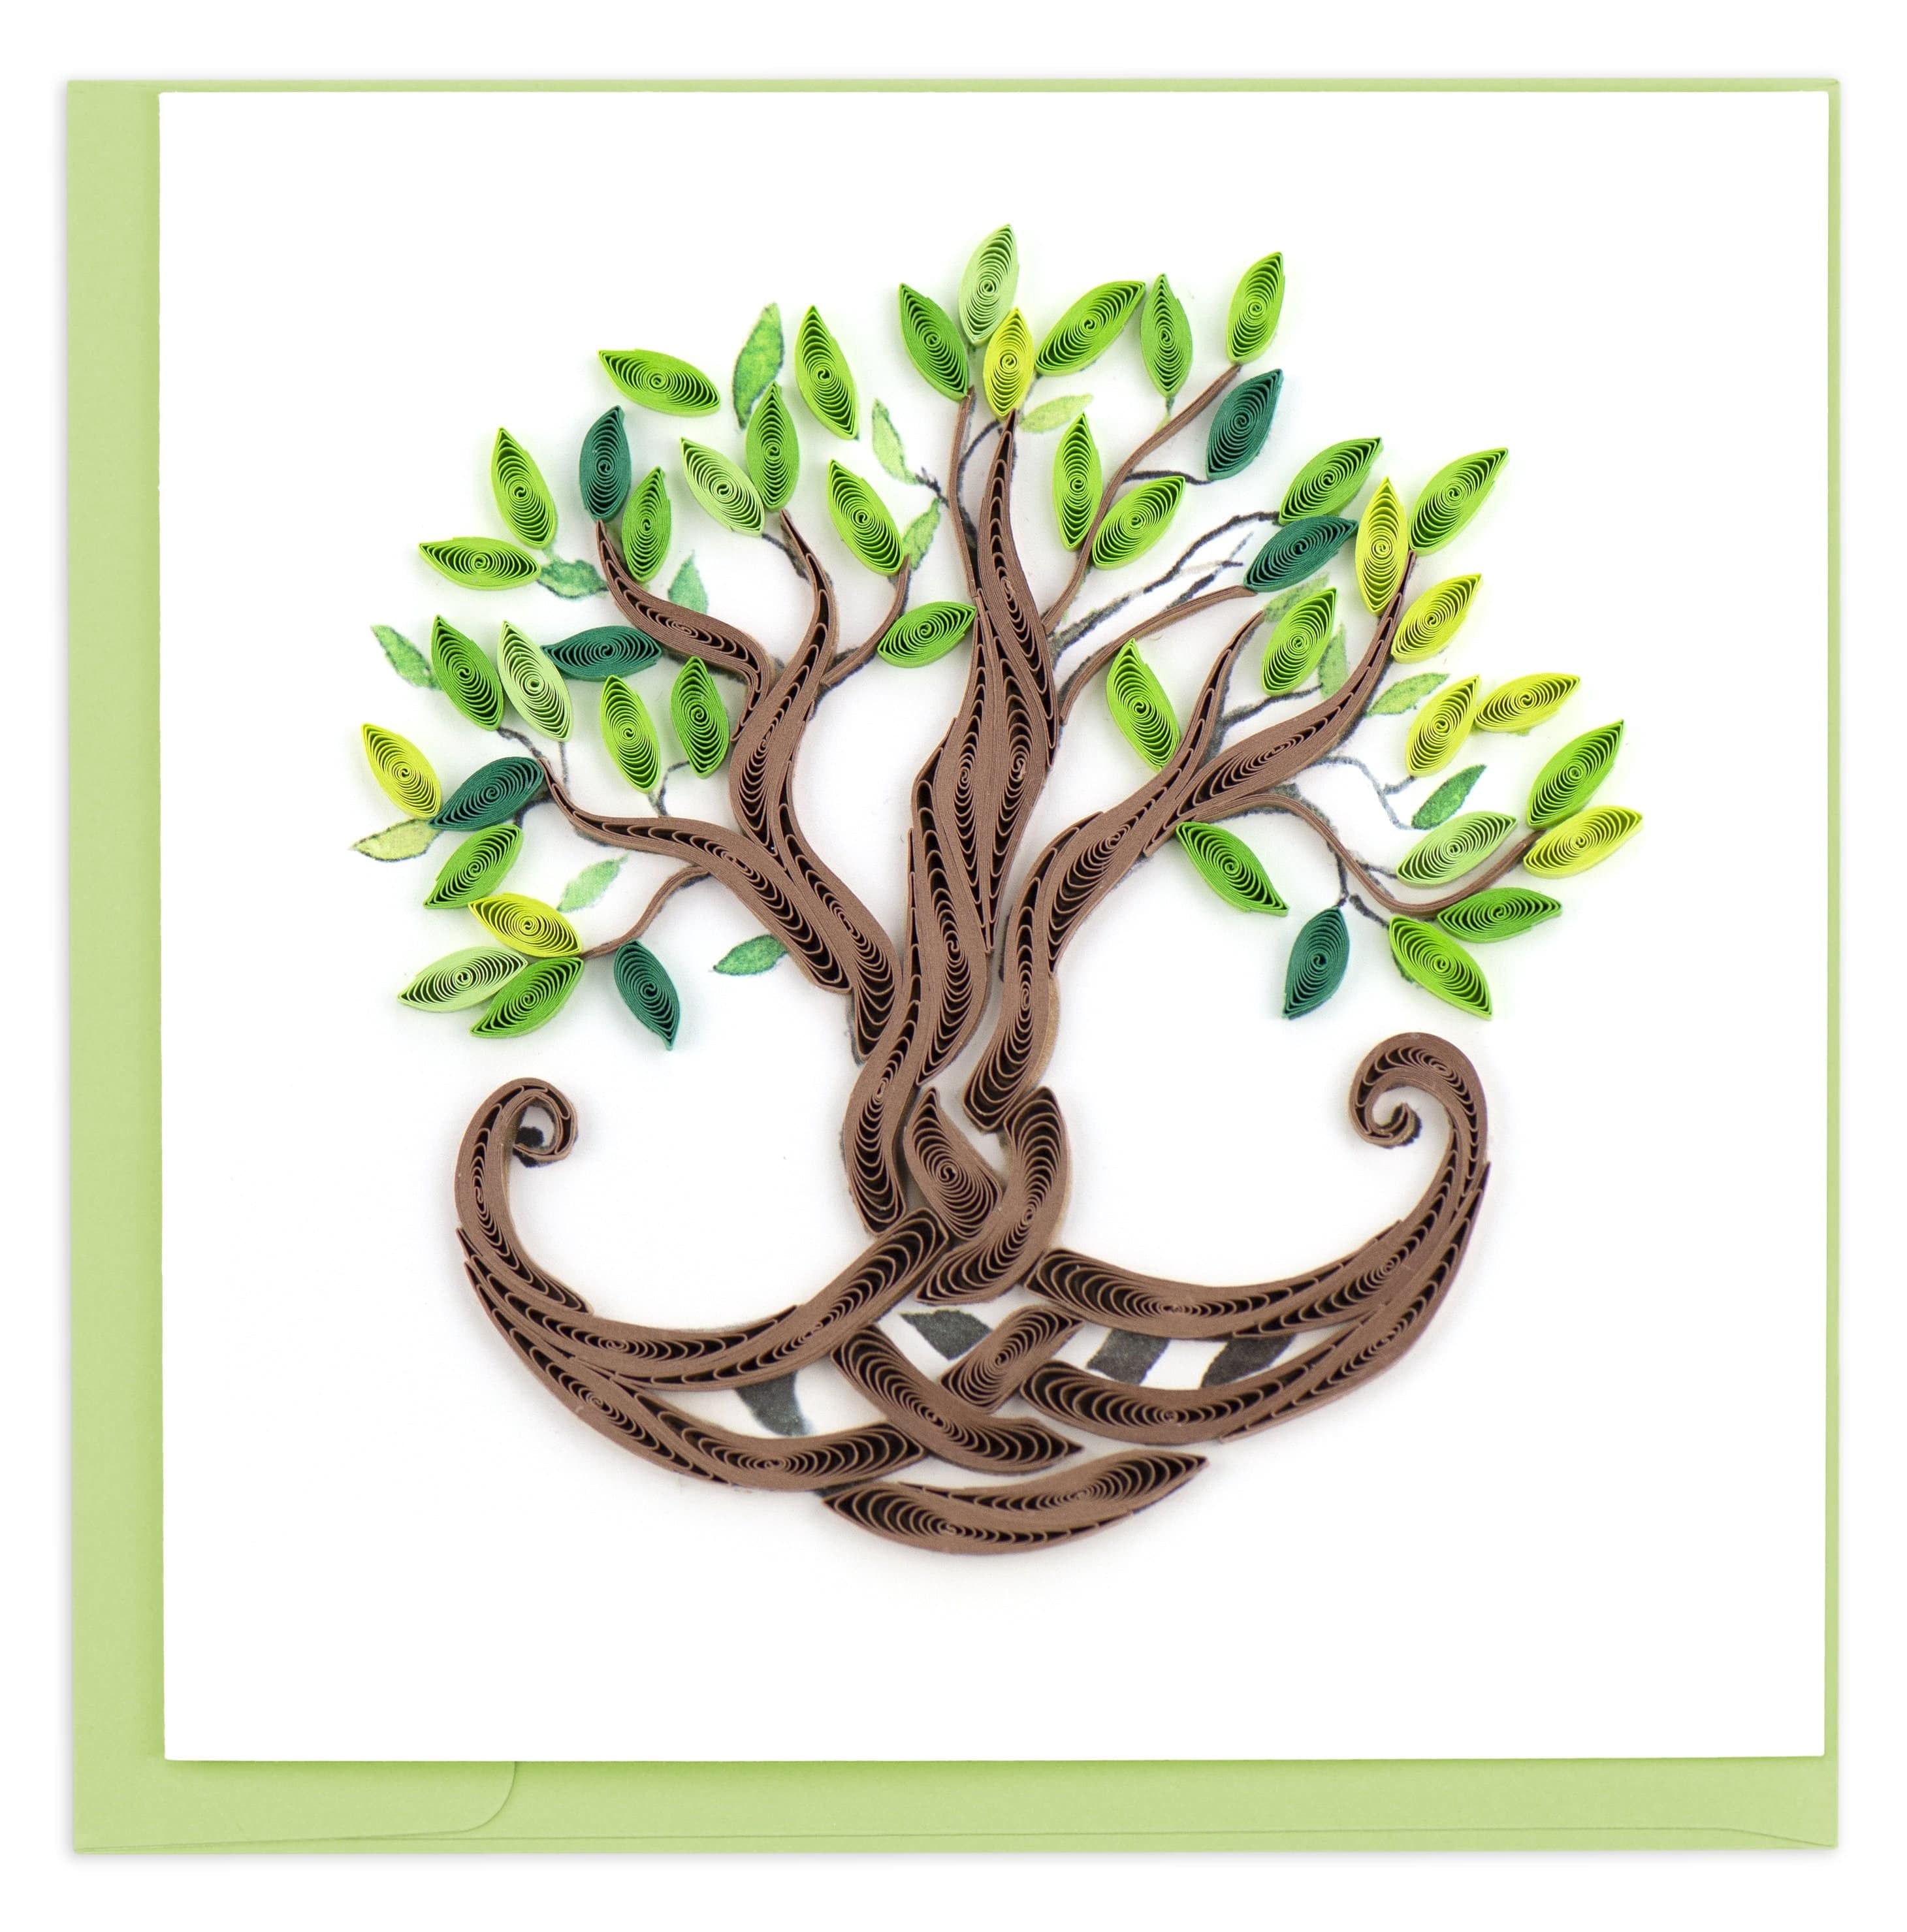
Run green coils along thin branches and curve the exposed roots beneath them. Make the trunk broad enough to connect both parts visually. Lay the pieces on the card before gluing so you can adjust the space around the edges. If you plan to mail the card, set aside an envelope with enough depth to protect the coils.
14. White Blossoms on a Green Canopy

Fill a round crown with green loops before adding a few pale blossoms. Keep some dark spaces between flowers to make each cluster readable. Make a few coils from scrap strips first to see how much space they take up. If the crown looks crowded, remove a coil near the edge and leave the trunk clearly visible.
15. Copper Leaf Tree on a Light Card

Use deep oranges and soft golds across the branches. Place a few leaves close to the trunk so the tree keeps a solid center. Lay the pieces on the card before gluing so you can adjust the space around the edges. If you plan to mail the card, set aside an envelope with enough depth to protect the coils.
16. Rainbow Canopy in Color Blocks
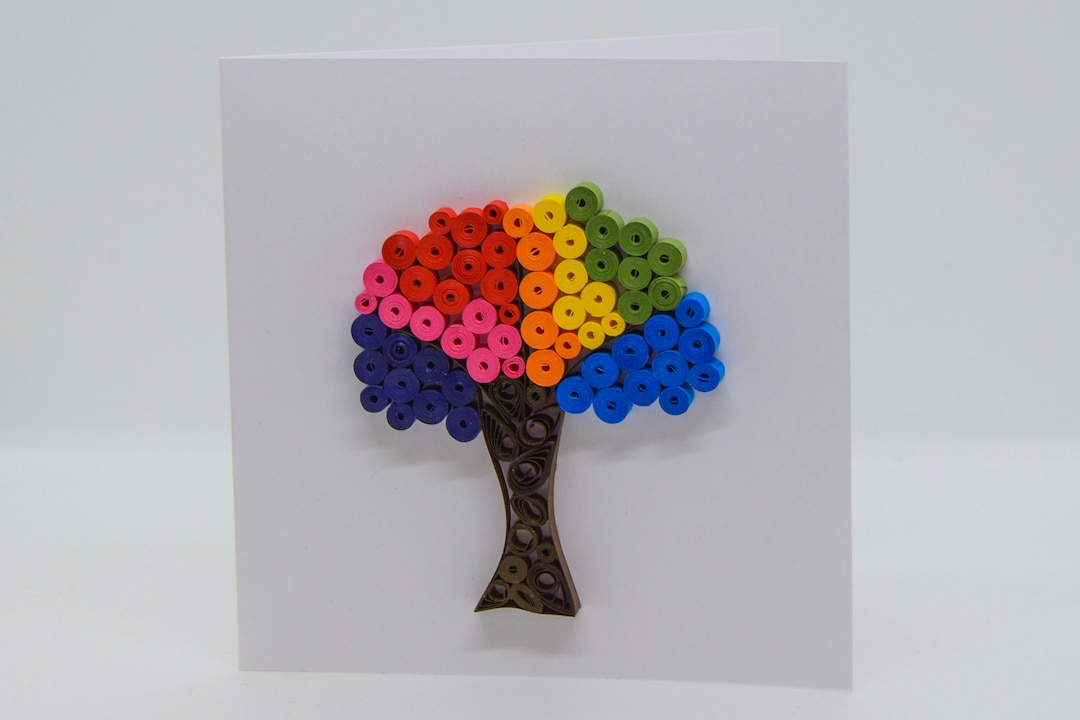
Work with one cluster of colored coils at a time. Leave narrow gaps between shades if adjacent coils make the transition hard to see. Make a few coils from scrap strips first to see how much space they take up. If the crown looks crowded, remove a coil near the edge and leave the trunk clearly visible.
17. Quilled Green Tree With Red Berries

Roll small green coils and use the red ones as spaced accents. Let the narrow lower section rest above the ribbon so the two shapes stay distinct. Lay the pieces on the card before gluing so you can adjust the space around the edges. If you plan to mail the card, set aside an envelope with enough depth to protect the coils. Use the green canopy as a starting point for handmade Christmas cards.
18. Pink Blossom Tree With a Split Trunk
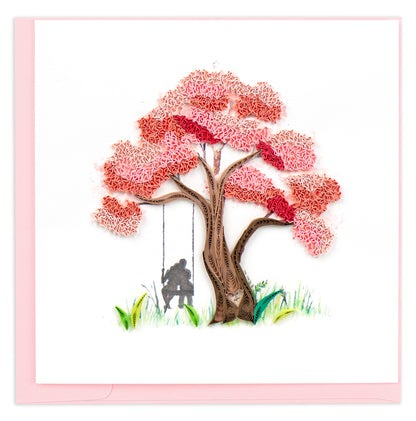
Bring two branches up from the same base and fill their ends with pink loops. Let the sides spread unevenly for a more natural shape. Make a few coils from scrap strips first to see how much space they take up. If the crown looks crowded, remove a coil near the edge and leave the trunk clearly visible.
Leave Room for the Greeting and Envelope
Set the tree and any loose shapes on the card while the pieces are dry. Check the space around the greeting and look at the card from the side before adding a tall coil. A deeper envelope or a small box helps protect raised details. The projects below give you more ways to use the paper strips you have left.
- Make Your Own Christmas Cards
- Try Paper Birthday Card Ideas
- Make Personalized Holiday Cards
- Explore Handmade Quilled Cards
- Try More Quilled Card Designs
Which tree would you put on your next card? Tell us in the comments what greeting you would pair with it and whether you would choose colorful leaves, blossoms, or simple green coils.


























0 Comments