18 Quilling Snowflake Ideas for Winter Decorations
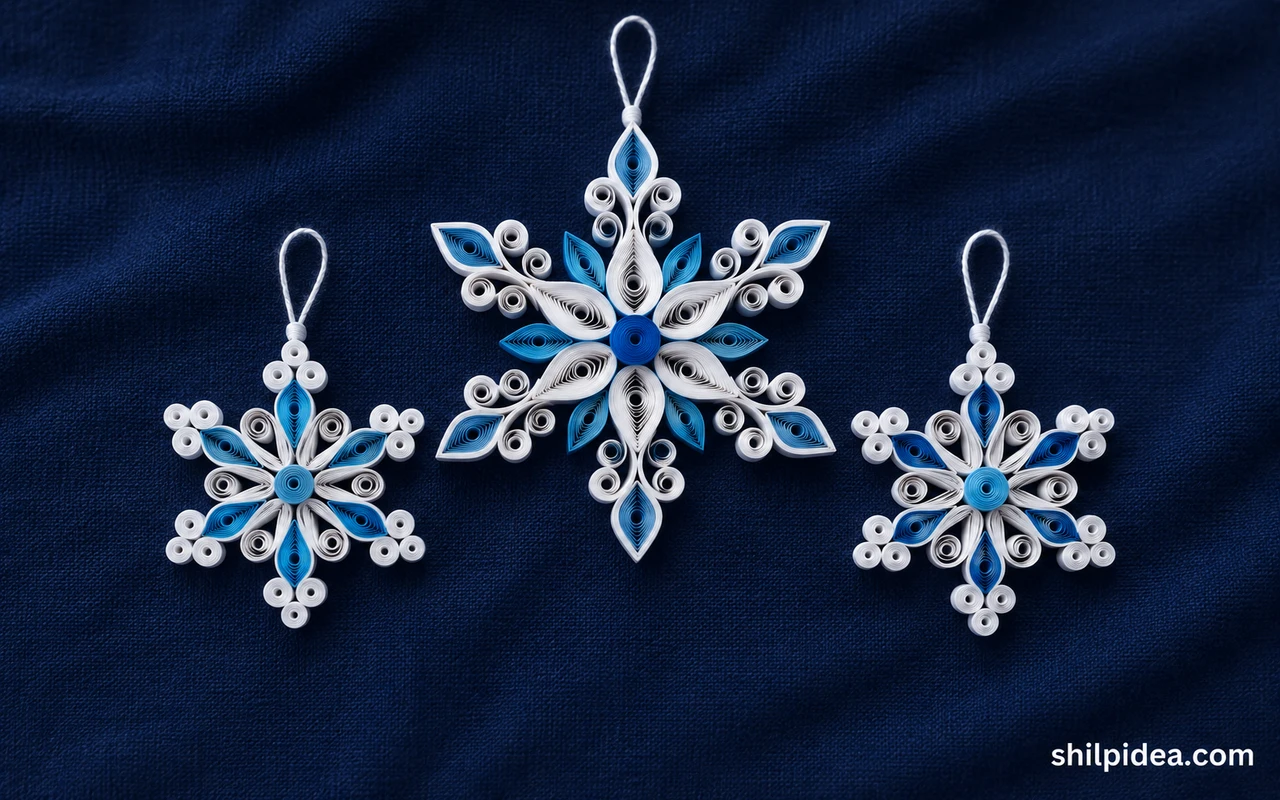
A quilled snowflake gets its shape from a small center and evenly spaced arms. Make one arm first and use it to judge how many strips you will need.
Let the arms dry flat before you hang the ornament. Practice the same curl twice using these basic paper quilling exercises before assembling a full arm.
Use the designs below to compare simple loops, sharp points, and fuller snowflakes with several layers of paper. Try these quilled greeting cards if you want a smaller snowflake to suit a flat backing.
1. Purple Snowflake With Rounded Tips

Place a small rounded detail at the end of each arm. Leave the space between the purple branches open so the overall shape remains delicate. Arrange the pieces on a drawn guide and check opposite sides before attaching them. Make the hanging loop thin enough to blend in, then let the finished snowflake dry flat.
2. Long Blue Marquise Snowflake

Make matching pointed coils and turn their tips outward. Let the dark blue run along the sides so the pale center stays easy to see. Try the first arm over a light or dark backing so you can see the outline. Match the outer points while all the pieces still move on the layout.
3. Turquoise Snowflake With a Full Center

Pack the inner loops close together, then leave more room as the arms spread. Repeat the same small shapes to keep the snowflake balanced. Arrange the pieces on a drawn guide and check opposite sides before attaching them. Make the hanging loop thin enough to blend in, then let the finished snowflake dry flat. Try quilled leaf shapes to get both pointed ends even before fitting them in place.
4. Pale Green Round Snowflake

Keep the green accents near the edge and use white paper around the center. Make small rounded ends so the outline feels soft. Try the first arm over a light or dark backing so you can see the outline. Match the outer points while all the pieces still move on the layout.
5. White Center With Blue Outer Branches

Arrange the light inner pieces first and let a few dark branches extend beyond them. Put paired blue curls on opposite sides. Arrange the pieces on a drawn guide and check opposite sides before attaching them. Make the hanging loop thin enough to blend in, then let the finished snowflake dry flat.
6. Deep Blue Snowflake With Radiating Loops

Give each arm a narrow start and a full end. Use a quiet center so the darker outer points carry the shape. Try the first arm over a light or dark backing so you can see the outline. Match the outer points while all the pieces still move on the layout.
7. Snowflake With Two Shades of Blue

Alternate light and dark details along the branches. Save the darkest coils for the narrow edges where they make the tips easier to see. Arrange the pieces on a drawn guide and check opposite sides before attaching them. Make the hanging loop thin enough to blend in, then let the finished snowflake dry flat.
8. Airy Six-Arm Blue Snowflake

Build a thin frame around the larger loops and keep the center light. Spread the outer curls so none cross the next arm. Try the first arm over a light or dark backing so you can see the outline. Match the outer points while all the pieces still move on the layout.
9. Layered Snowflake With Long Blue Points

Put a shorter pale piece inside each long pointed arm. Let those smaller pieces end before the blue tip so the layers read separately. Arrange the pieces on a drawn guide and check opposite sides before attaching them. Make the hanging loop thin enough to blend in, then let the finished snowflake dry flat. Save miniature coils from the ornament for paper quilling earrings.
10. Small Snowflake With Turquoise Curls

Fill the inner area with small scrolls and repeat a few points around their edges. Keep the tips narrow to contrast with the fuller center. Try the first arm over a light or dark backing so you can see the outline. Match the outer points while all the pieces still move on the layout.
11. Open Snowflake With Narrow Paper Branches
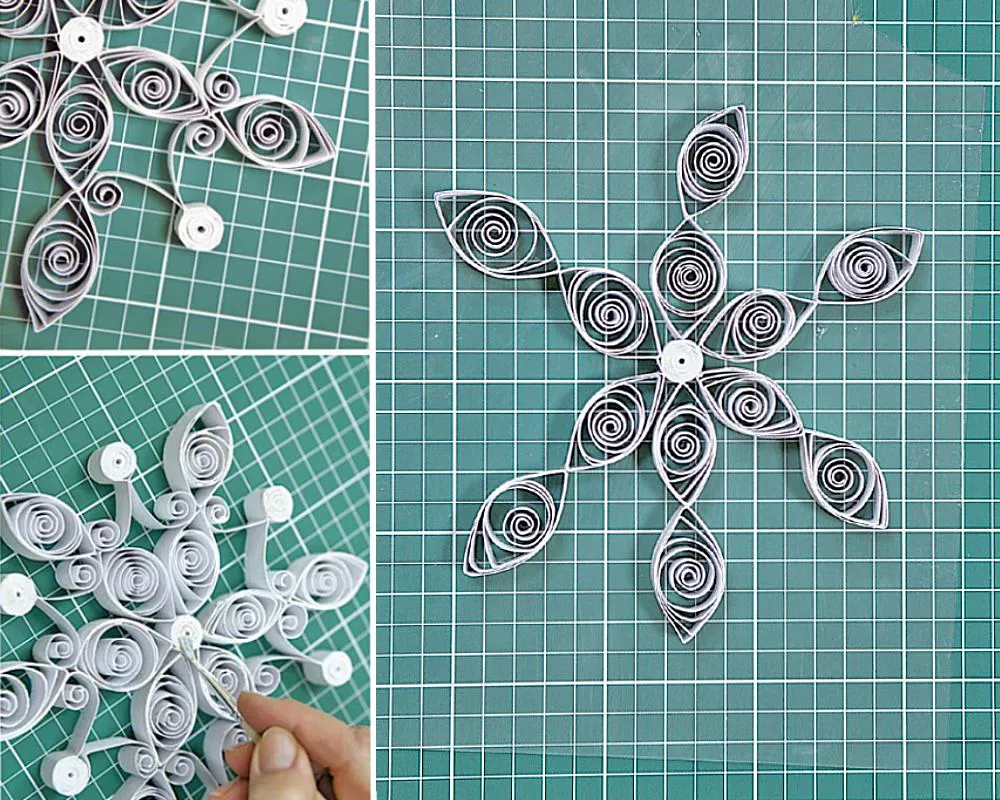
Use slim outlines for the branches and reinforce them at the center. Keep the ends far enough apart to see the negative space. Arrange the pieces on a drawn guide and check opposite sides before attaching them. Make the hanging loop thin enough to blend in, then let the finished snowflake dry flat.
12. Cluster of White Quilled Snowflakes

Keep each flake a different width if you plan to display them as a group. Repeat the same white paper so the silhouettes carry the variation. Try the first arm over a light or dark backing so you can see the outline. Match the outer points while all the pieces still move on the layout.
13. Pale Blue Snowflake on a Dark Ground
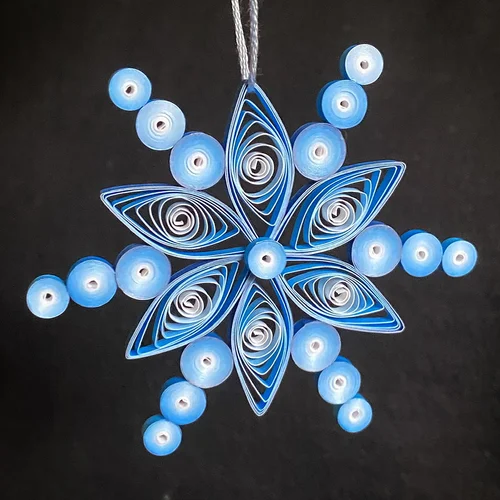
Use a dark backing to check where the pale coils overlap. Add a few smaller loops toward the end of each branch. Arrange the pieces on a drawn guide and check opposite sides before attaching them. Make the hanging loop thin enough to blend in, then let the finished snowflake dry flat.
14. Densely Quilled Gray Snowflake

Fill the center with compact coils and make shorter dark branches underneath the longer ones. Keep the tips open to show the lines of paper. Try the first arm over a light or dark backing so you can see the outline. Match the outer points while all the pieces still move on the layout.
15. White Outlined Snowflake on Blue Fabric
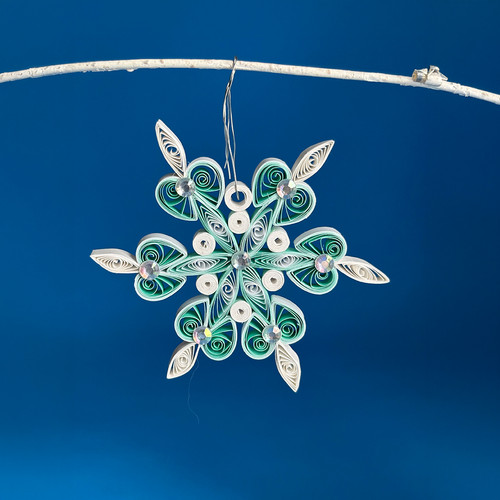
A strong background makes the fine white loops visible. Keep a small clear gap between each arm and check the overall outline before adding more paper. Arrange the pieces on a drawn guide and check opposite sides before attaching them. Make the hanging loop thin enough to blend in, then let the finished snowflake dry flat.
16. Two Small Hanging Snowflakes

Make one ornament a little larger and space the hanging loops so the pieces stay separate. Check that both hang level with no support under them. Try the first arm over a light or dark backing so you can see the outline. Match the outer points while all the pieces still move on the layout.
17. White Star Snowflake With Detailed Points
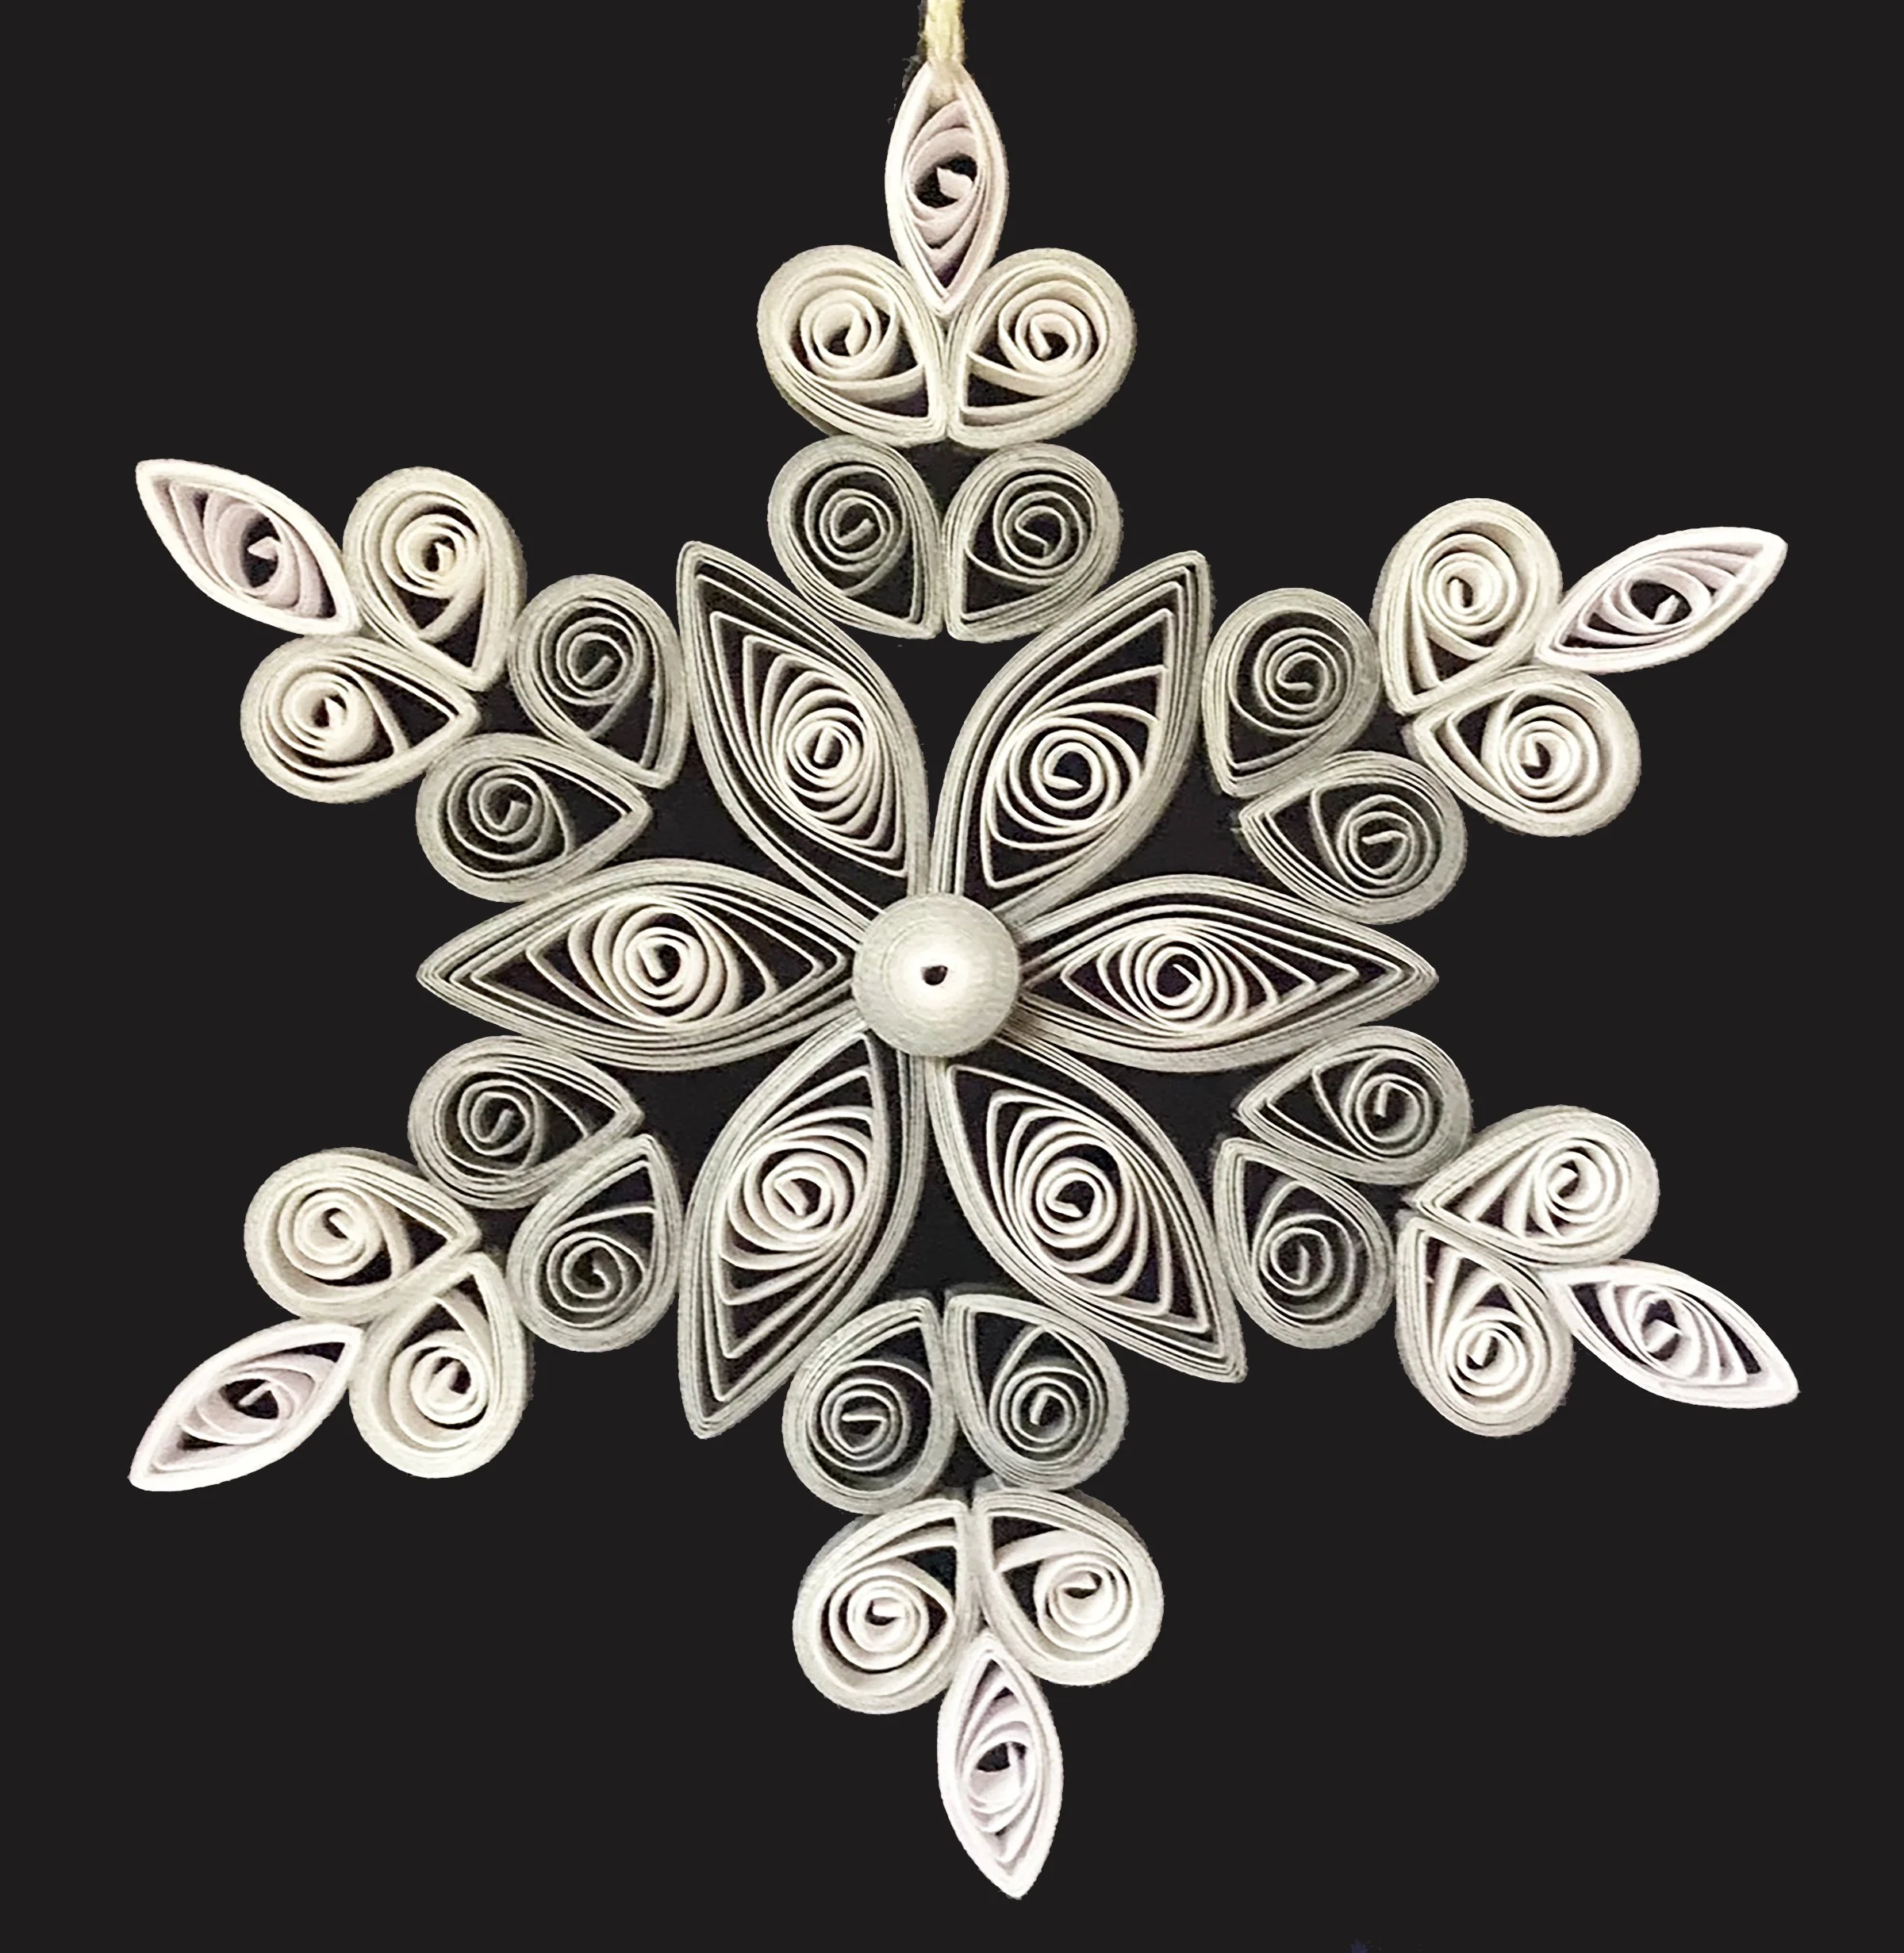
Keep the outer points long and add tiny scrolls around their bases. Repeat the same sequence around the center before fixing the last arm. Arrange the pieces on a drawn guide and check opposite sides before attaching them. Make the hanging loop thin enough to blend in, then let the finished snowflake dry flat. For a larger display, compare backing options in these quilled wall art ideas.
18. Blue and White Snowflake Sampler

Try a few different center shapes and repeat one arm across all of them. Comparing the group makes it easier to see how the center changes the finished shape. Try the first arm over a light or dark backing so you can see the outline. Match the outer points while all the pieces still move on the layout.
Balance the Snowflake Before Hanging It
Set the center on a guide and compare opposite arms before joining them. If one arm looks wide or heavy, move a coil inward or make the smaller parts match. Let the finished piece dry flat and test the hanging loop over a table. These related projects give you more chances to practice the same shapes.
- Quill a Handmade Greeting Card
- Make Paper Quilling Earrings
- Learn Basic Paper Quilling Shapes
- Practice Making Quilled Leaves
- Try Paper Quilling Wall Art
Which snowflake would you try first? Tell us in the comments whether you would keep the paper white, add a few blue coils, or give the edges a metallic accent.

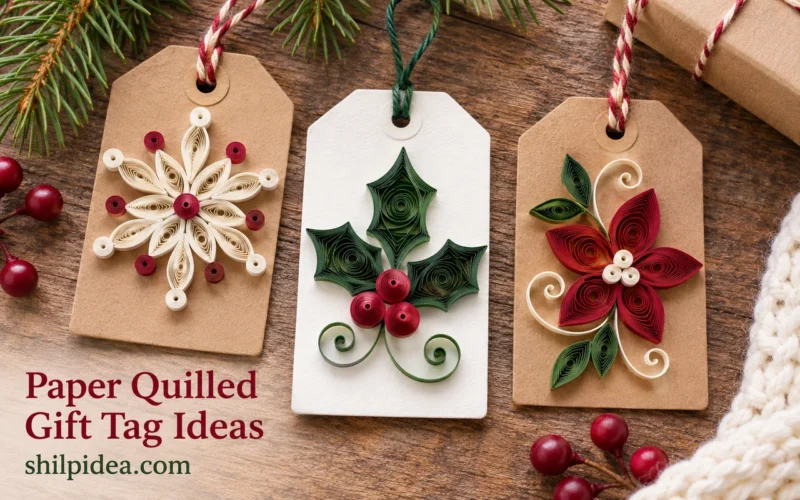
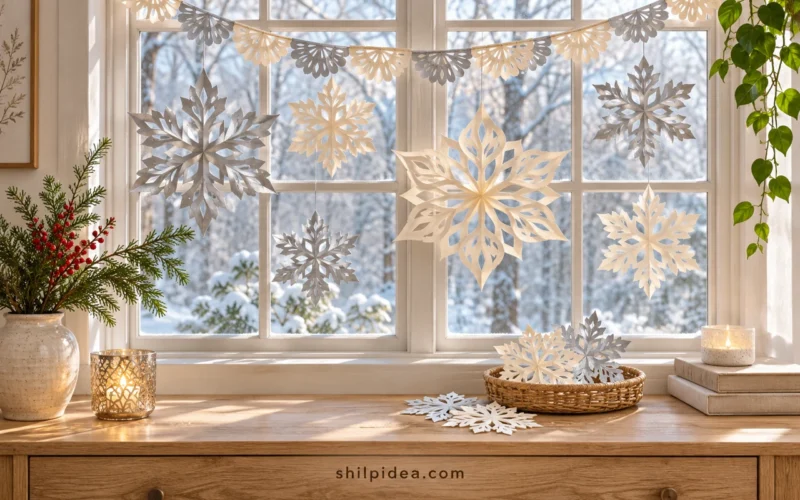

























0 Comments