20 Paper Quilling Earring Ideas to Make by Hand
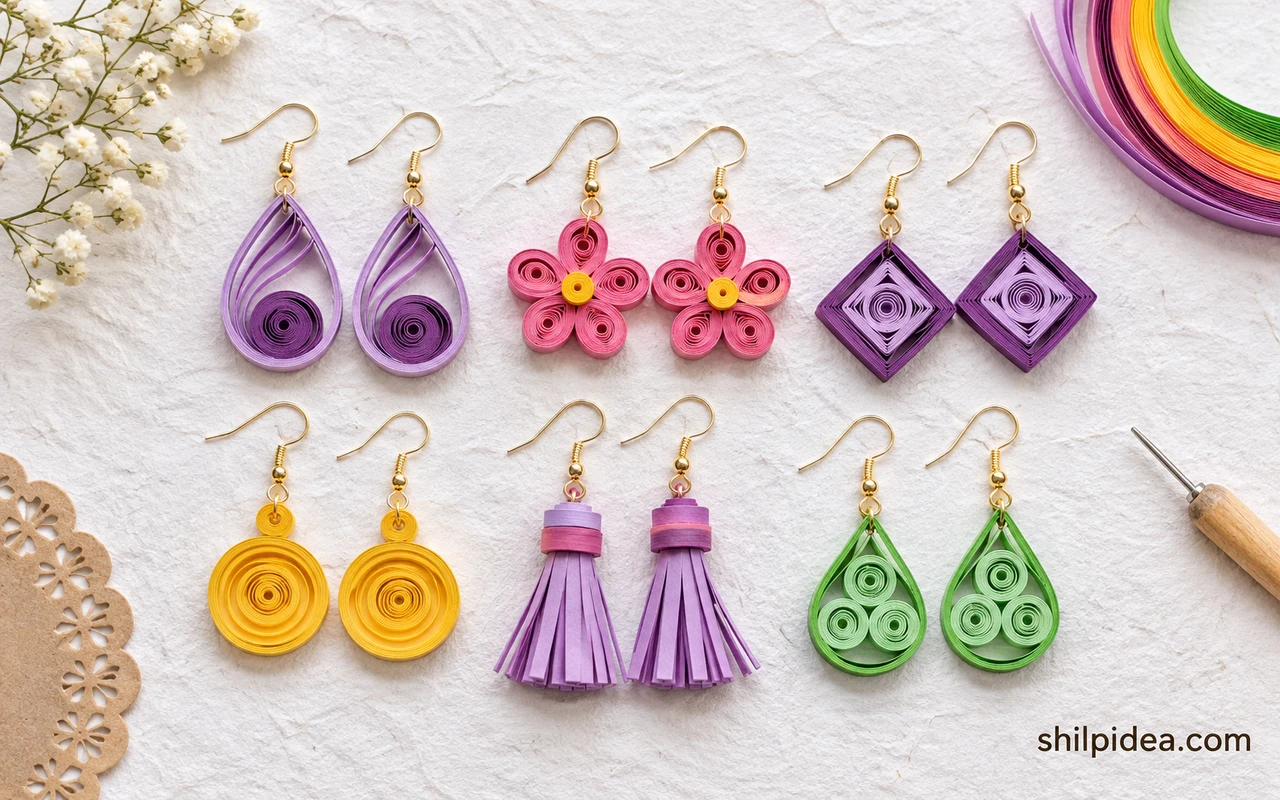
Paper quilling earrings can be as small as a single spiral or as bold as a cluster of petals. The same strip of paper can look quite different when you pinch it into a leaf or roll it into a round coil.
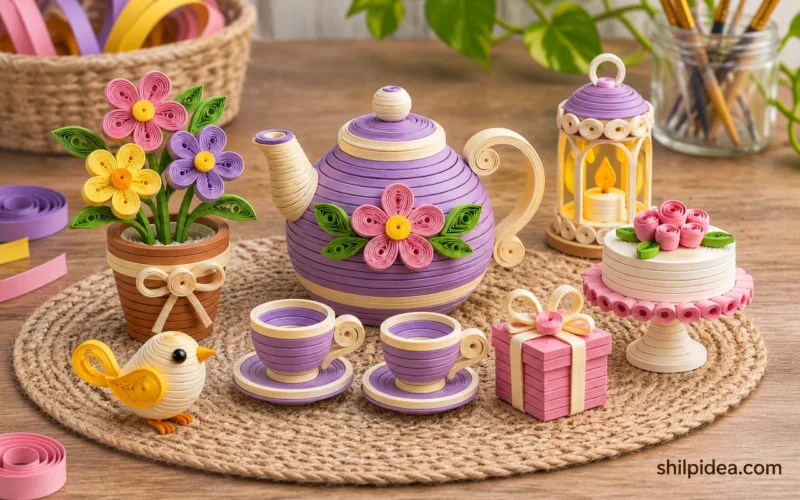
Make both halves of a pair together to match their size and tension. These dimensional quilling earrings show how thicker coils can add depth to a small design.
Choose a shape, then decide how much color to add. See Shilpidea’s handmade earrings for examples of how different combinations look in a finished pair.
1. Bright Concentric Teardrop Earrings

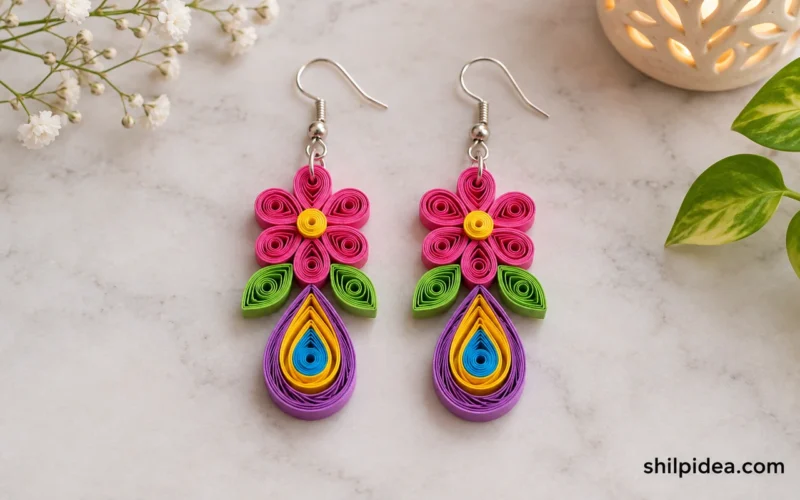
Roll strips in three or four colors into each coil so every color forms a visible band. Press one end to make a teardrop and keep the opposite end round. Mark the center of both drops before attaching the hooks to help them hang evenly. A dark outer band gives this shape a crisp edge.
2. Sunflowers With Long Quilled Petals

Give the petals a sharp tip and place them around a round brown center. Use a simple circle guide under wax paper if the petals are difficult to space evenly. Put a small coil between each of the longer petals if you want the outline to look fuller while keeping the center easy to see.
3. Black and White Double-Coil Drops

Two round coils do most of the work in this design. Use a white edge so the black paper stays visible against dark hair. Arrange the two discs along a pale loop, then compare the angle of that loop on both earrings. A narrow strip can keep the join small so it blends into the outline.
4. Scarlet Curved Leaf Earrings

With very little color variation, the curves of the paper strips become the main detail. Pinch a long eye shape and shift the tip gently to one side. Repeat with the second coil, curving it in the opposite direction for a mirrored pair. Cut a few strips to the same length before rolling so they match.
5. Layered Feather-Shaped Drops

Build a long feather from small pinched coils arranged in rows. Start at the tip and test the transition between dark and bright paper before attaching the next row. This style leaves room to try three shades of one color too. Keep the upper rows slightly narrower so the drop still moves freely below the hook.
6. Four Loose Feather Drops on a Hook

Make a set of narrow feathers that vary in length, then join them to a small ring. Separate moving pieces give the earrings a different look each time they turn. Test the drops together before closing the ring. Remove a feather or shorten it if the longest pieces keep catching on each other.
7. Orange Slice Earrings With Paper Segments

Use a round outer ring and divide the center into wedges so each disc resembles a cut orange. Make the pale dividers from shorter strips so the segments stay even. A yellow edge can turn the same idea into a lemon slice. Try one disc flat on a template before making the second.
8. Green and Blue Peacock Eye Drops

Start with the blue center, then wind a few gradually lighter strips around it. Pinch the upper point just enough to shape the silhouette for a hook. Green gives the outer edge a distinct outline. If the layers slide while you pinch them, set the rolled coil down briefly and let the glue tack first.
9. Pointed Botanical Leaf Earrings

Arrange several narrow marquise shapes around a central join so the leaf has a clear outline. Make the middle piece the longest, then set equal pairs on both sides. Use a sheet of wax paper over a sketch to check alignment. A shorter version can work well if you prefer earrings that sit closer to the ear.
10. Red and Ivory Open Leaf Drops

Lay a pale outer strip around several red coils, leaving a little space between the shapes. The open areas give the red paper room to stand out. Start at the bottom point and fit the pieces before adding glue. Repeat the arrangement with the same number of coils so the two earrings stay visually balanced.
11. Warm-Toned Stacked Hearts

Pinch pairs of small coils into the two halves of each heart, then stack the shapes from light to dark. Lay both earrings on a flat surface before adding glue. A pair of pliers can help you attach the jump rings after everything dries. Try two hearts per earring for a shorter drop.
12. Blue Leaf Sprigs With Round Tips

Lay small pointed shapes along a pale center strip to make a sprig. A single round coil at the base gives the arrangement a clear stopping point. Change the angle of the upper leaves for a looser outline. Keep both sprigs the same length so the earrings sit at a similar height when worn.
13. Pastel Flowers With Two Rows of Petals

Place one row of short petals close to the center and let the outer row show between them. The soft pink and green look distinct when they alternate with yellow. Let the inner layer dry before adding the second one so the center stays upright. The same arrangement works with shades of a single color.
14. Tiny Geometric Studs
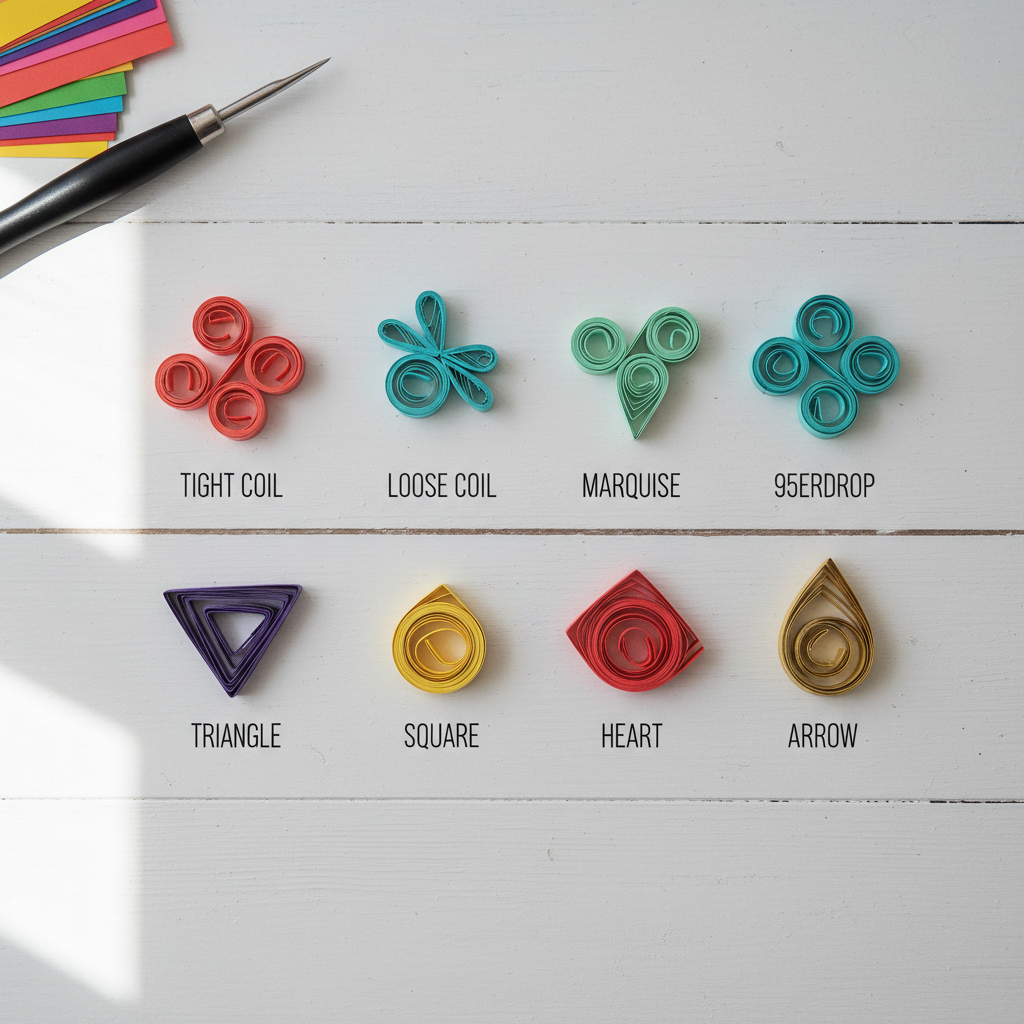
Roll a short strip into a tight coil, then pinch it into a triangle, square, or small drop. Compare the shapes against the earring posts while they’re still dry, since a narrow coil gives the flat finding less room to grip. A single strong color helps each stud read clearly at a small size.
15. Open Hoops With Contrasting Small Coils

Wrap an open ring around a round guide and place tiny coils along its edge. Lay both rings flat to compare their sizes before attaching the hooks. Choose two contrasting colors for an easy first pair. Keep the top of the ring clear so the paper coils don’t interfere with the attachment point.
16. Rainbow Flowers With Open Petals

Set your colors out in order before you make the loose loops. The open petals leave a little negative space around each shade so the colors stay distinct. Join the petals around a small center and keep the rings above the top petal. Mirror the color sequence for a pair that looks balanced.
17. Triangle Drops With Swirled Centers

Wrap paper around a triangular guide and tuck a loose curl inside. The straight outer sides frame the curve and keep it from opening too far. Check that both triangles sit flat before attaching the hooks, especially at the top corner. Pick a darker border to help the swirl stand out in the middle.
18. Burgundy Five-Petal Flower Drops
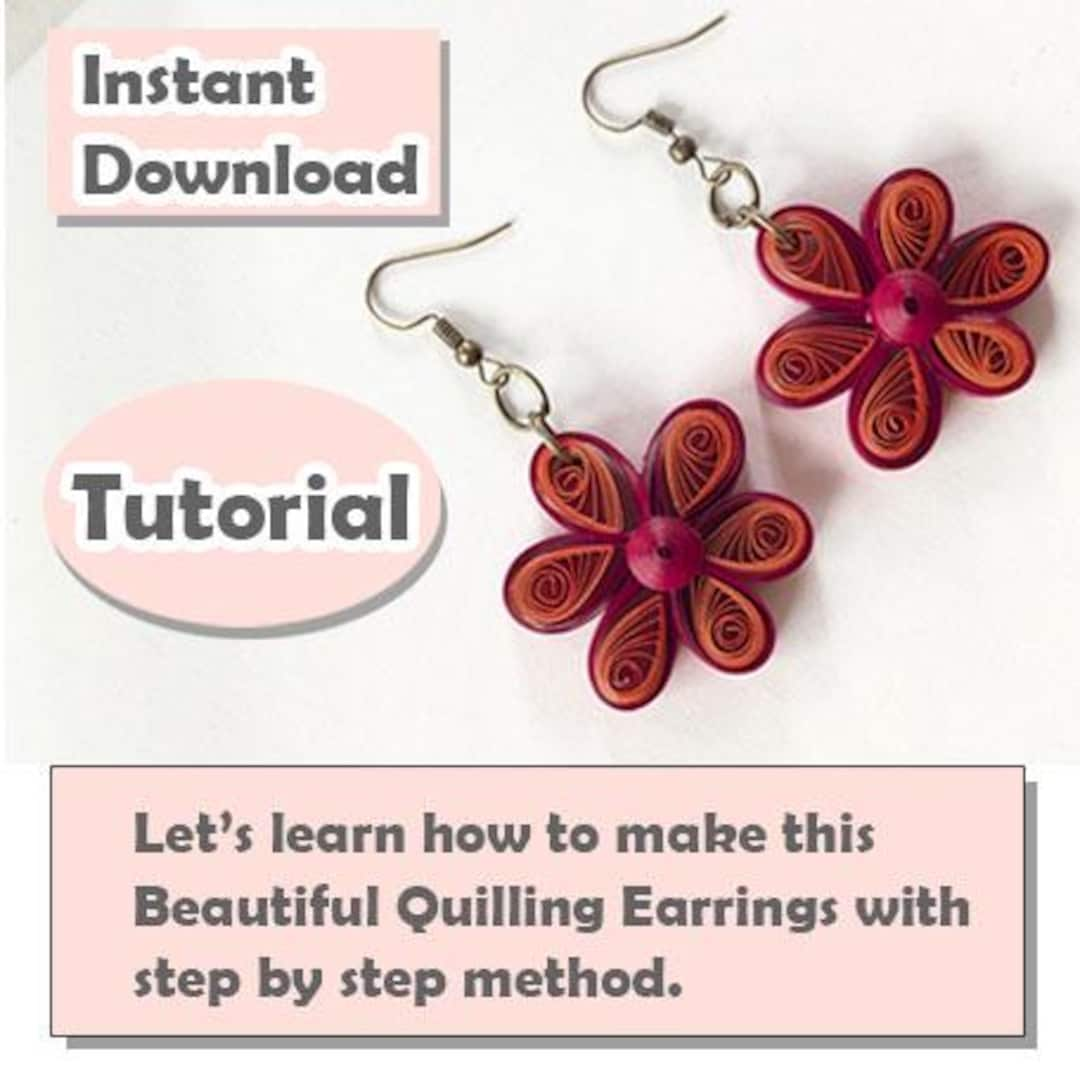
Make five loops of the same size and press their narrow ends into the center. The deep red paper makes the outline more noticeable than a light pastel would. Give the ring a broad join at the upper petal, and make a second sample center before assembling the pair if the loops keep shifting.
19. Two-Tone Circles With a Quilled Crescent

Use a large circle as the outline and set a smaller dark circle slightly above the middle. Fill the space below with tiny warm-colored coils to bring out the crescent shape. Count the filler coils as you go so you can repeat their spacing on the other earring. A pale border helps separate both colors.
20. Long Open Drops With an Off-Center Curl

Build a tall teardrop frame and turn a narrow strip into a curl that sits to one side. Leave the opposite side open to keep the silhouette light. Make the two curls curve in opposite directions if you like mirrored earrings. Rest them flat until dry so the paper edges stay at the same height.
Match the Shape to How You Wear Earrings
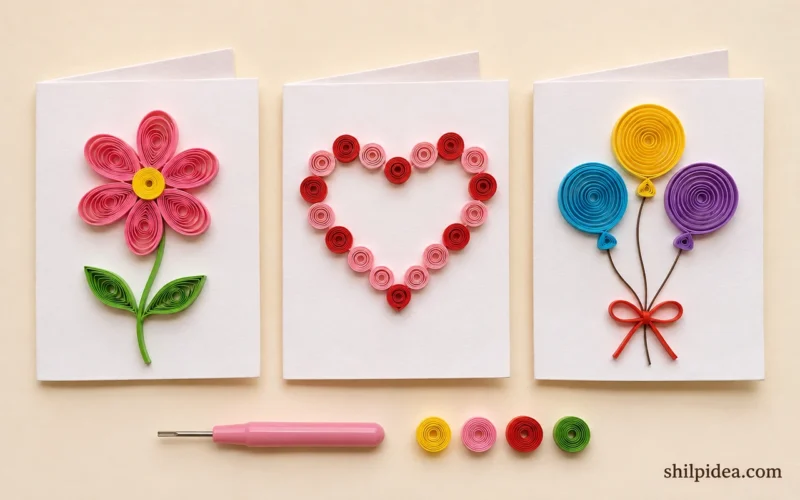
Sketch the outline at the size you want before rolling the first strip. A tight coil gives a small stud a clear edge, while a hoop or longer drop leaves room for several colors. Set each pair flat to dry and store it away from moisture after wearing. Use the ideas below to practice any shapes you want to repeat.
- Try Three-Dimensional Quilling Earrings
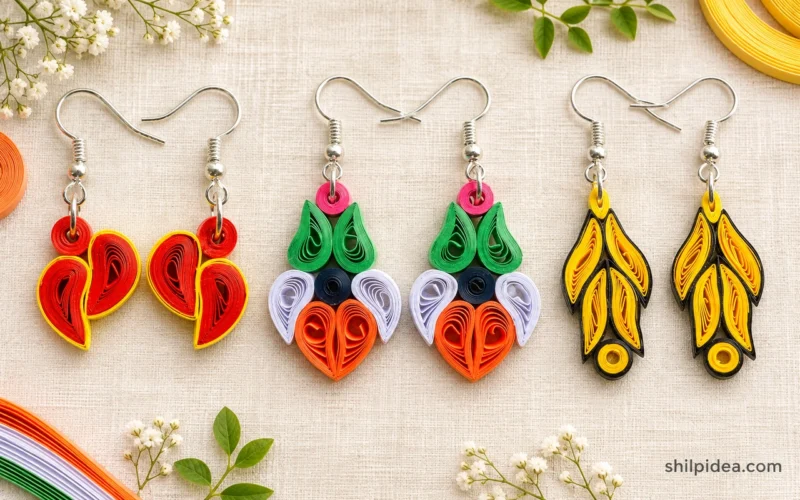
- Browse More Quilled Earring Designs
- Find More Colorful Paper Earrings
- See Shilpidea’s Handmade Quilling Earrings
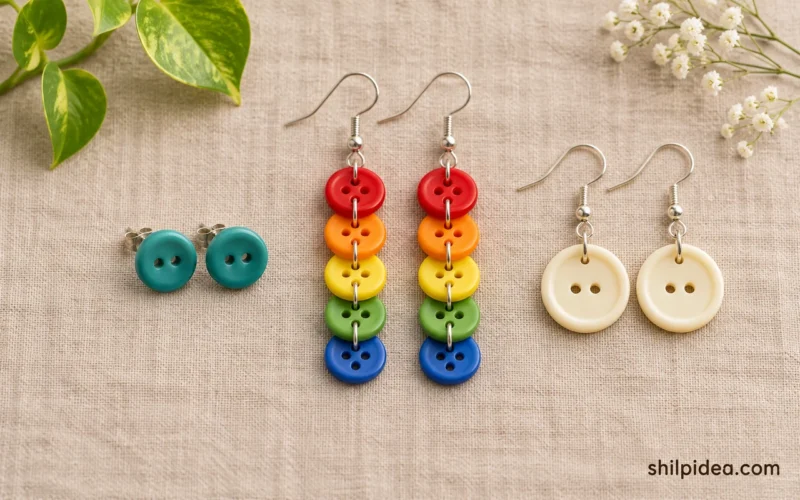
- Try Making Colorful Button Earrings
Which pair would you make first? Tell us what colors you would choose and whether you would wear the design as a tiny stud, a short drop, or a longer pair.



















0 Comments