Handmade Paper Quilling Earrings by Shilpidea
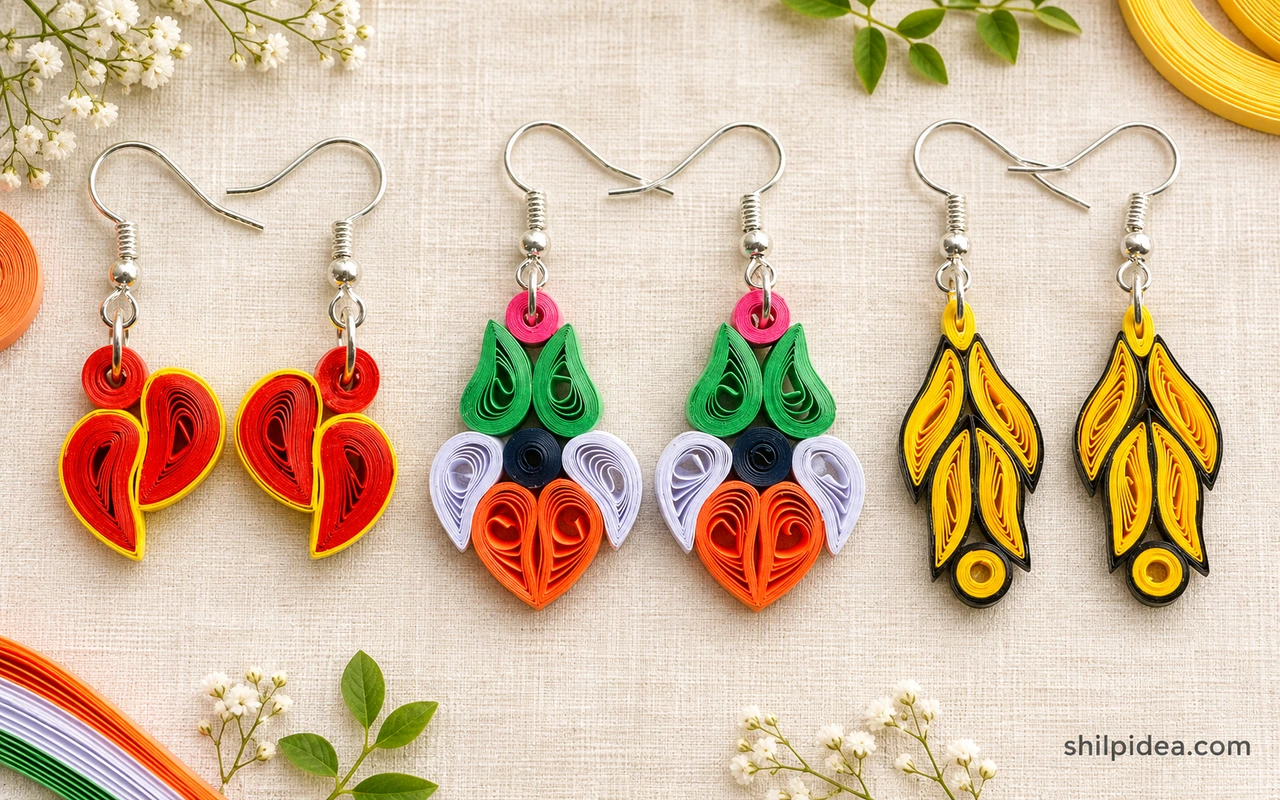
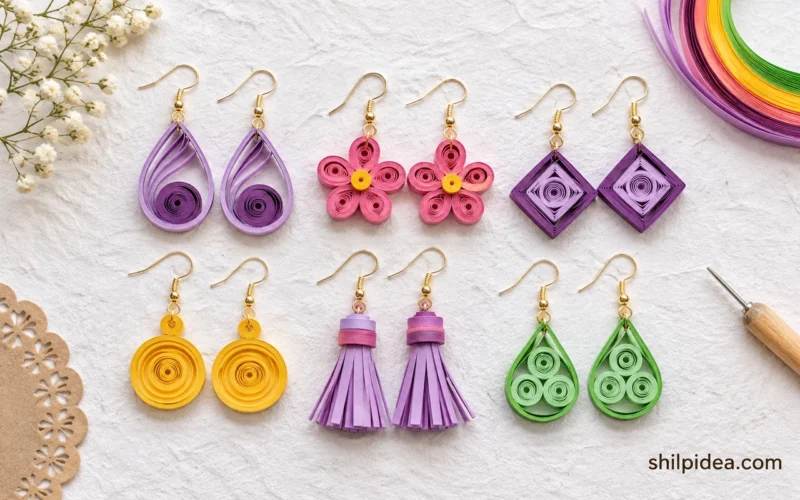
This Shilpidea collection brings together handmade paper quilling earrings in flowers, leaf shapes, bells, and diamonds. The original photographs show how different the same narrow strips of paper can look.
Some pairs use open coils to draw the outline. Others build up tightly rolled paper or add reflective accents. For more volume, see these three-dimensional quilling earrings.
Look through the original gallery to compare the shape, spacing, and color of each pair. The close-ups also show where the rings and hooks sit in relation to the paper.
1. Red-and-Yellow Teardrop Clusters

Small red curls sit inside yellow outlines, with the open parts of the paper shapes facing outward. The two larger forms hang below a smaller loop, making the hook connection part of the design. Notice how little paper is needed to outline each curve. The narrow yellow edge gives the pair definition against the pale background.
2. Open-Coil Flowers With Pink Edges

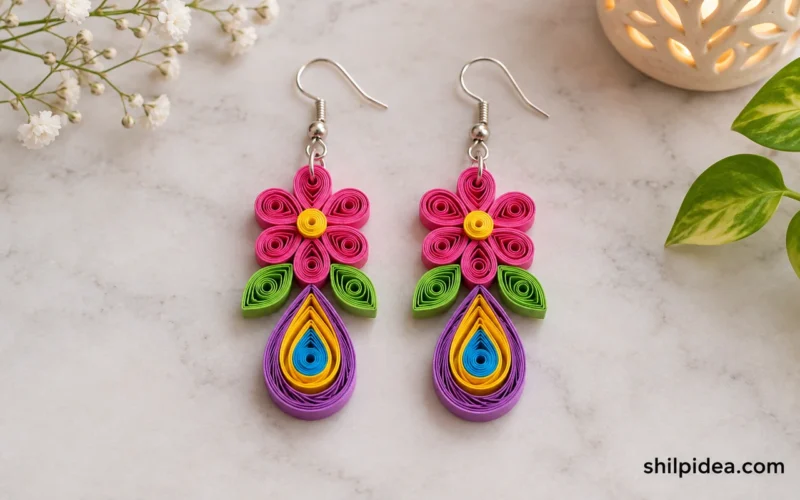
A bright pink center anchors each flower. The petal outlines repeat the same shade, while the lighter strips inside each pointed petal leave room for the eye to follow the shape. Notice how the hooks attach at the outer petals. That position lets the two flowers face a little differently when they hang.
3. Tricolor Drops With Mirrored Coils

Green, white, and orange sit in separate layers, with smaller pink coils beside the hooks. The large orange shapes at the bottom give the drops a rounded finish. The paired green coils bring the eye back up toward the top. This layout is useful for seeing how repeating the same coil shape creates visual rhythm across several colors.
4. Striped Bell Drops From the Front

The front view shows how narrow bands of dark purple and pale cream break up the tan cone. The broad base rounds out the shape, while the light bead at the top makes a small transition to the gold-tone hook. Compare the near and far earrings to see how the stripe positions stay consistent as the cone curves.
5. A Second View of the Striped Bells

The display photo shows the same striped bell pair in a more upright position. Here the lower tan bands are easy to compare across both earrings, and the hooks are visible above each broad base. The two views together help show how a rolled-paper cone reads from the front and as a finished hanging piece.
6. Red Bells With Pearl-Like Trim

A string of small pearl-like beads follows the edge of each red bell. The pale trim outlines the widest part and draws attention to the steadily widening paper rings above it. The dark gap beneath the hook keeps the top from feeling crowded. This pair has a different finish from the plainer tan bells.
7. Pink Drops With a Reflective Center

Small bright accents are repeated across the pink drop, so the raised pattern reads from top to bottom. The pink paper still shows around the rim and between the highlights. From this angle the outer edge is as easy to see as the front. Compare the two drops to see how the rows follow the narrow top.
8. Dark Drops With Silver-Tone Highlights

Dark paper sets off the lighter circles on the face of the earrings. The lower pieces in the photo also show the depth of the design, including the darker outer edge. That contrast helps the cluster hold its shape visually. The picture offers a useful look at how a bright front and dark side work together.
9. Light Drops With a Tapered Top

The small bright circles spread outward from a narrow top and then taper again below. That gives each earring a loose diamond outline with a soft edge. The small rings above the drops have room to move, and their color stays close to the accents. Look at the spacing near the bottom, where the shape narrows.
10. Blue Flowers With Bright Round Centers

The dark blue outline links several bright circles into one small flower. A short pink loop between the body and the hook picks up the color in the background. The round layout gives each drop a clear center and makes this pair shorter than the diamond designs. The picture also shows how the flower sits below a single ring.
11. Pink Diamonds Made From Open Coils

Open pink coils leave little spaces between the strips, giving the diamond a lighter look against the wood. The rows expand toward the middle and narrow back to a point. One top loop connects each diamond to a hook. The outline is easy to follow because the photo leaves the background visible through the design.
12. White Diamonds With Loosely Spaced Coils

The white version makes the negative space particularly easy to see on a dark surface. Look at how the individual coils turn out from the center and create a slightly scalloped edge. The wider row sits below the hook, keeping the overall design balanced. The two diamond photographs show how the same basic outline looks in different colors.
13. Yellow Leaf Drops With a Dark Outline

Long pointed paper shapes follow the sides of the drop, with the smaller loops lower down. Dark edging separates the yellows and makes the silhouette easy to see. A tiny circle at the bottom softens the tip. The pair shows how pinched coils can suggest a leaf or feather with just a few repeating shapes.
Explore More Small Jewelry Projects
Pick one feature to look for across the gallery. A narrow outline changes the feel of a big flower, while a short fringe puts more weight at the bottom of a bell. When you’ve found a shape you like, explore these other projects for ideas about color, scale, and ways to use leftover supplies.
- Explore Three-Dimensional Paper Earring Designs
- Find More Paper Quilling Earrings
- See More Quilled Earring Shapes
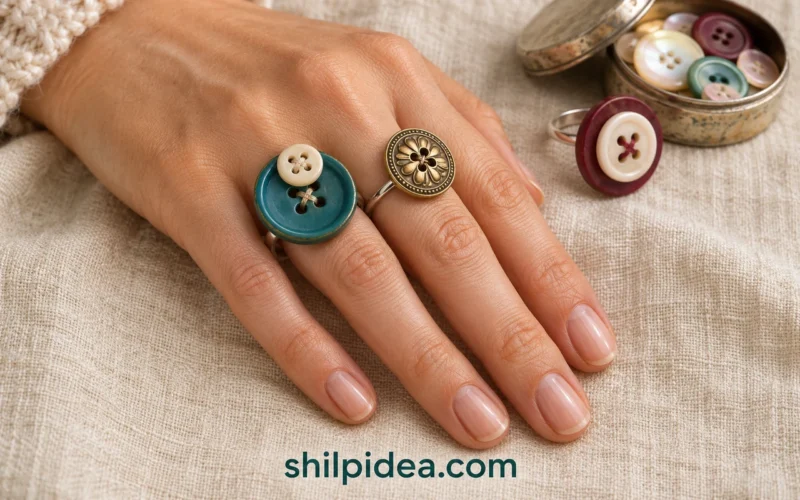
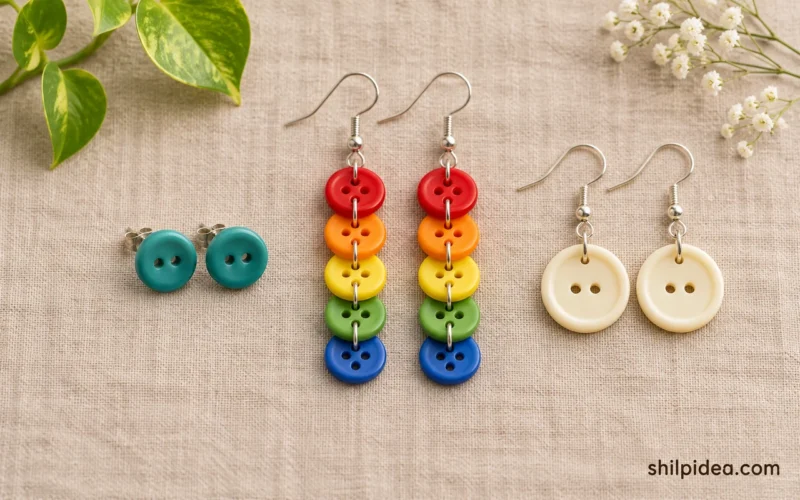
- Make Jewelry With Spare Buttons
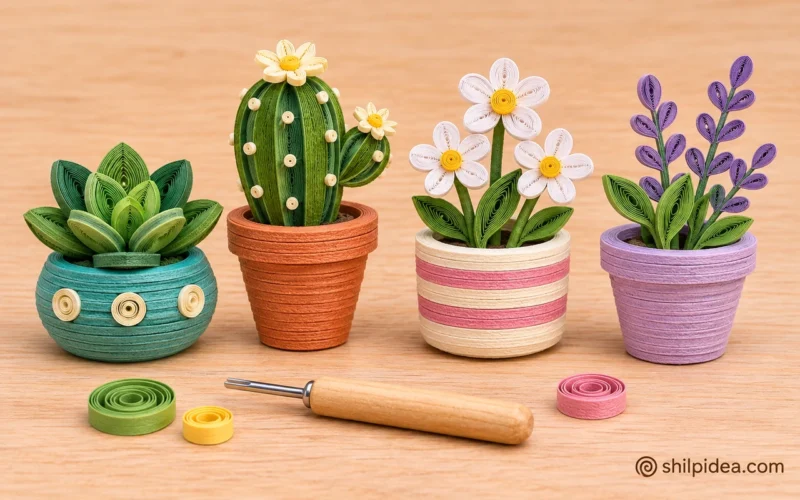
- Try Quilled Miniature Flower Pots
Which original pair would you choose to wear, and where would you wear it?





















0 Comments