20 Handmade Quilling Card Designs for Creative Inspiration
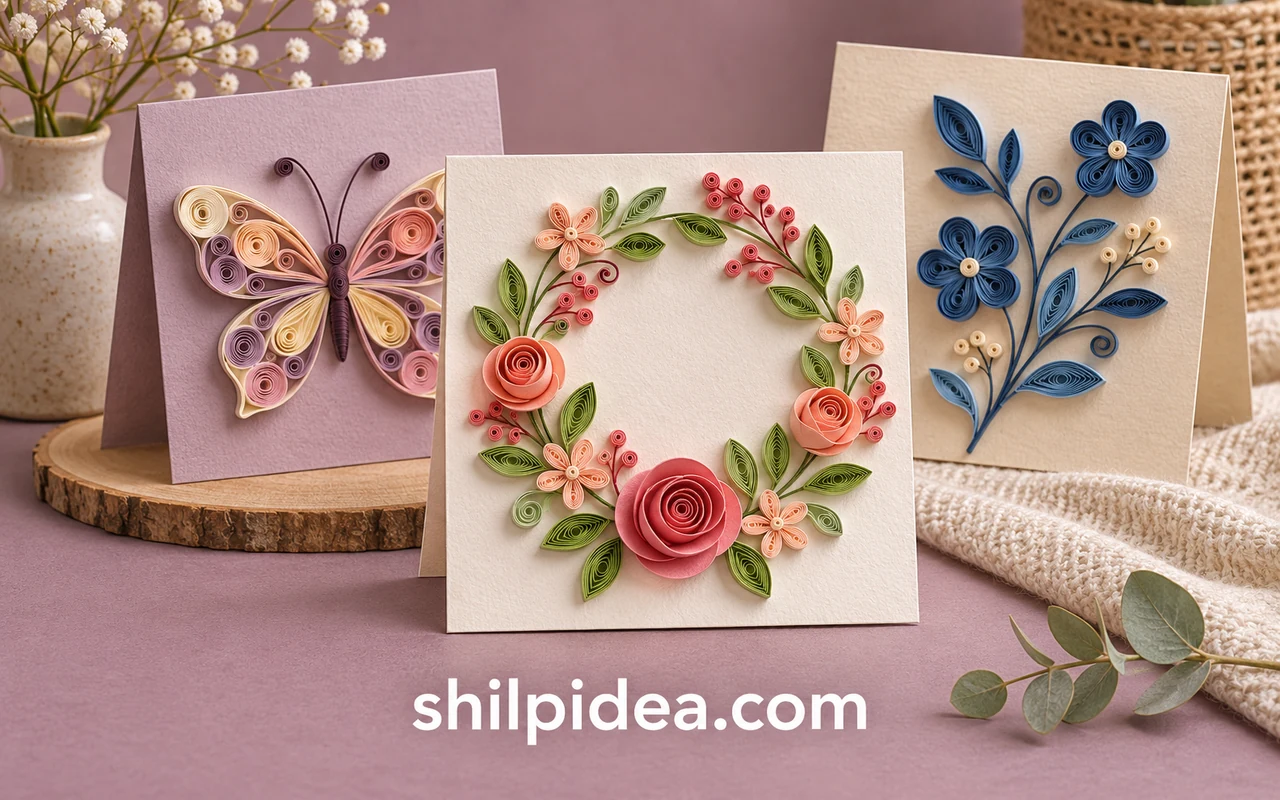
A handmade quilling card turns a short message into something worth keeping. Rolled paper adds texture, movement and color without needing a printed illustration to do all the work.
Start with a sturdy card blank and a motif that suits the recipient. Our quilling basics can help you choose shapes to practice first.
These 20 designs combine the original card collection with additional paper motifs you can adapt to your own layout. For a different nature-inspired direction, explore these quilling tree cards.
1. A Candle Card with Quilled Greenery

A yellow paper candle, red flame and green foliage give this white card a clear holiday theme. The small silver stars spread the decoration beyond the central motif without crowding it. Keep the candle upright and let the greenery form a broad base. If adapting the layout, write the greeting inside rather than adding another large element beside the flame. This preserves the simple, vertical arrangement.
2. A Little Bird Among Purple Flowers

A tiny bird adds personality to this floral card. Purple blooms are spaced along the right side, while the bird balances the open area on the left. The separate green leaves keep the flowers from blending into one large cluster. Use the arrangement as a guide to spacing rather than filling every gap. Our quilling leaf designs can help you explore other foliage shapes.
3. Blue Flowers on a Framed White Panel

The lavender frame gives these blue flowers a defined place on the card. Two buds rise above the lower bloom, creating a triangular arrangement that feels balanced without being perfectly symmetrical. A narrow border can be useful when your paper design is small: it makes the whole front look intentional. Leave a similar margin on each side, and keep any extra decoration outside the central floral panel to a minimum.
4. Pale Pink Blossoms on a Blue Card

The pale blue base is an important part of this design. It separates the soft pink petals from the background, while the darker red buds and green stems give the arrangement definition. The three main blossoms follow a rising curve instead of a straight line. Keep the surrounding card plain so that curve stays visible. This is an appealing layout for a birthday, thank-you or personal spring greeting.
5. Blue and Yellow Flower Spikes

Repeated teardrop shapes make these tall flower spikes feel rhythmic. Alternating blue and yellow stems creates contrast, while the green leaves connect the separate colors into one bouquet. Try a tall card blank that leaves room above the flowers rather than cutting the spikes short. Because the individual shapes repeat, consistent spacing matters more than adding lots of extra decoration. Place a small sentiment below the stems if there is room.
6. Daisies with Tiny Bees

White daisies and little yellow-and-black bees make a friendly combination for an everyday greeting. The curved stems keep the arrangement light, and the bees add movement around the flowers. A pale background lets the dark details stand out without making the whole card feel busy. For a similar layout, keep the smaller accents separated from the petals and leave an open area for your handwritten message.
7. Orange Flowers and Butterfly Accents

This original design combines quilled flowers and leaves with flat orange butterfly accents. A large green scroll carries the eye upward, so the smaller butterflies do not feel disconnected from the floral cluster. The punched white border adds another texture without introducing a new color. If adapting the idea, keep the butterflies light and simple so they support the paper flowers. Explore more quilling butterfly ideas for alternative shapes.
8. Pastel Flower Spikes in a Simple Frame

Clusters of tiny pastel coils turn a few tall stems into an airy floral arrangement. The photograph shows a framed composition; the same spacing can inspire the front of a larger card. Let the flower heads sit at different heights and leave narrow gaps between the leaves. A neutral card base will keep the pale colors readable. Avoid a patterned background that would compete with the many small coils.
9. White Tulips with Long Green Stems

White tulips create a restrained design through their curved outlines and layered paper interiors. The long green stems are part of the appeal, so choose a portrait card with enough room for them. A soft tinted background can make the white edges easier to see than a bright white base would. Compare this arrangement with our quilling art ideas when planning a larger composition.
10. Bell Flowers, a Butterfly and a Ladybug

A curved green stem connects the bell flowers in this pink composition. The butterfly and ladybug sit in the open space beside it, giving the design a small garden-story feel. White and lilac petals stay clear against the pink background, while the red insect supplies a stronger accent. Keep the full composition on a generous card front, or borrow just one flowering stem for a smaller greeting.
11. A Sunflower That Fills the Card Front

A sunflower gives a thank-you or birthday card a clear focal point without needing an elaborate background. The pointed yellow petals contrast with the dark rolled center, so a plain cream base is enough. For your own card, try one bloom above a short message rather than squeezing in a whole garden. Check the height before choosing an envelope; this layered flower needs room around its petals.
Make This at Home: Quilled Sunflower Card Motif
12. A Delicate Lily-of-the-Valley Sprig

Soft pink bells and long, narrow leaves make a gentle alternative to a large round flower. Arrange a sprig toward one side of a portrait card and leave the other side open for a handwritten greeting. The reference shows the floral motif on its own; use its flowing silhouette to plan the card layout. Our quilling leaf designs offer more foliage ideas.
Make This at Home: Quilled Lily of the Valley
13. Daffodils for a Cheerful Spring Greeting

A few small daffodils can suggest a whole spring garden. Their pale petals and warmer centers work well on white or light blue cardstock, especially when the stems are allowed to curve instead of standing in a rigid row. For a card adaptation, group two flowers at different heights and keep the greeting below them. This is a dimensional motif, so plan a protective box envelope rather than pressing the blooms flat.
Make This at Home: Quilled Daffodils and Buds
14. Bluebells Along a Mixed-Flower Border

Borrow the border idea from this mixed floral arrangement: small bluebells can soften the space around larger flowers. On a greeting card, a short strip of flowers across the lower edge leaves the upper half available for a name or message. Keep one type of flower dominant and use the others as accents. You can simplify the pictured display to just a few stems when working on a smaller card.
Make This at Home: Quilled Bluebell Flower Sprigs
15. A Heart Outlined with Flowers and Vines

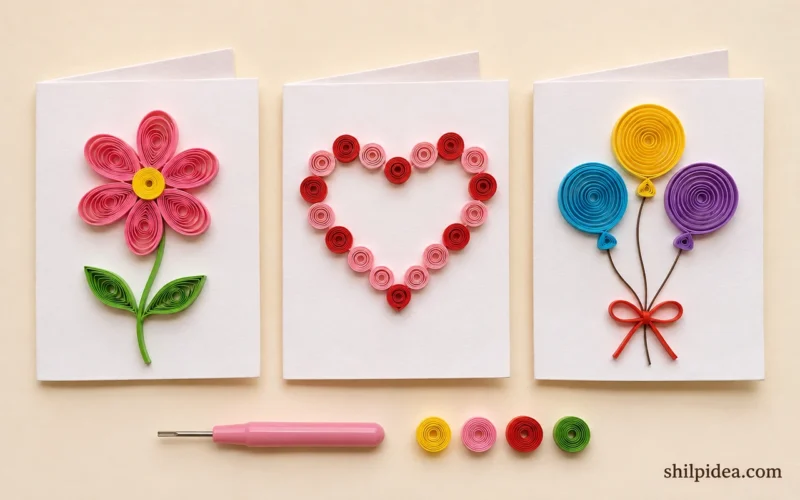
An open heart does not need a solid filling to feel complete. Here, curling greenery traces the shape while clustered flowers give one side more weight. It is an appealing direction for an anniversary or a personal Mother’s Day greeting. Use the empty middle for a tiny sentiment, or leave it untouched so the paper work has breathing space. Keep any lettering small enough to sit comfortably inside the outline.
Make This at Home: Quilled Heart with Flower Vines
16. A Lace Heart with a Quiet Center

For a wedding greeting, try contrast through texture rather than a collection of bright colors. This white lace heart has a plain center surrounded by repeated loops and fine edging. A pale gray, blush or deeper neutral card base can help those edges show. The reference is a display piece, so check its finished dimensions before adapting it to a card; a larger square format gives the delicate perimeter more space.
Make This at Home: Quilled Paper Lace Heart
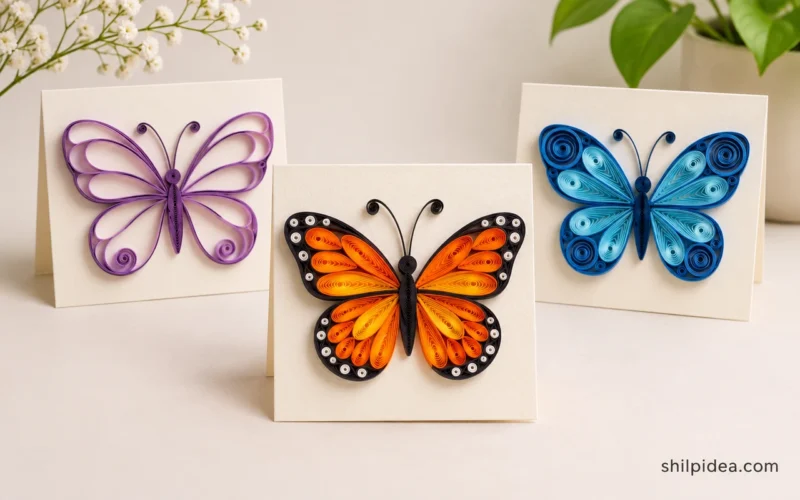
17. A Monarch Butterfly as the Main Accent

A single butterfly can carry a card when its outline and colors are strong. Orange wings, black edging and tiny light accents give this motif definition, even without flowers around it.
Position your butterfly slightly above the center of a plain card and add a short greeting underneath. The raised wings in the reference make this better suited to a hand-delivered, boxed card. Explore more quilling butterfly ideas if you want to compare wing shapes.
Make This at Home: Quilled Monarch Butterfly Motif
18. A Rainbow Umbrella for an Encouraging Note

This umbrella makes color the subject of the card. The curved canopy holds several bright sections, and separate blue drops carry the rainy-day theme into the surrounding space. Adapt it for a supportive message or a cheerful just-because greeting. A clean white base keeps the rainbow readable. Avoid covering the canopy with extra lettering; put your words inside the card or beneath the handle instead.
Make This at Home: Quilled Rainbow Umbrella Motif
19. A Paisley Pair for a Decorative Greeting

Paisley offers movement without relying on a literal flower or animal. The curled tips and repeated outlines make a pair of motifs feel balanced even when the shapes are different sizes. Place them diagonally on a square card, keeping the greeting in the quieter corner. Match the background to one of the lighter paper colors for a coordinated look. These shapes also complement the scrolling forms in our quilling art ideas.
Make This at Home: Quilled Paisley Paper Motifs
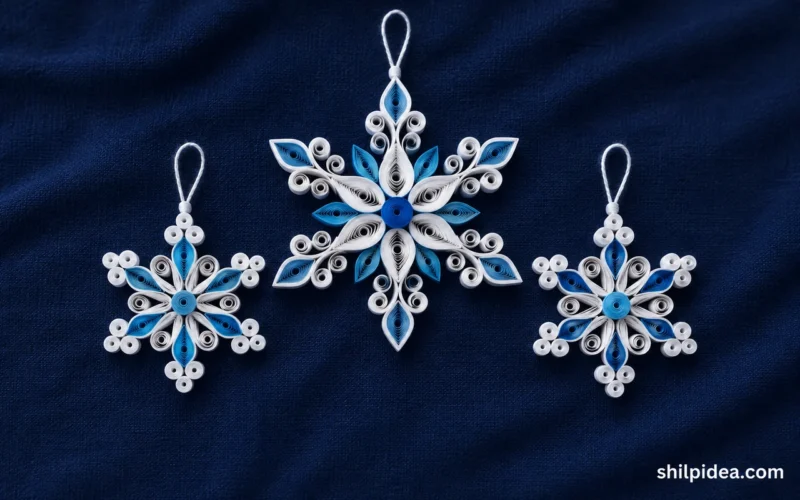
20. A Snowflake for a Crisp Holiday Card

A snowflake can be the whole design on a winter card. Its repeated arms create a clear focal point, so a plain blue or charcoal background can be more effective than additional decoration. Choose one of the simpler reference shapes if you are still building confidence with consistent coils. Keep the arms inside the card’s edges and protect them for delivery. Our quilling snowflake designs provide more winter inspiration.
Make This at Home: Quilled Paper Snowflake Motif
Choose the Next Detail for Your Handmade Card
Start with one motif that suits the person receiving your card, then choose a background that gives the paper edges room to show. Before you add a message or package the finished piece, check how much space its raised details need. These related collections can help you compare foliage, larger compositions and small paper embellishments for your next card.
- Quilling Leaf Designs and Greenery Ideas
- Quilling Tree Designs for Handmade Cards
- Quilling Art for Cards and Frames
- Paper Quilling Butterfly Design Ideas
- Quilling Snowflakes for Winter Decor
Who would you make a quilling card for, and which motif would you choose? Share your plans or a favorite color combination in the comments. If you have made raised paper cards before, your tips for protecting them on the way to the recipient are welcome too.

















0 Comments