How to Make a No-Sew Lampshade Cover from Decorative Fabric
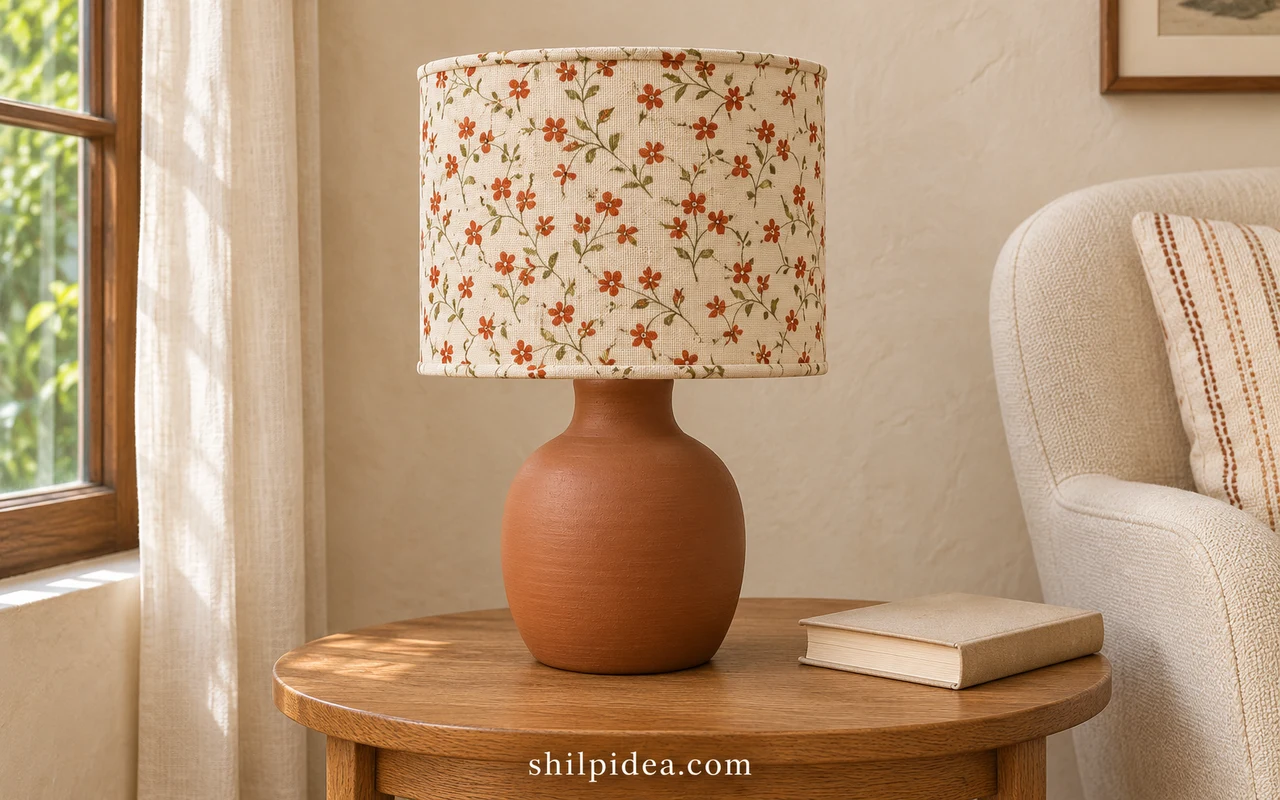
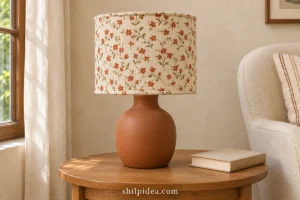
A no-sew lampshade cover can bring a favorite fabric into a room without making a new shade from scratch. A small floral print adds color while keeping the shape simple.
This proposed method wraps lightweight fabric around a suitable, intact drum shade and finishes the back seam with adhesive. Pair the finished look with cozy living room ideas for a coordinated corner.
Start by checking whether your shade can be recovered, then measure before cutting. Leftover fabric can become framed fabric art elsewhere in the room.
Materials and Tools
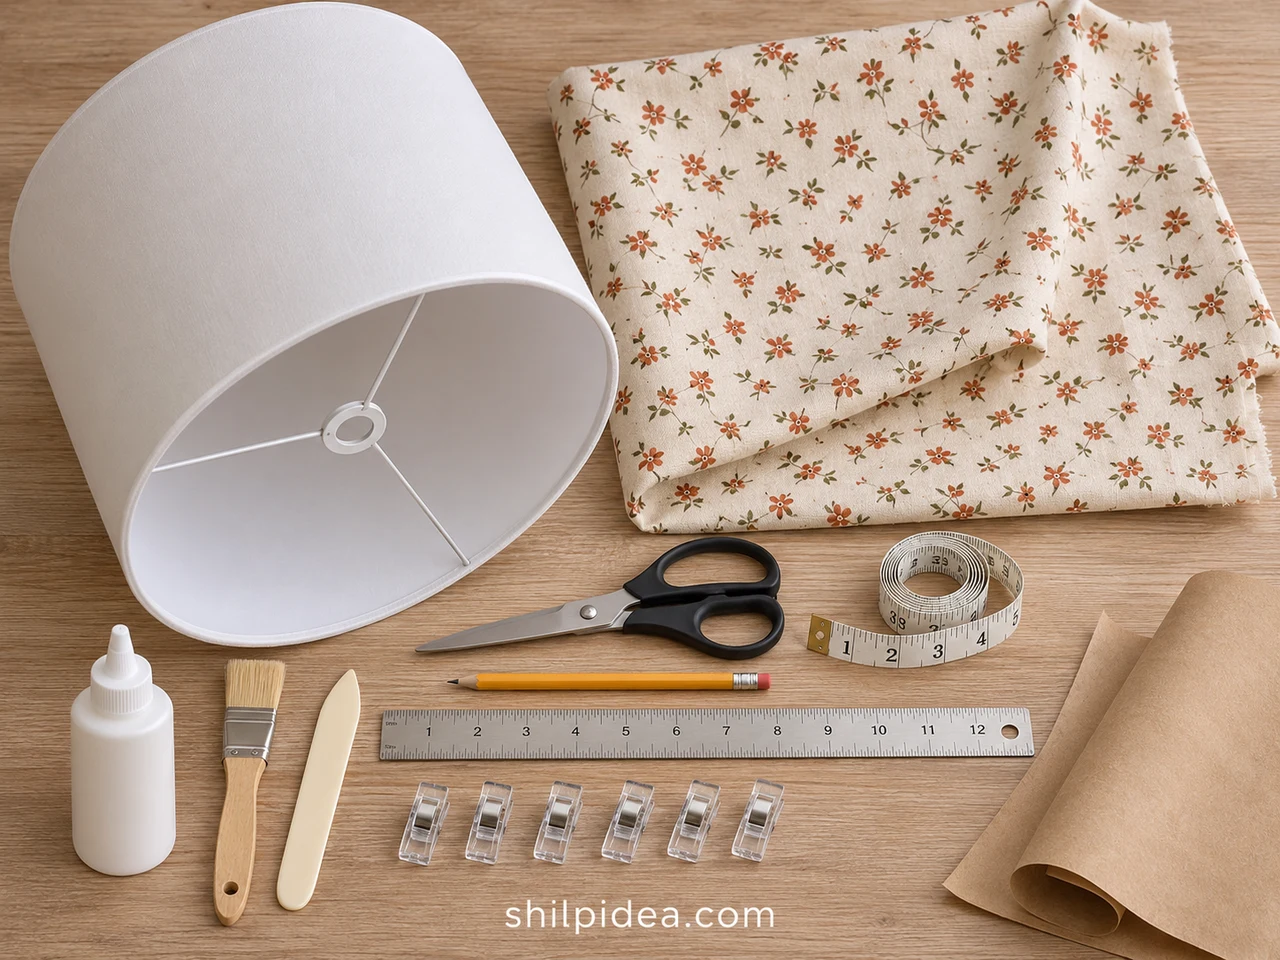
Gather these supplies after confirming that the shade and adhesive are suitable for this recovery method.
- Hardback drum lampshade – An intact shade with equal top and bottom circumferences, a smooth outside surface, and manufacturer guidance permitting fabric recovery.
- Lightweight woven fabric – A nonstretch cotton with a small scattered print; calculate the piece size from your shade before buying or cutting.
- Lampshade adhesive – A clear-drying adhesive specified for fabric-to-shade bonding and rim finishing, compatible with your shade materials; follow its application and cure instructions.
- Measuring tools – A flexible tape, straight ruler, pencil or washable fabric marker, and scrap paper for your measurements.
- Fabric scissors – Sharp scissors for the rectangle and small, controlled cuts at the support spokes.
- Finishing tools – A small glue brush, blunt tucking tool, and lightweight clips that will not dent the shade.
- Protected work surface – Brown paper or another protective covering, plus a clean area for the shade to cure.
- Iron and pressing surface – For smoothing the fabric and pressing the back-seam fold before gluing, at a setting suitable for the fabric.
Precautions Before You Begin
Recovering changes the shade assembly, so confirm suitability before working on it.
- Unplug the lamp, let it cool, and remove the shade. Leave the wiring, socket, and fitting unchanged.
- Use this method only when the lamp and shade guidance permits recovering with your chosen materials. If that cannot be confirmed, choose a purpose-made covering kit and follow its instructions instead.
- Keep the original liner intact. Replace cracked, scorched, brittle, loose, or distorted shades rather than covering the damage.
- Use a compatible LED bulb within the lamp and shade limits, including required clearance and ventilation. LED use does not make unsuitable fabric or glue safe.
- Follow adhesive ventilation, handling, and full-cure instructions. Fabric and ordinary glue are not fireproofing.
1. Measure and Inspect the Drum Shade
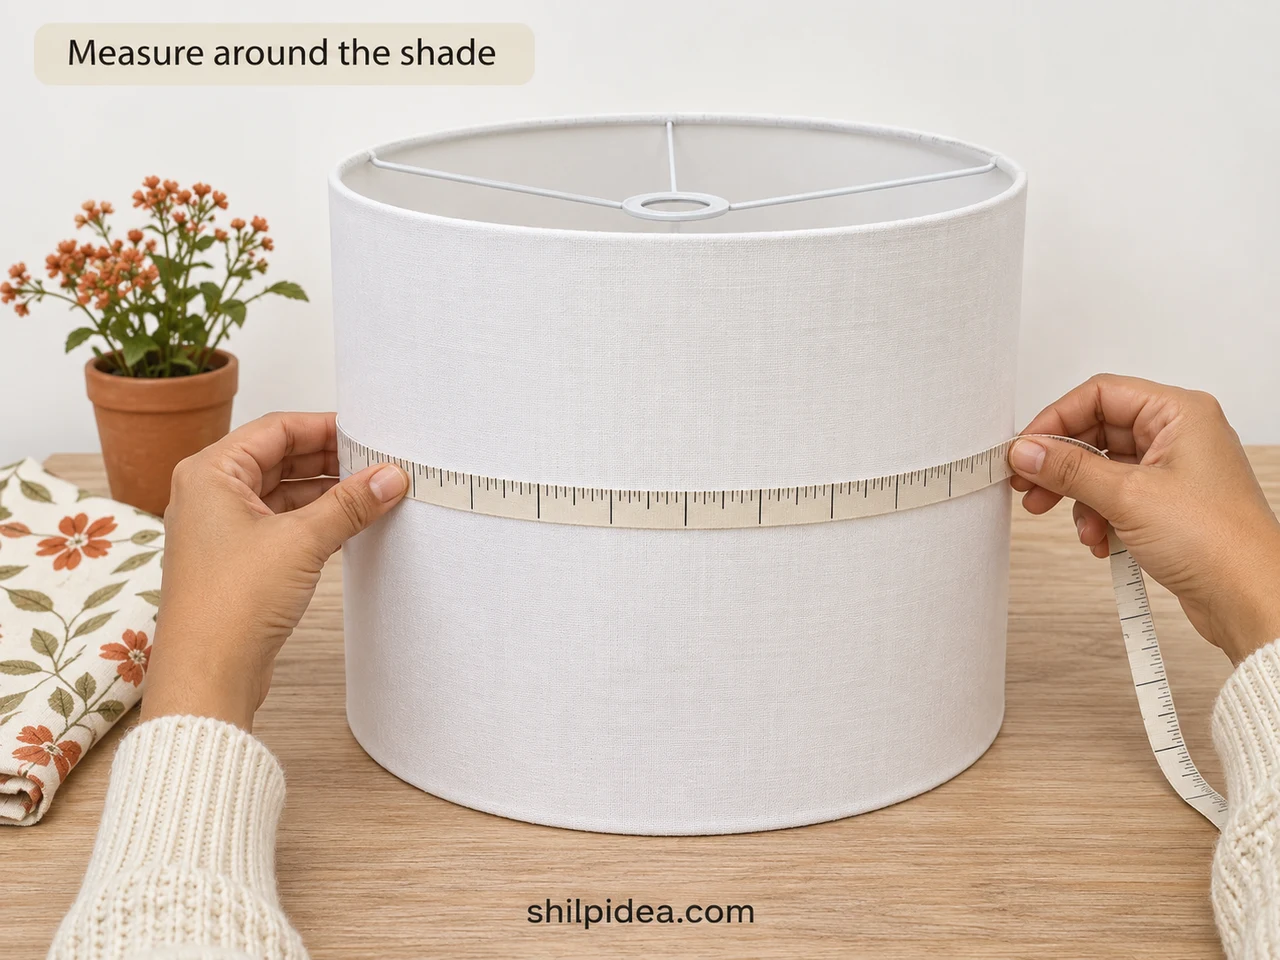
- Check the shape – Measure around the top and bottom rims. They must match for this rectangular cover. A tapered shade needs a curved pattern and a different guide; do not stretch a rectangle to force it into place.
- Record the circumference and height – Measure around the outside at mid-height without pulling the tape tight. Record that circumference as C, then measure straight from top rim to bottom rim for H. Keep both readings in inches.
- Check the covering path – Locate the existing back seam and examine the rim bindings and spokes. Confirm that a narrow fabric margin can turn over each rim without blocking fittings. Dust the exterior gently according to the shade instructions.
Before moving on: The measurements below are a worked example, not a universal lampshade size. Your actual circumference and height determine your fabric cut.
2. Calculate and Cut the Fabric
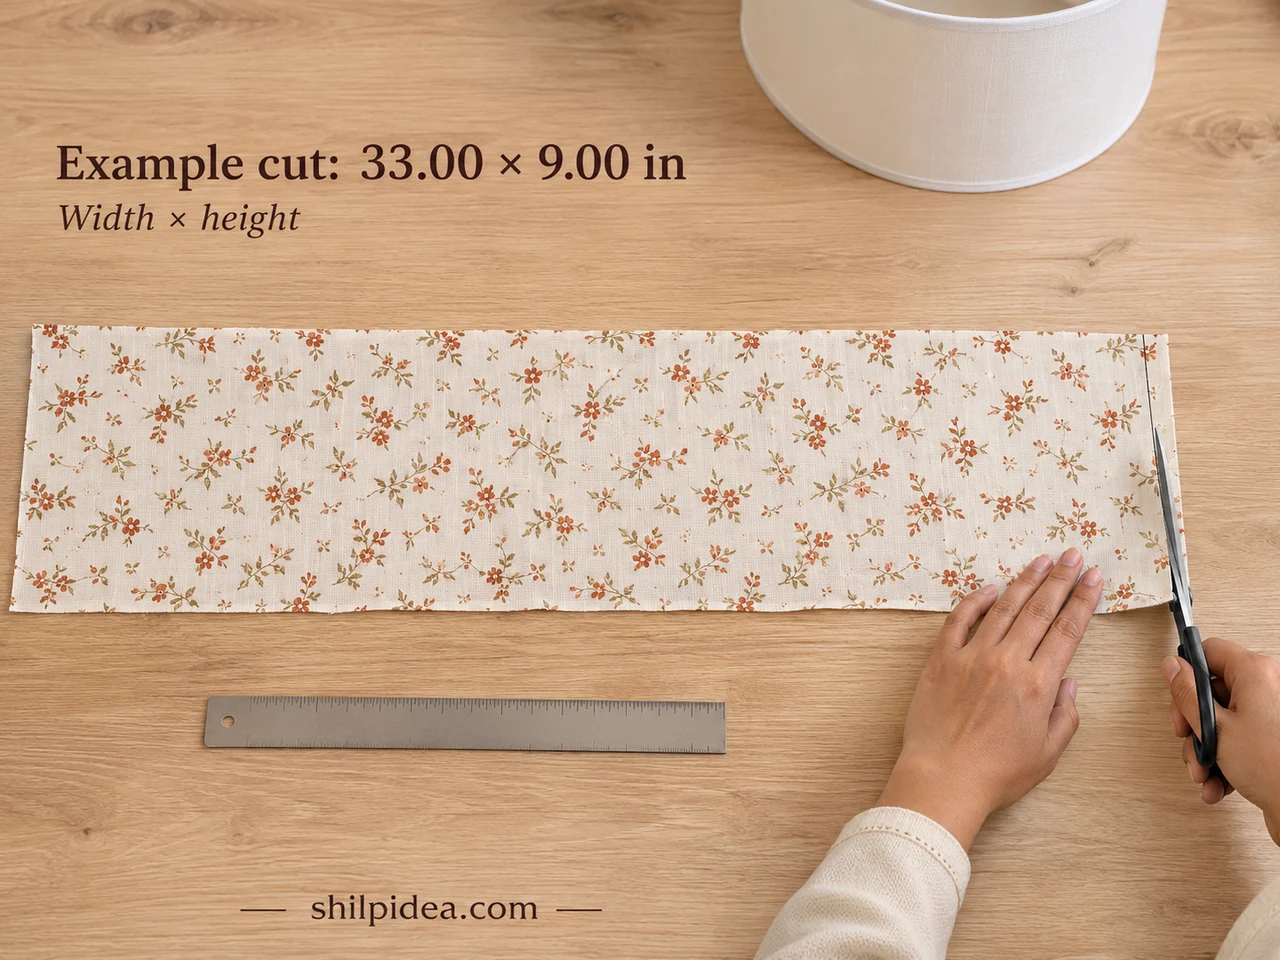
- Calculate the rectangle – For this seam layout, cut width C + 1.50 inches and height H + 1.00 inches. The width includes a 0.50-inch folded end and a 1.00-inch overlap; the height includes 0.50 inch at each rim.
- Press and mark – Press the fabric flat on a separate ironing surface. Mark the rectangle on the wrong side with the print oriented as it will appear on the upright shade. Keep the edges square and aligned with the weave.
- Cut and test the adhesive – Cut the rectangle cleanly. On a scrap, test the selected adhesive for staining, strike-through, and bond quality according to its instructions. Let that test cure before committing the main piece.
Example dimensions, in inches: width runs around the shade; height runs from its top to bottom.
| Measurement | Example |
|---|---|
| Shade circumference C | 31.50 |
| Shade height H | 8.00 |
| Fabric cut, width × height | 33.00 × 9.00 |
| Trailing-edge fold | 0.50 |
| Finished seam overlap | 1.00 |
| Top and bottom margins | 0.50 each |
Thick rim bindings may need a different turn-in allowance. Check that with a scrap before cutting, and increase the height only as needed to cover the rim without creating loose material inside.
3. Dry-Fit and Wrap the Fabric
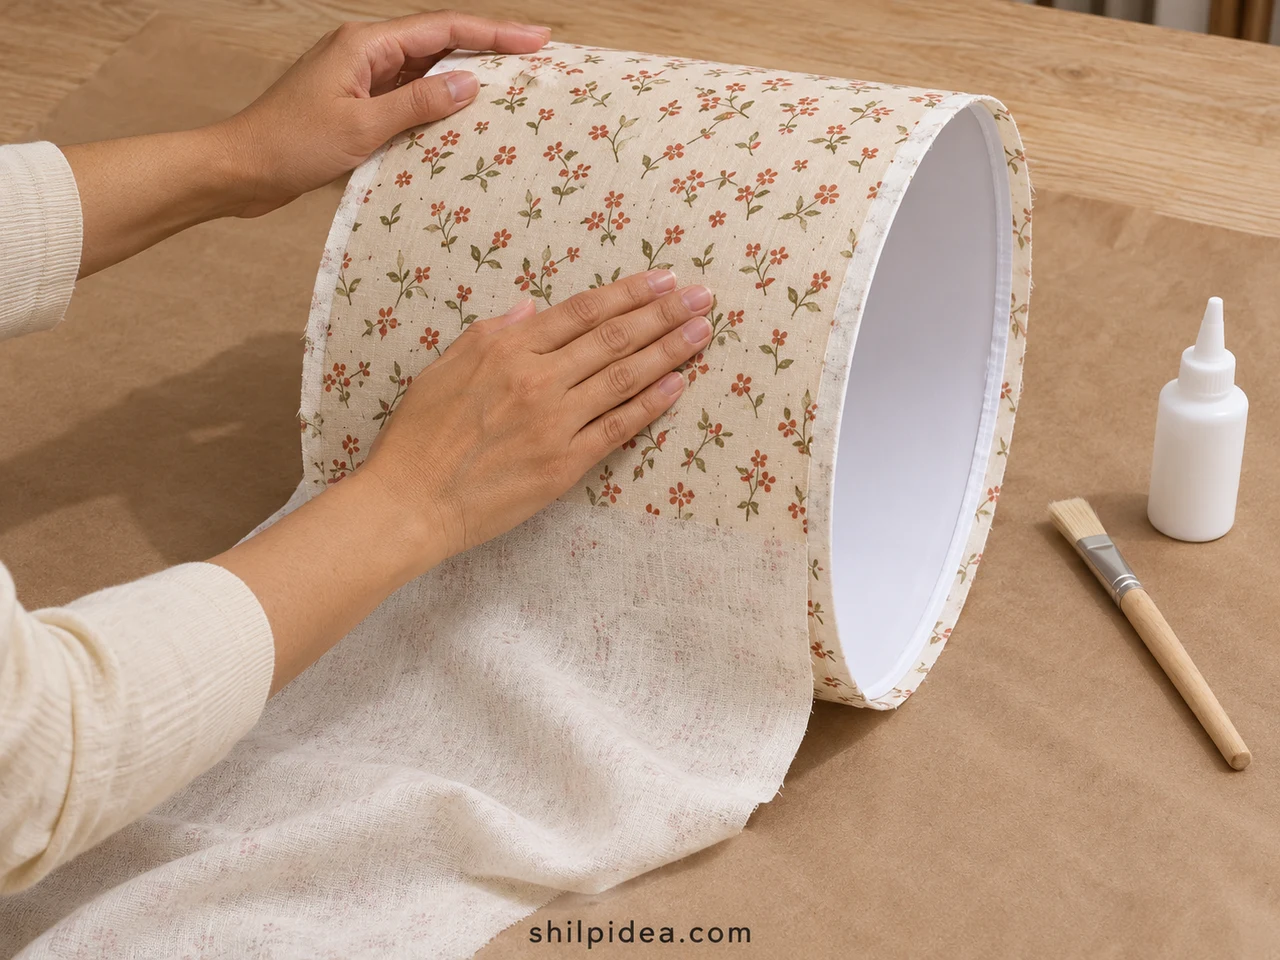
- Make a complete dry fit – Lay the fabric wrong side up. Position the shade on its side with the original seam at one short fabric edge. Roll it gently through one full turn, keeping equal margins beyond the top and bottom rims.
- Confirm the overlap – Fold the trailing short edge under 0.50 inch and check that it overlaps the starting edge by about 1.00 inch. The fabric should lie smooth without tension. Unwrap and correct the cut if the edges do not meet.
- Secure the starting edge – Return to the original seam. Apply the selected adhesive in the thin, controlled manner its instructions specify, then secure the starting fabric edge. Wrap smoothly around the exterior, preserving both rim allowances and avoiding glue on the visible face.
This method keeps the existing hardback shell as the structure. Do not strip it to bare rings or add fabric across either opening. For a separate demonstration of patterning and covering, see Sailrite’s fabric lampshade tutorial; its spray-adhesive method has its own product directions.
4. Close the Folded Back Seam
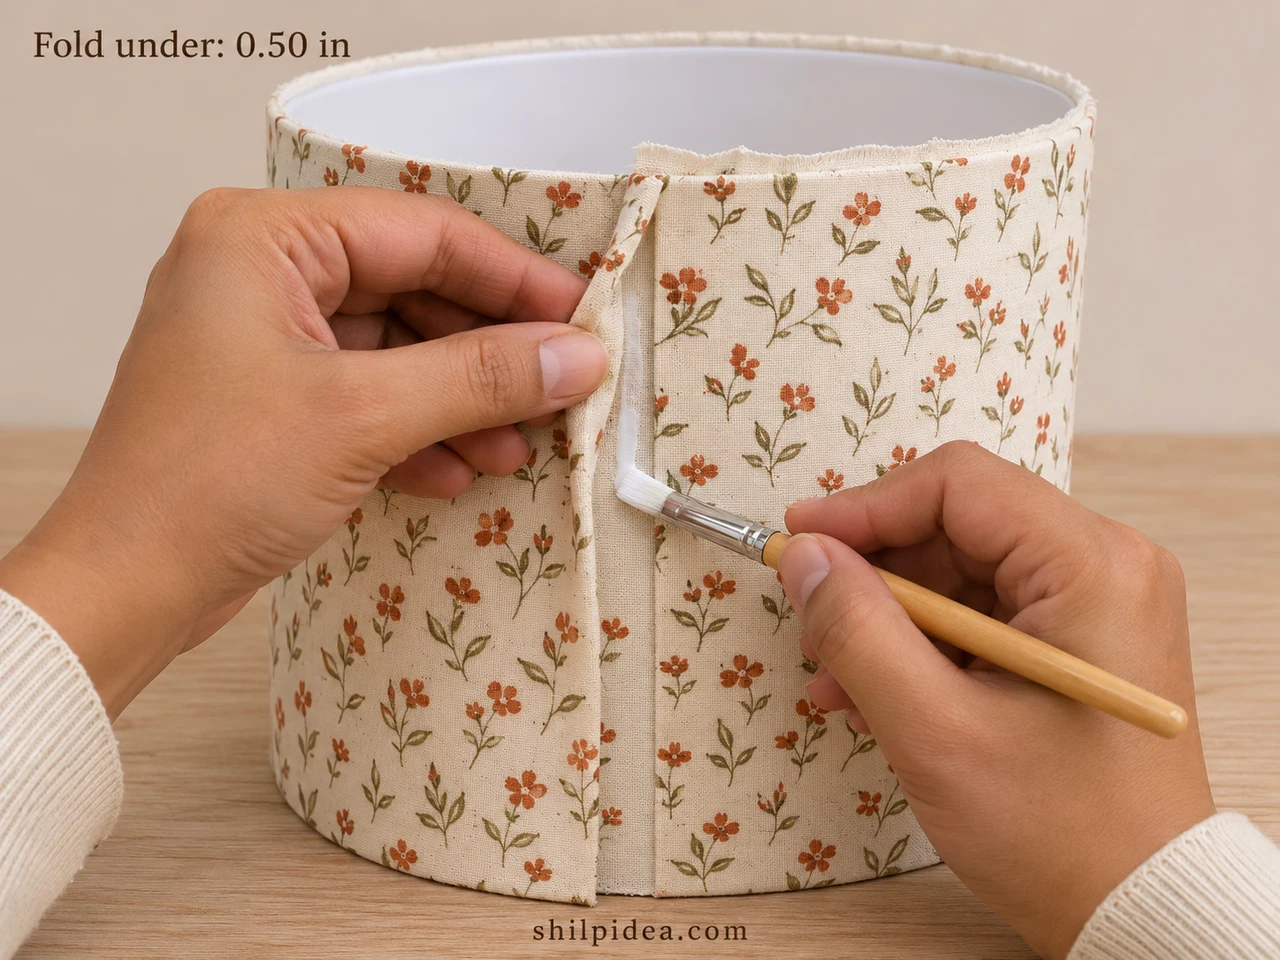
- Press the finishing fold – Before bonding the trailing edge, press its 0.50-inch fold on the ironing surface, turning the raw edge toward the wrong side. Never iron against the shade or bring the iron near wet adhesive.
- Bond the overlap – Apply a thin layer of suitable adhesive beneath the folded flap as directed. Lay it over the starting edge with the fold running straight from top to bottom. Smooth gently without squeezing glue through the fabric.
- Hold while the seam sets – Support the seam for the adhesive’s stated setting time. Use light clips at the ends only if they leave no marks. Check the fabric face for bubbles and correct them while the adhesive still permits repositioning.
Before moving on: The raw end is hidden inside the fold. Keep the overlap at the back when you later return the shade to the lamp.
5. Finish the Rims Around the Spokes
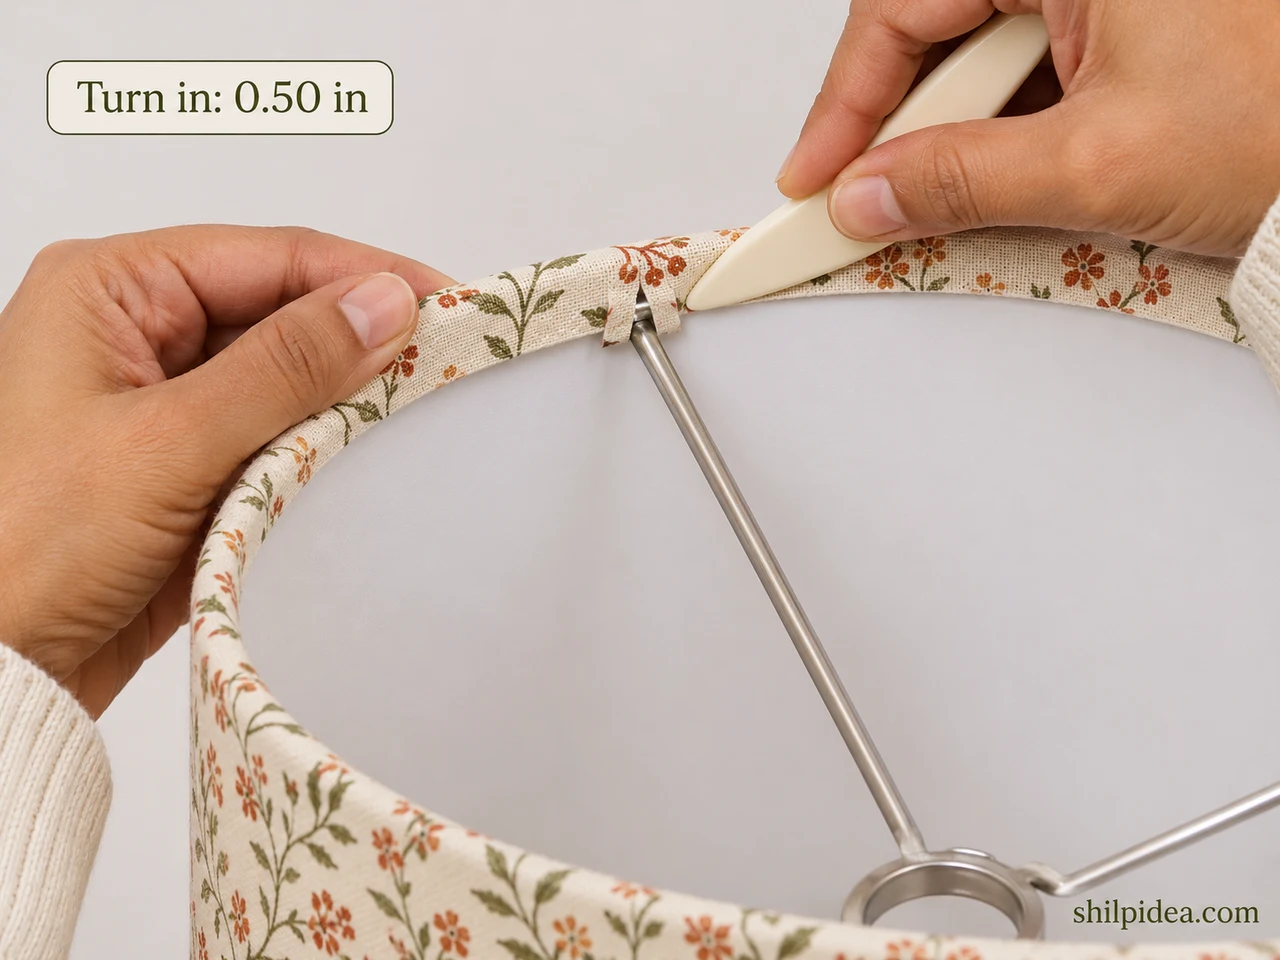
- Turn the first margin inward – Work in short sections. Apply a small amount of compatible adhesive at the inner rim as directed, then turn the fabric allowance over the edge. Press it flat with a blunt tool, keeping the opening clear.
- Release the fabric at each spoke – Where a spoke blocks the fold, make one small slit in the loose fabric margin, stopping at the rim. Keep scissors away from the liner and metal. Lay the two fabric tabs neatly on either side of the spoke.
- Finish both edges – Bond the small tabs flat and continue around the rim, then repeat on the opposite edge. Remove loose threads and wipe away excess adhesive as its instructions allow. Do not cut the liner or leave dangling fabric inside.
The close-up shows why the slit stays within the turn-in margin. For another view of this technique, Dannells’ spoke finishing guidance explains controlled cutting and tucking around the supports. A little extra care here is more useful than hiding an untidy edge under bulky trim.
6. Cure, Inspect, and Refit the Shade
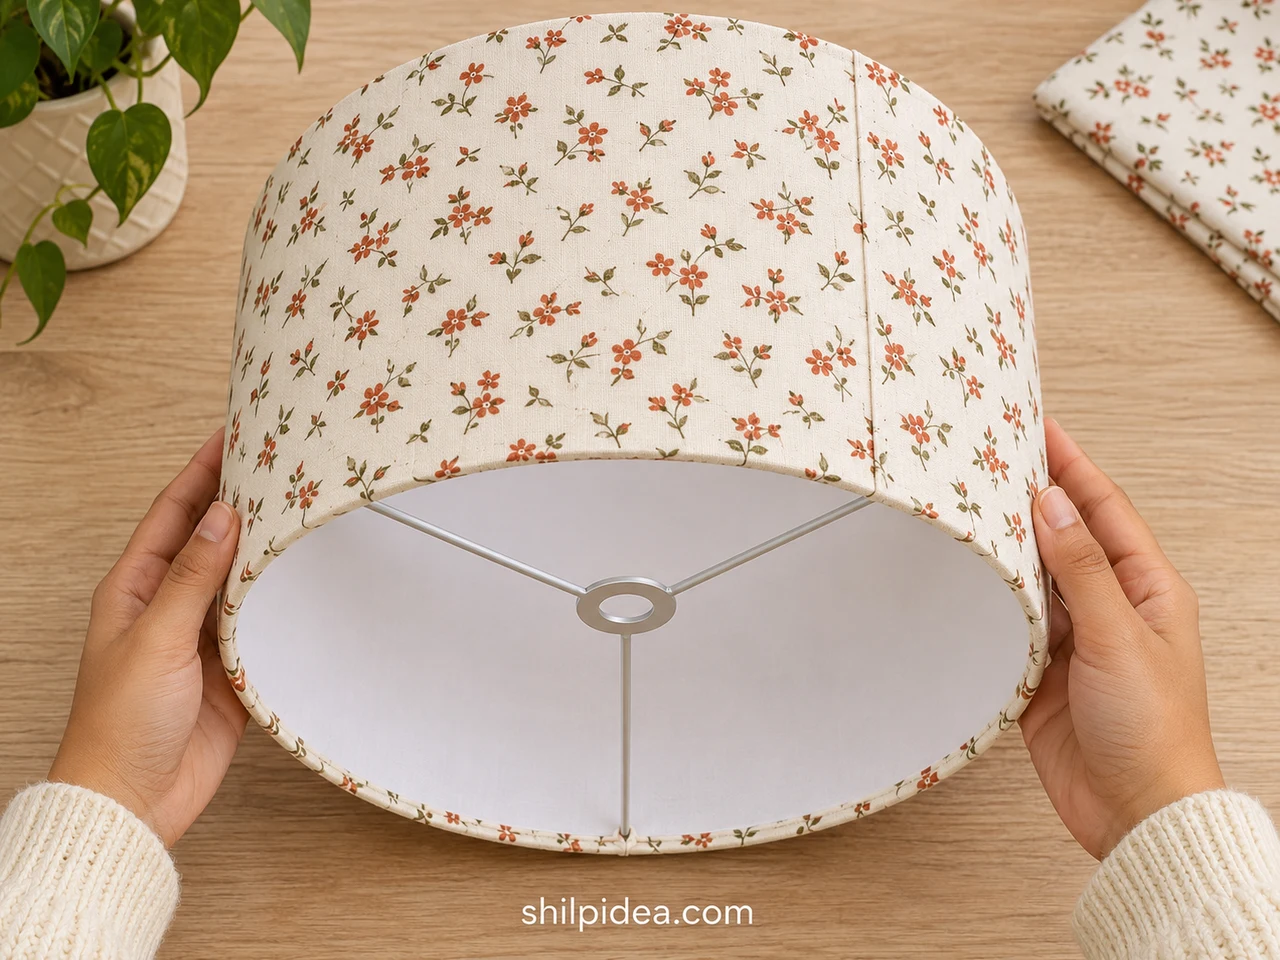
- Allow the full cure – Leave the shade in a clean, ventilated area for the adhesive manufacturer’s full cure time. Surface dryness is not the same as a completed cure. Remove temporary clips when the product directions allow.
- Inspect inside and outside – Check the seam, both rims, and every spoke opening. All fabric must be firmly attached with no loose tabs, exposed wet glue, or obstructed fittings. Confirm that the liner and frame remain undamaged.
- Refit without changing the hardware – With the lamp still unplugged, refit the shade using its original attachment instructions. Verify the approved bulb type, wattage, clearance, and ventilation before use. If any material lifts, smells scorched, or discolors, stop using the lamp.
Turn the back seam toward the wall and let the fabric print become the accent. Pick up one of its colors in a cushion or small accessory; these wooden lamp designs offer additional styling inspiration. The cover is a bonded finish, not a removable washable sleeve.
Troubleshooting the Fabric Cover
- The print looks crooked: Unwrap during the dry fit and realign the grain. Do not twist the fabric to disguise a tapered shade.
- Glue shows through: Stop and revise the fabric/adhesive combination on a scrap. A lighter application may help only if it still meets the product instructions.
- The seam is bulky: Use a lighter fabric and check the fold width. Avoid stacking additional decorative bands over the overlap.
- A rim will not stay down: Check adhesive compatibility and cure time. Do not put the shade back into use with a loose edge.
Care for the Finished Shade
Unplug the lamp and allow it to cool before cleaning. Dust gently with a soft, dry brush while supporting the shade. Do not soak the fabric or spray cleaner onto the liner. Inspect the cover periodically for lifting edges or changes in color, and follow the shade manufacturer’s care advice whenever it is more restrictive.
More Fabric and Home Decor Projects to Try
A small amount of patterned fabric can connect several details in a room. Start with one focal project, then repeat a color or texture in a quieter accessory. The ideas below range from framed textiles to lighting inspiration and reusable fabric projects, so you can choose a next step that suits your materials and available time.
- Framed Wall Art from Fabric Samples
- Cozy Living Rooms with Gentle Lighting
- Wooden Lamp Designs for Home Lighting
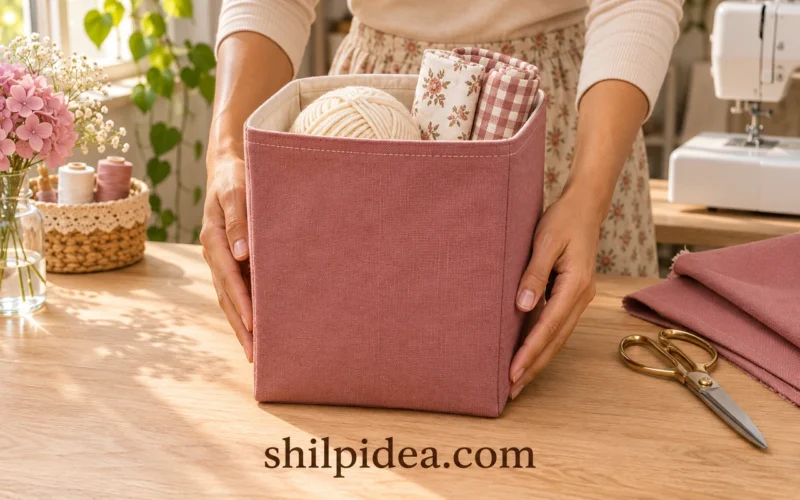
- Fabric-Covered Containers for Handy Storage
- Reusable Basket Liners from Cotton Fabric
Which fabric would you choose for a lampshade makeover: a small floral, a geometric print, or a solid color? Share your plans in the comments, and if you try covering a suitable shade, tell us which measuring or rim-finishing detail helped most.






















0 Comments