18 Accordion Photo Book Ideas for Handmade Keepsakes
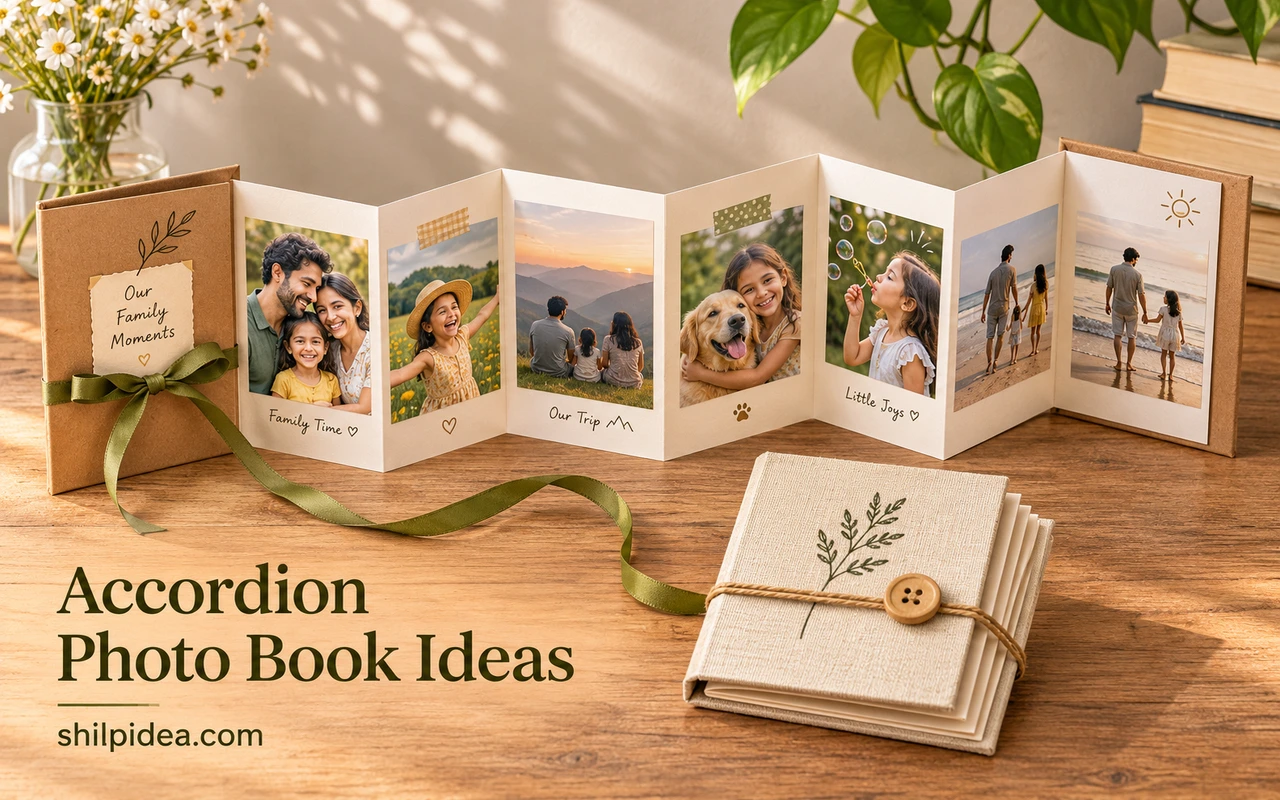
An accordion photo book lets you unfold a whole set of memories at once. It can stand open for display or fold small enough to slip inside a gift box.
All you need for the simplest version is cardstock, two covers, and a few prints. Try these photo frame ideas if you also want a way to display an individual favorite.
Pick a layout based on how you’ll use the book, from a two-sided mini album to a boxed gift. Borrow the spacing tricks from these gallery wall templates to arrange prints before you attach them.
1. A White-Page Story Strip

Start with a continuous white strip and one photograph on every panel. This layout works well for pictures already shot in the same orientation, such as a portrait series from one afternoon. Dry-fit the prints before attaching them so each has the same margin. Keep the folds clear so the book stacks neatly.
2. A Ribbon-Tied Square Scrapbook
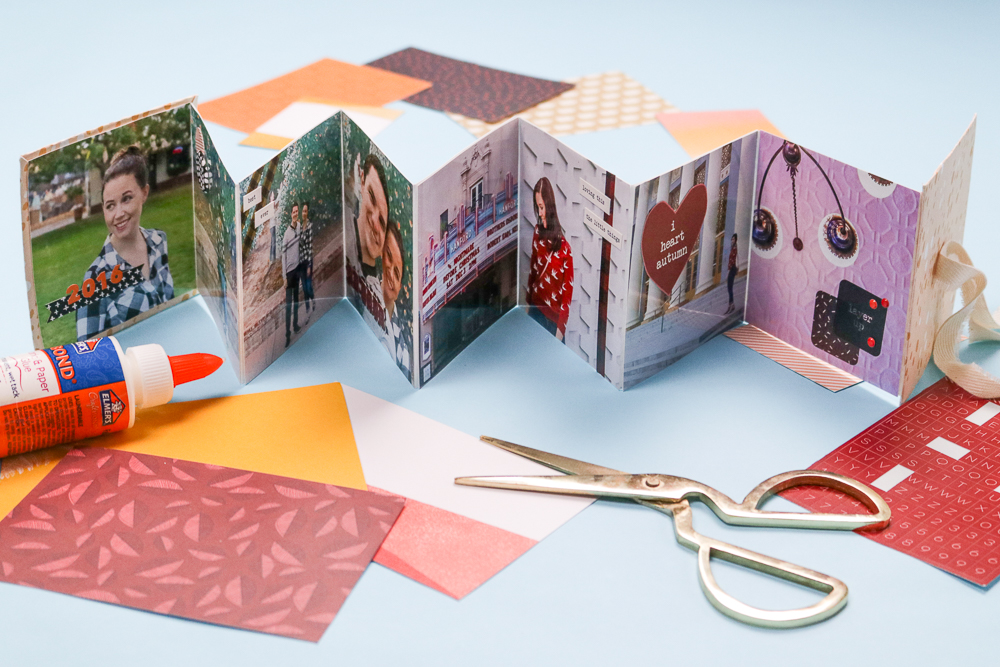
Give square prints a thick little scrapbook with patterned front and back boards. Using the same print size throughout keeps the build simple and leaves room for a handwritten line underneath. Cut the pages before wrapping the covers so you can check how much overhang the boards need on all four sides.
3. A Linen Album for Instant Prints
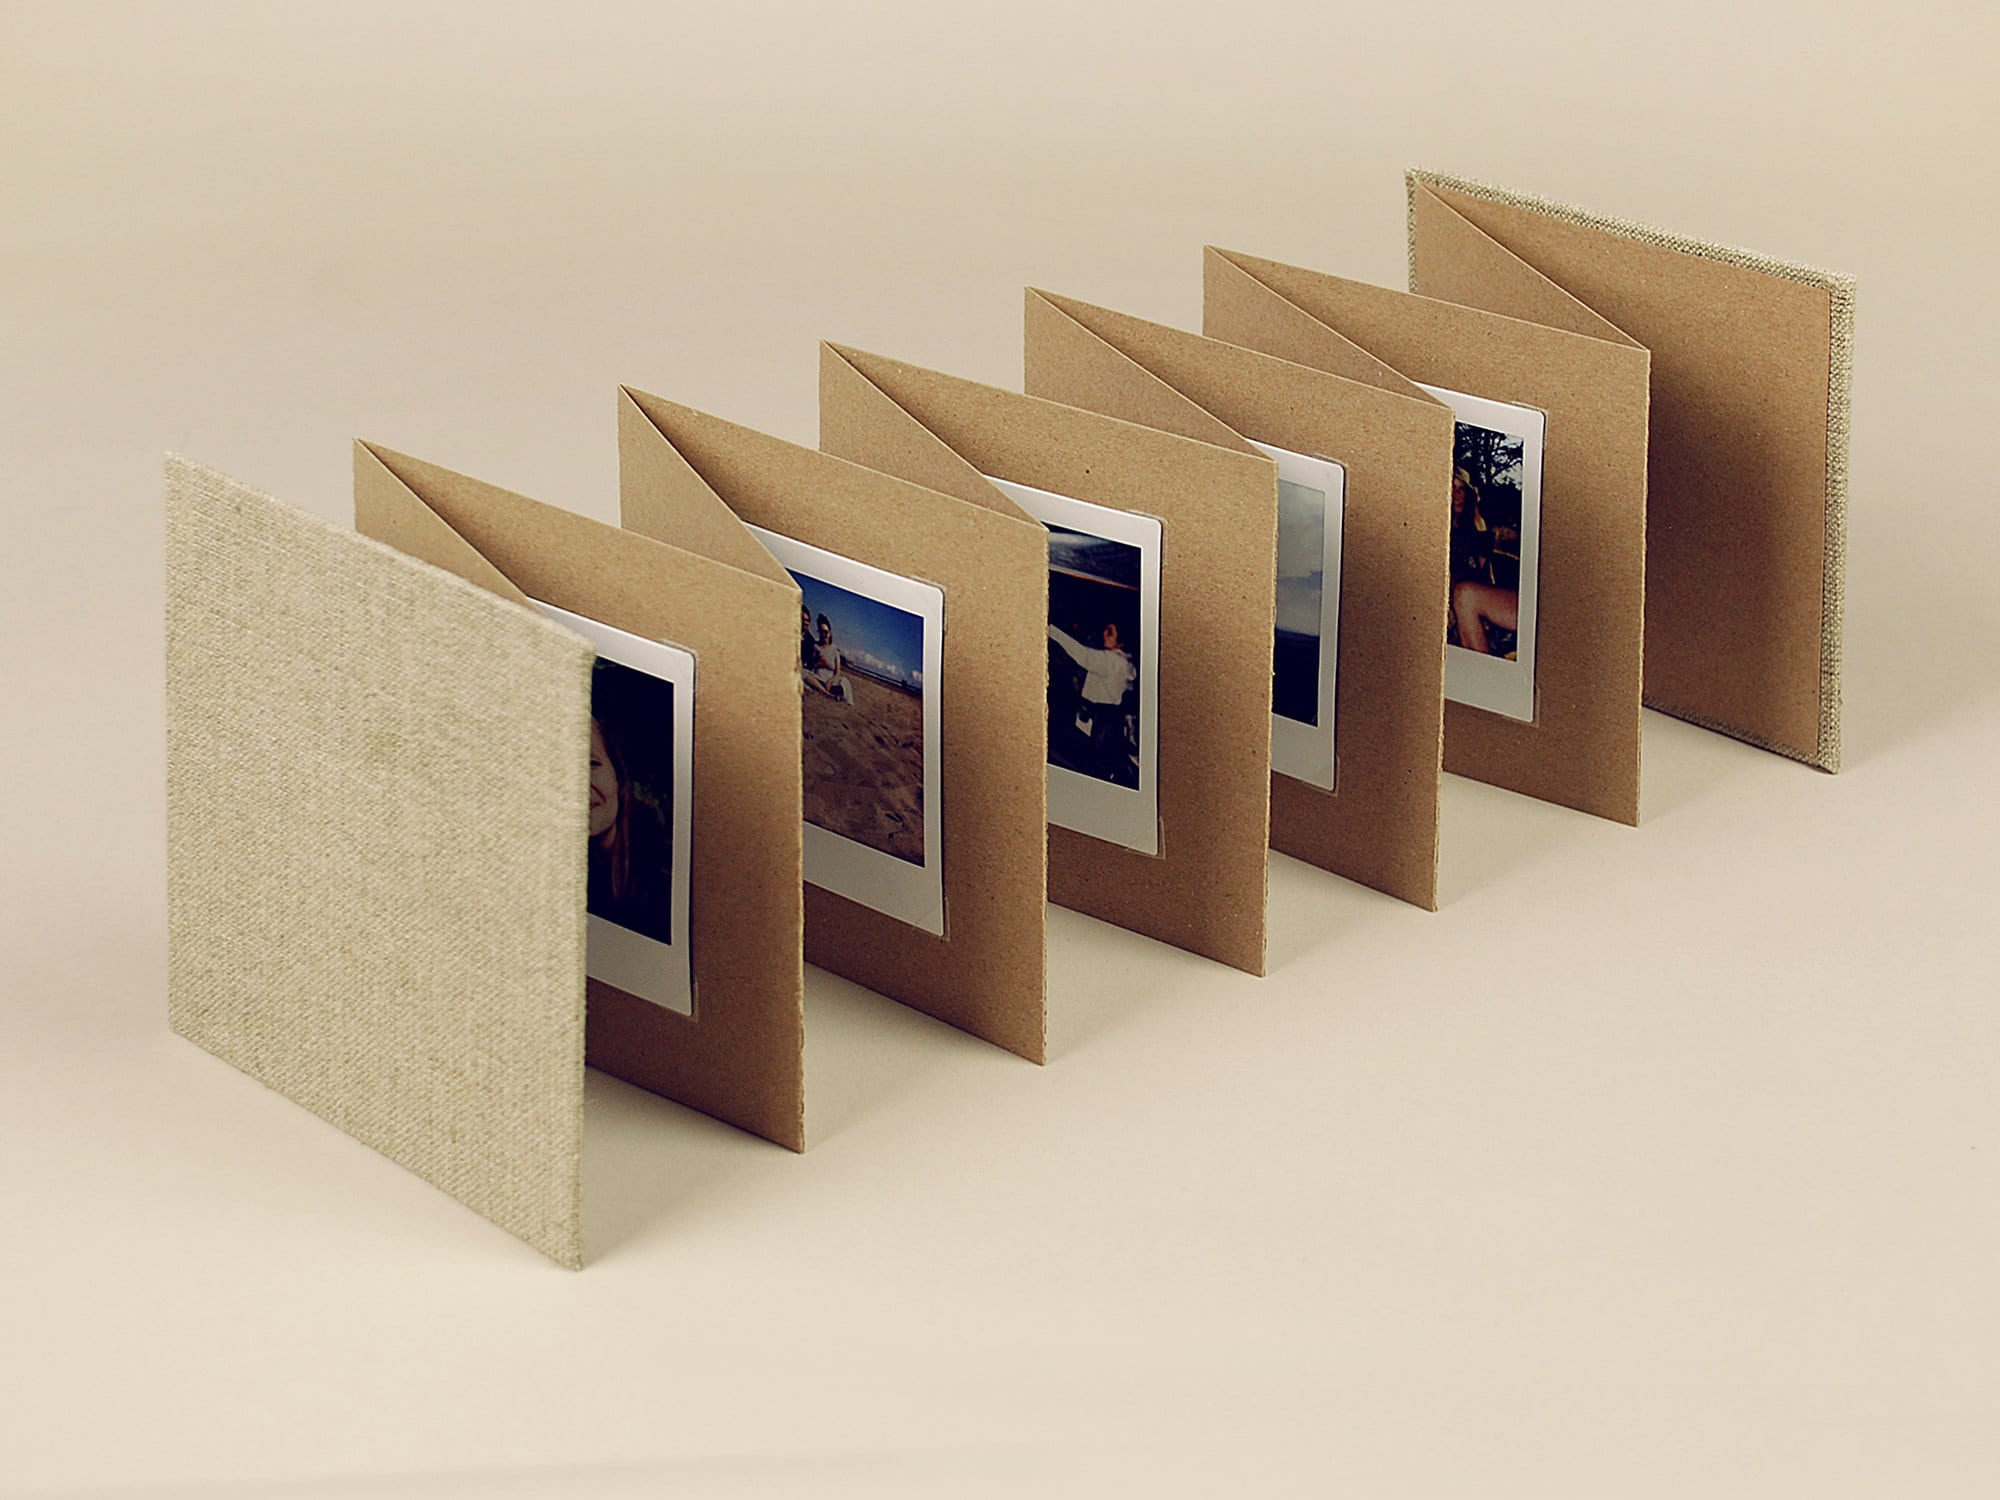
A linen cover feels substantial even when the photographs are small. Build each panel around the instant print itself, including its white border, then allow extra clearance for photo corners. Removable mounts are useful if you expect to swap in a better portrait or add a fresh print after giving the book.
4. A Hand-Embroidered Cloth Cover
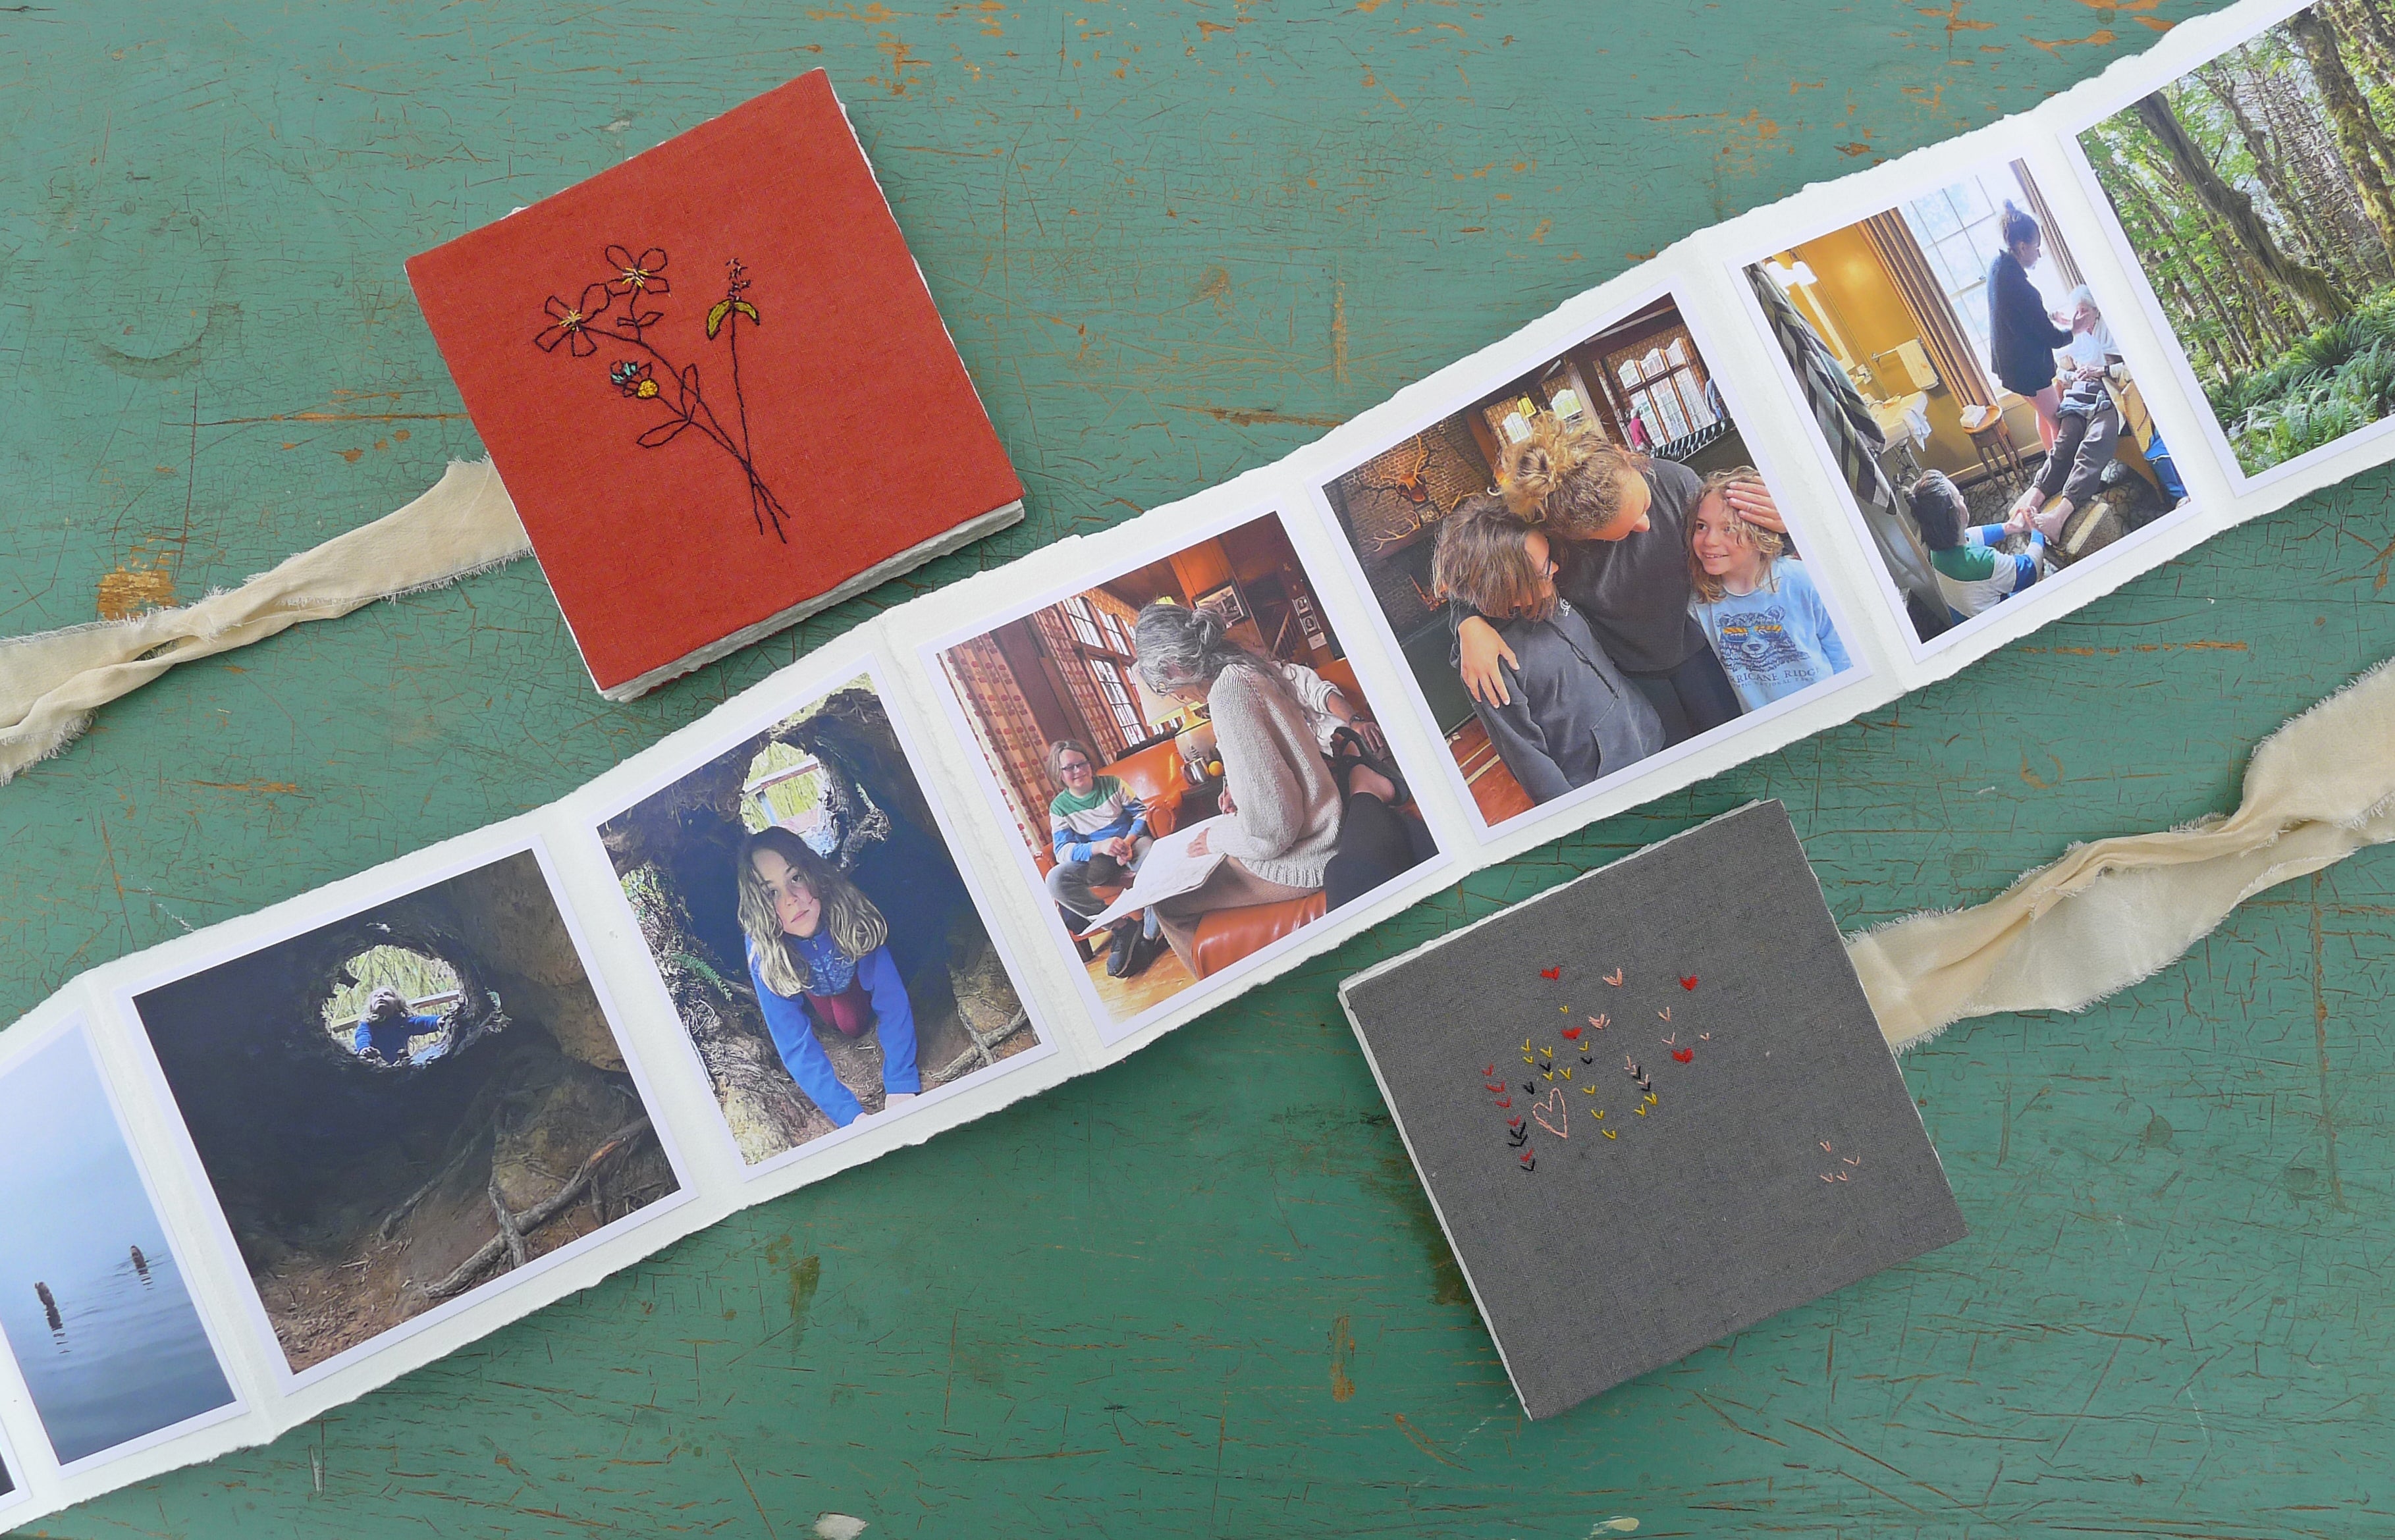
A small stitched design can make a plain fabric cover feel personal without hiding its texture. Work the embroidery before wrapping the book boards so the back of the stitching stays concealed. Inside, use a photo or two from the same ordinary day instead of filling every panel with only formal portraits.
5. A Black-and-White Portrait Display
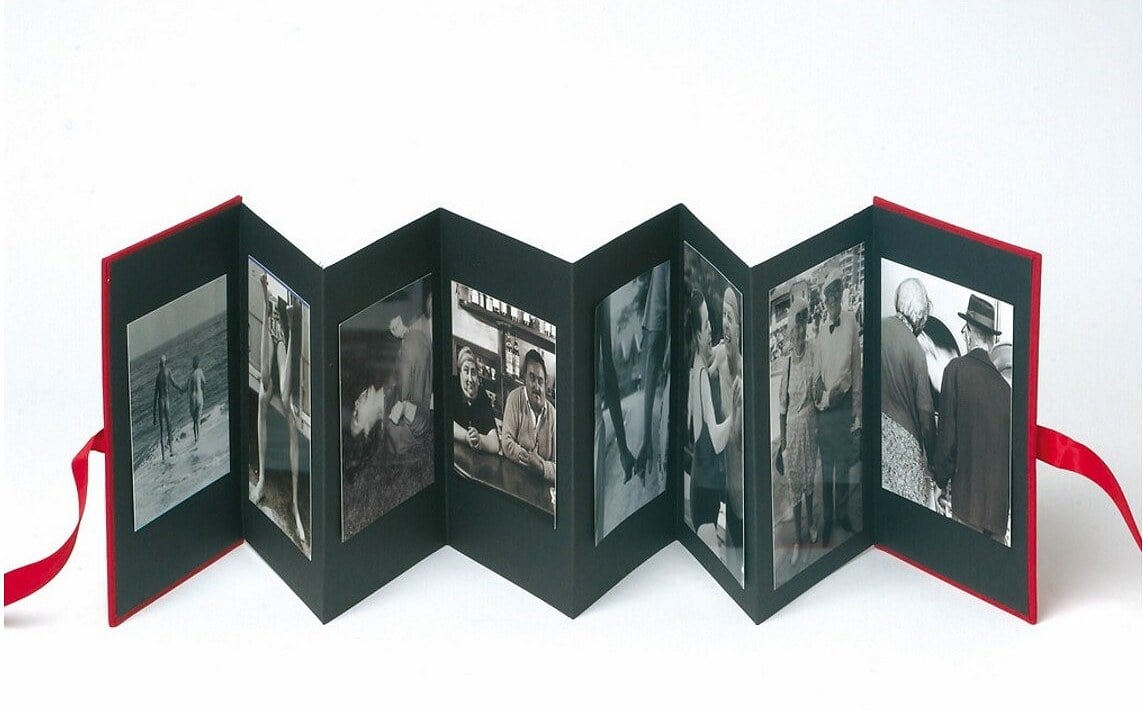
A long strip of black pages gives a series of monochrome prints a gallery feel. Pick images with similar contrast so one dark photo does not disappear against the cardstock. Orient the prints vertically and keep the bottom edges level when the accordion sits partly open on a shelf or table.
6. A Two-Sided Pocket Album

Put photos on both faces of a tiny concertina to fit more memories in a small book. You might use one side for the people and the other for the places. Before mounting anything, mark the top edges in pencil while the strip is folded so the back sequence reads upright.
7. A Kraft Family Milestones Book
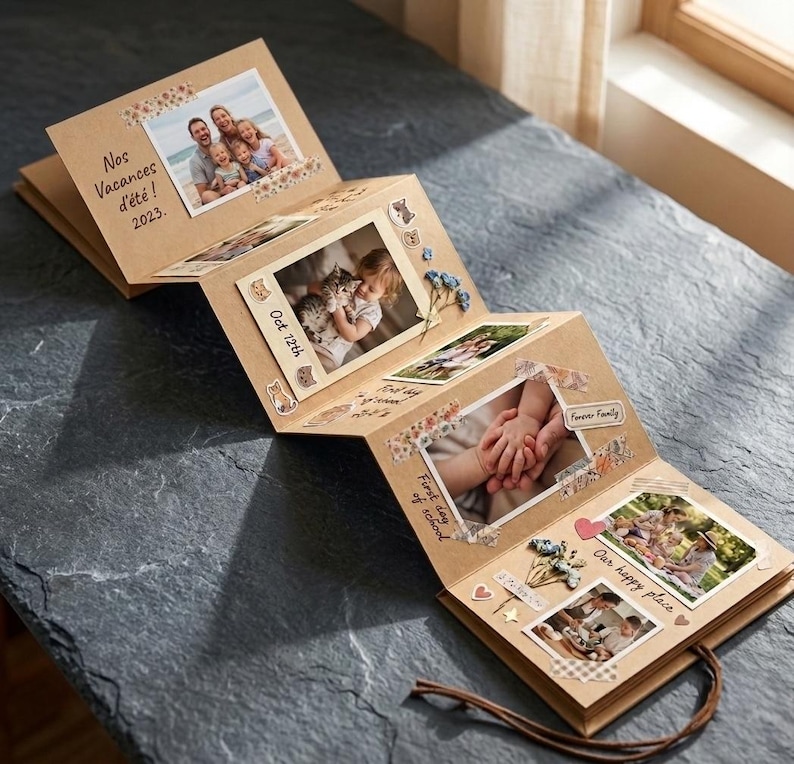
Kraft paper makes a warm backdrop for school pictures, family visits, and snapshots from holidays. Give each photo a short date or place caption so the book still tells its story several years from now. Use flat decorative touches such as tape and stickers and save thicker objects for a separate sleeve.
8. A Child’s Year in Mini Prints

A pocket-size album is a good fit when you want to send a few new pictures to a relative. Choose snapshots that show the child doing something, such as collecting leaves or mixing batter, so each panel has its own little story. Tie the patterned covers with twine for a lightweight finish.
9. A Vacation Album with Dark Pages
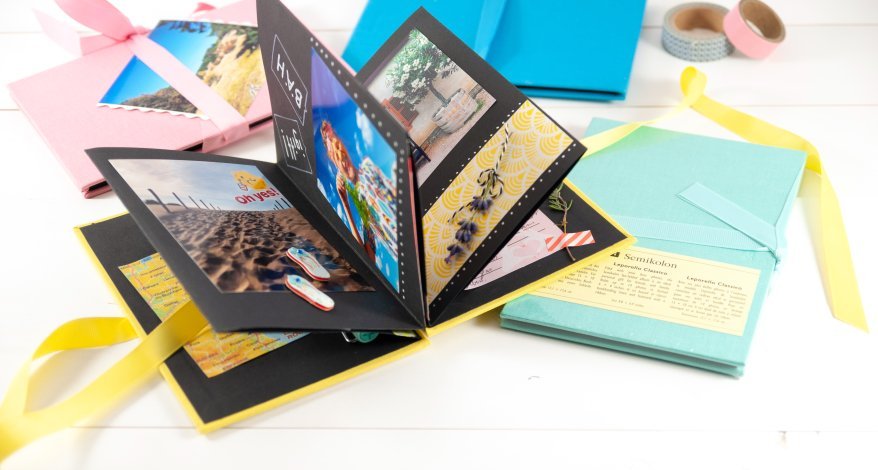
Dark paper can make bright beach or city photographs stand out. Leave room for one short note about each place, written with a pen that shows clearly on the dark paper. When adding travel ephemera, trim it to a flat detail such as a ticket stub so the folds still close.
10. A Fabric-Covered Winter Concertina
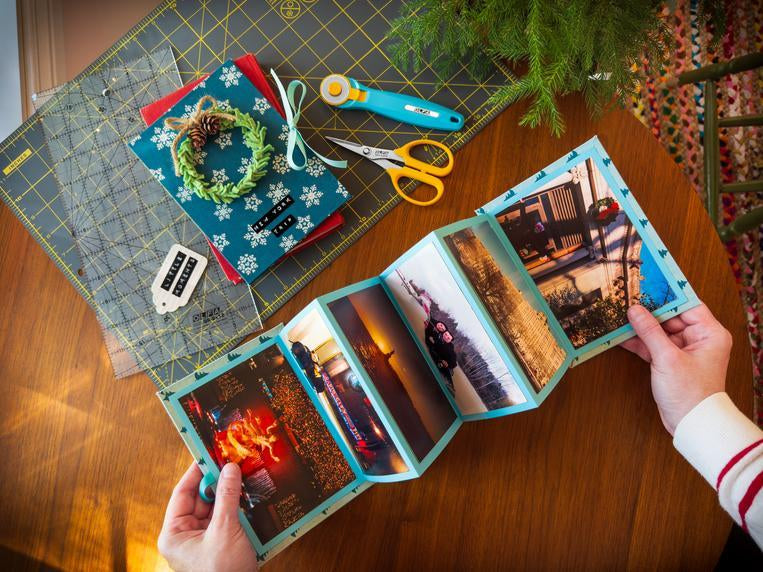
Wrap the boards in fabric for a winter album of snowy walks, holiday lights, or quiet indoor moments. Select images with a related palette and let the cloth introduce one stronger color. Test the wrapped corners on scrap first, especially if your fabric is thick enough to make the covers sit unevenly.
11. A Four-Frame Friendship Gift

A short strip with four prints is enough to tell the story of one outing. Use the opening frame to establish the place, then include a mix of portraits and small details. Give each image a wide white edge for a consistent instant-photo look and use the final panel for a note.
12. A Color-Coded Photo Corner Book

Use colored corners to connect photographs that belong together, such as green for weekend walks and blue for trips. The corners let you replace an image without peeling glue from the page. Check that the corners hold the print securely when the album stands open and leave space between mounts and fold lines.
13. An Anniversary Album with Pop-Up Panels
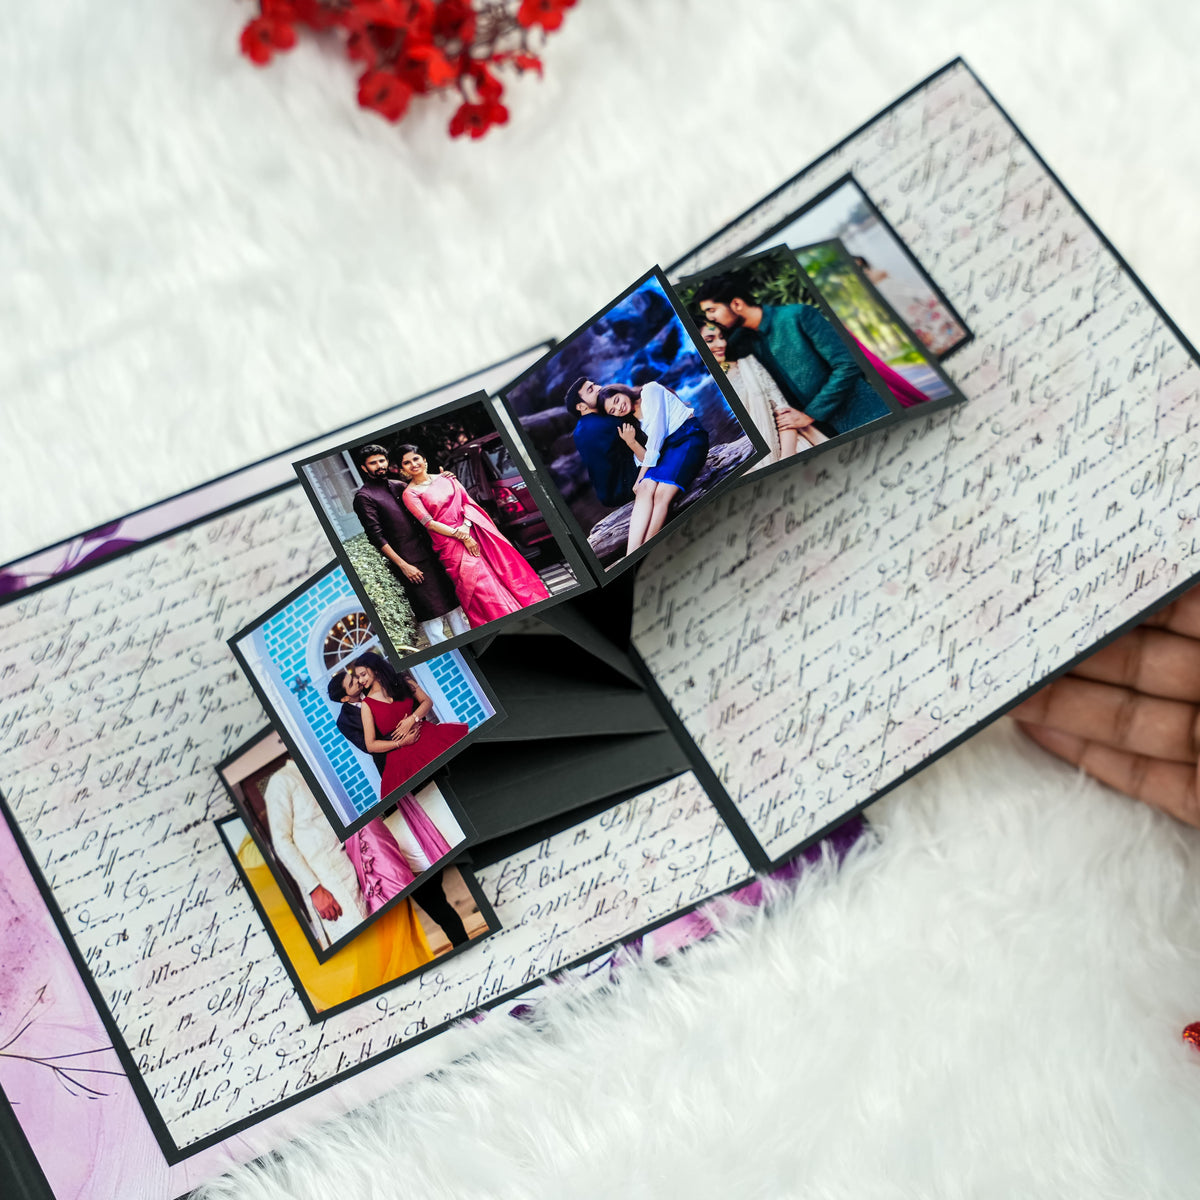
Layered panels add a surprise to a book for a couple, especially if you mix recent photographs with a few early favorites. Use these panels sparingly because each layer adds thickness. Close the book after positioning each raised section so you can catch anything likely to snag before it is fixed in place.
14. A Coordinated Belly Band and Box

A removable paper band keeps the folded strip together, and the matching box gives the album a place to live. Use an accent pattern for the band and repeat it only on a few inside panels. Measure around the finished, filled book before cutting the band so it slides on without crushing the pages.
15. A Baby Photo Gift Box

Hide a short sequence of baby photographs beneath a lined box lid. For a shower gift, keep a few panels empty and label them for future milestones. Set the first picture near the pull point and leave a little headroom in the box so the strip lifts easily without catching on the lid.
16. A Miniature Pull-Out Photo Token

A tiny photo box is best for a few square images with clear, simple subjects. Crop in close on faces or objects before printing so each can be recognized at that scale. Attach the last panel securely to the base so the whole strip stays connected when a recipient opens it.
17. A Wooden Memory Box with Fold-Out Prints

Give an accordion insert a sturdier home by setting it inside a small wooden box. A wood case suits a keepsake that will sit on a bedside table rather than travel in a pocket. Check the lid clearance with every picture and label in place, and keep any pull ribbon accessible near the top.
18. A Photo-and-Message Strip

Alternate a photograph with a short memory, a favorite expression, or a handwritten thank-you. The blank space slows down the reveal and gives each image more meaning. Pick a pale patterned border and test your pen on the actual paper before writing every caption, so the words stay clear against the design.
Turn Extra Photo Prints into Keepsakes
Once your little book is full, you may find a photograph you want to keep on display. Make a lightweight frame from spare cardboard, or plan a wall arrangement on paper before hanging anything. Both ideas work well with extra prints from the same set and make it easier to keep favorite moments out where you can enjoy them.
- Make Budget Cardboard Photo Frames
- Plan a Gallery Wall Layout
- Display Favorite Photos on Canvas
- Arrange Family Photos Along the Stairs
- Make a Paper Gift Box
What memory would you put on the first panel of your accordion book? Tell us in the comments how you’d arrange the photos. If you’ve made one before, share how you handled prints that were different sizes.



















0 Comments